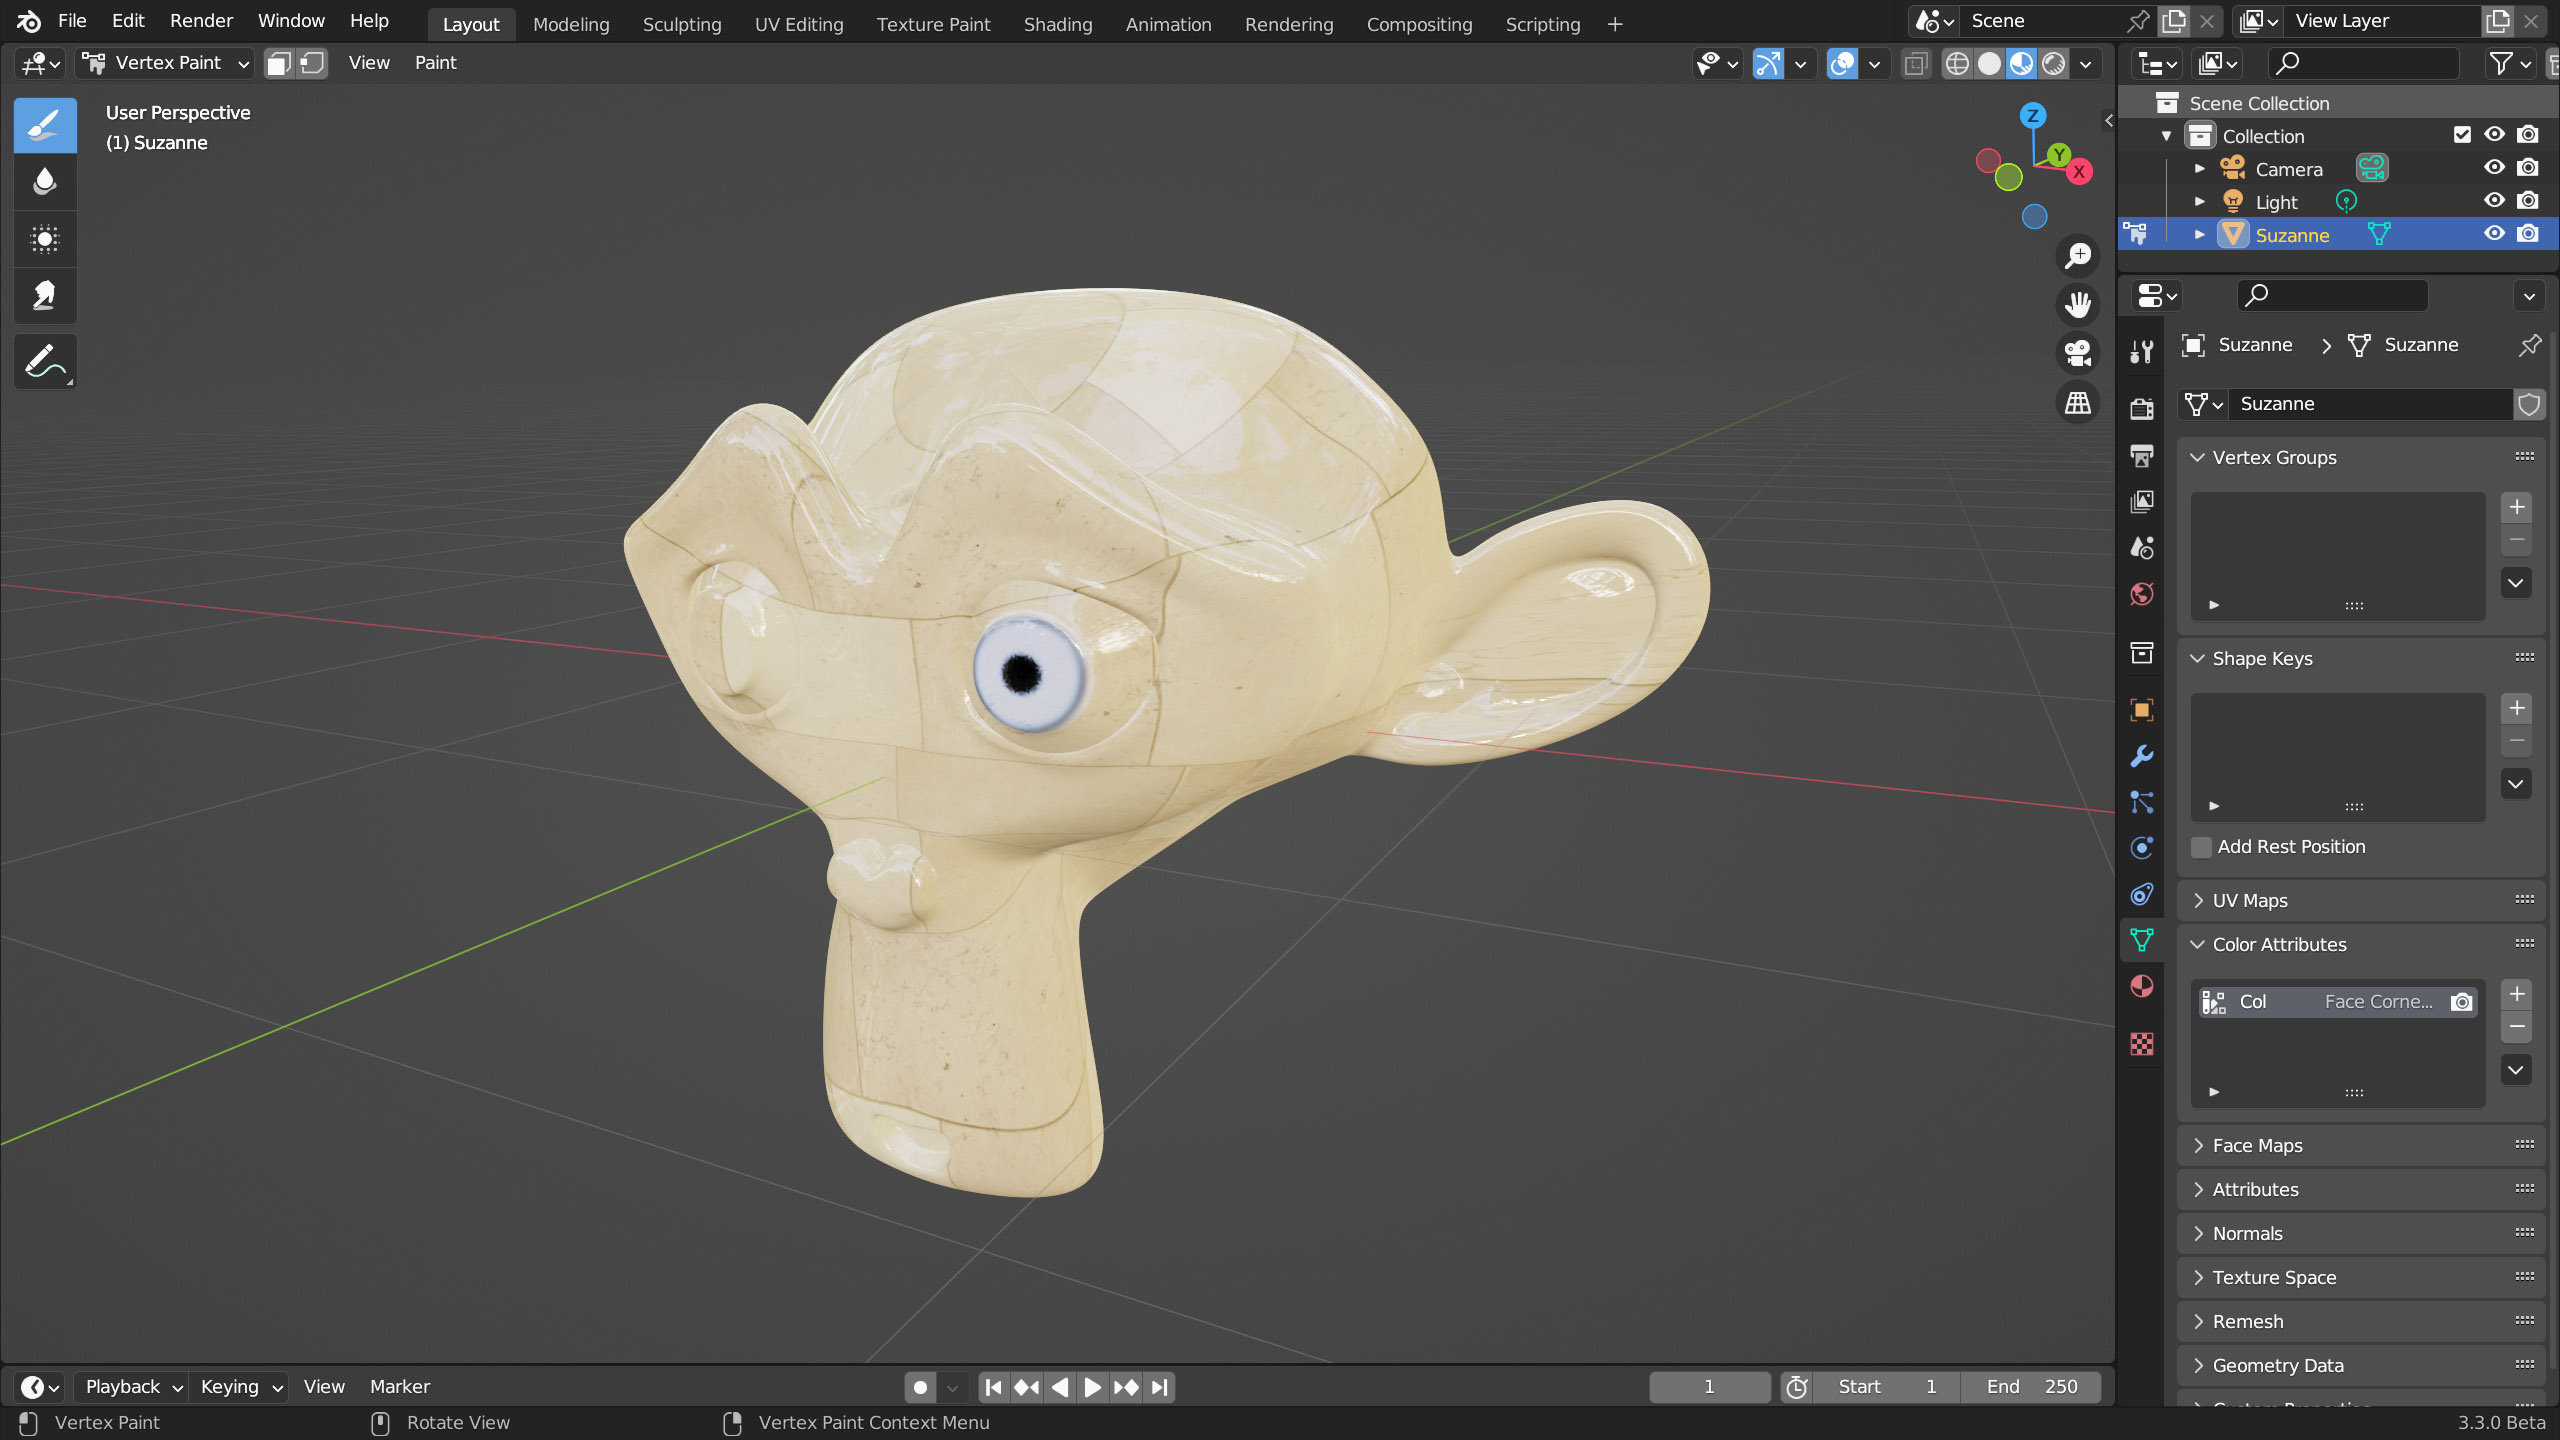
We will introduce two mesh painting modes, technically similar to each other but with different purposes. Vertex Painting is an alternative to Texture Painting that does not require the use of bitmap textures mapped on the model in UV coordinates, provided that the mesh is quite rich in vertices. First, we switch to the Vertex Paint mode of the 3D View using Solid shading for the viewport.
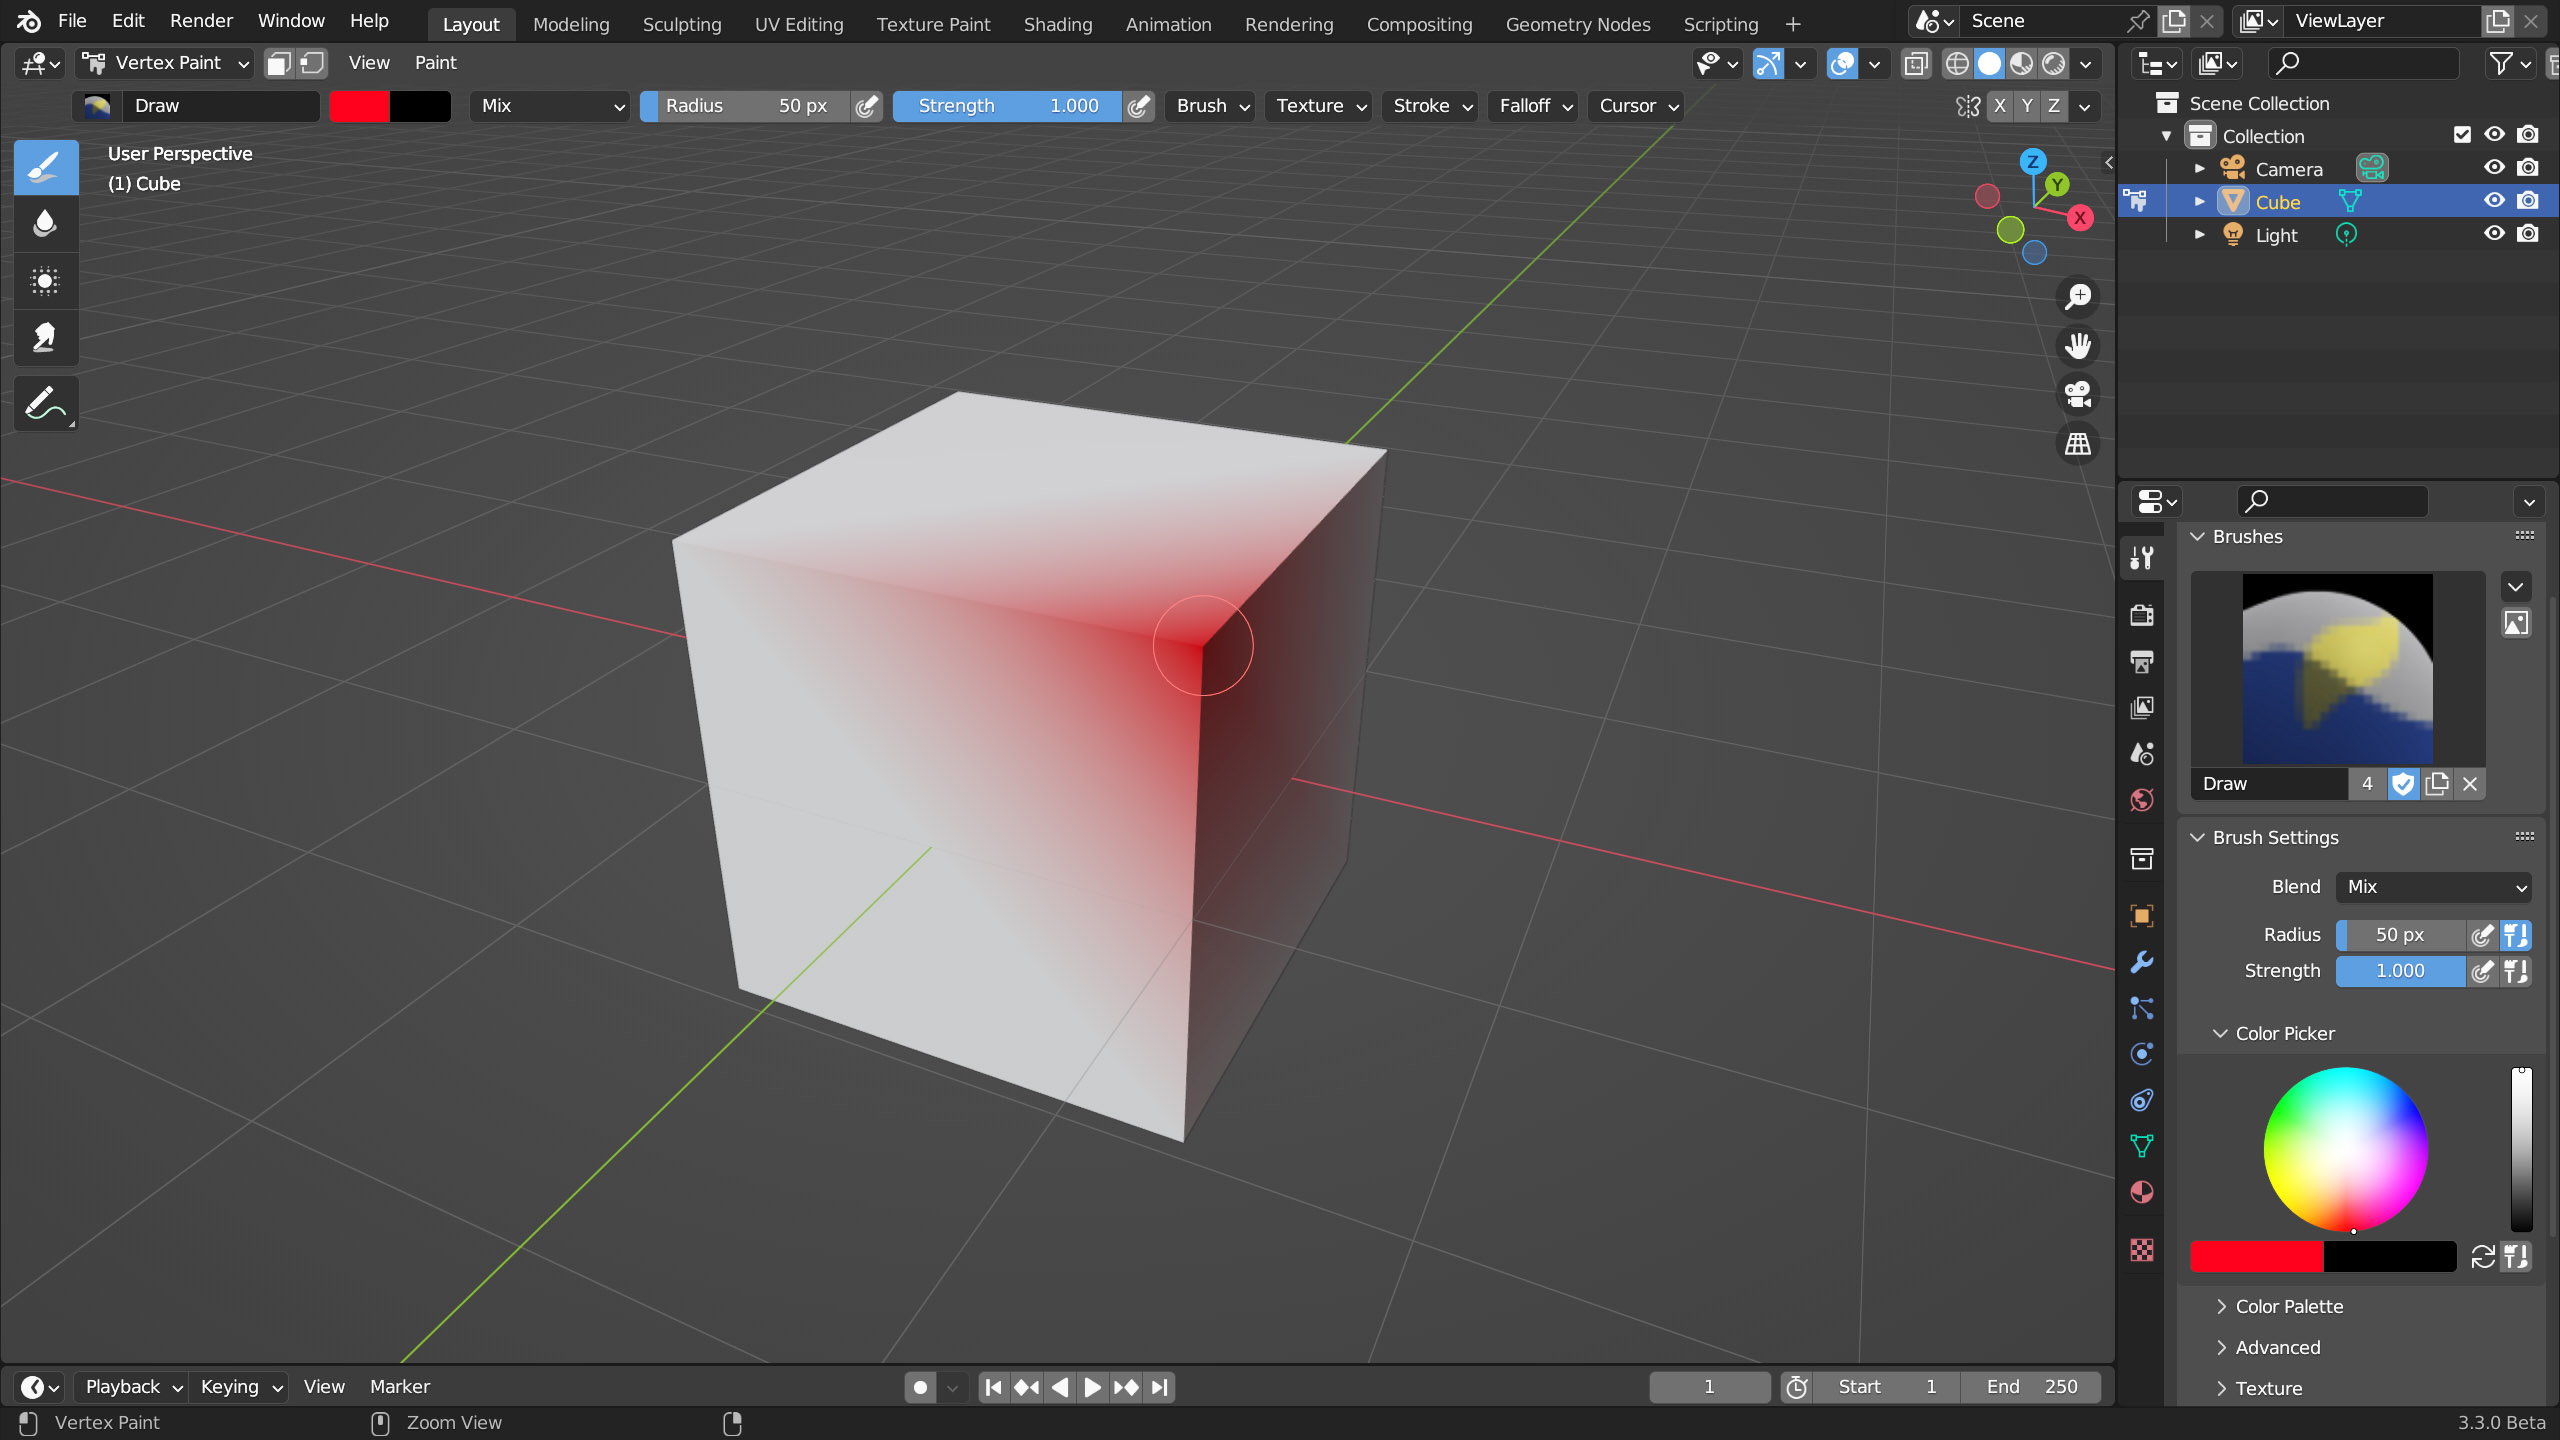
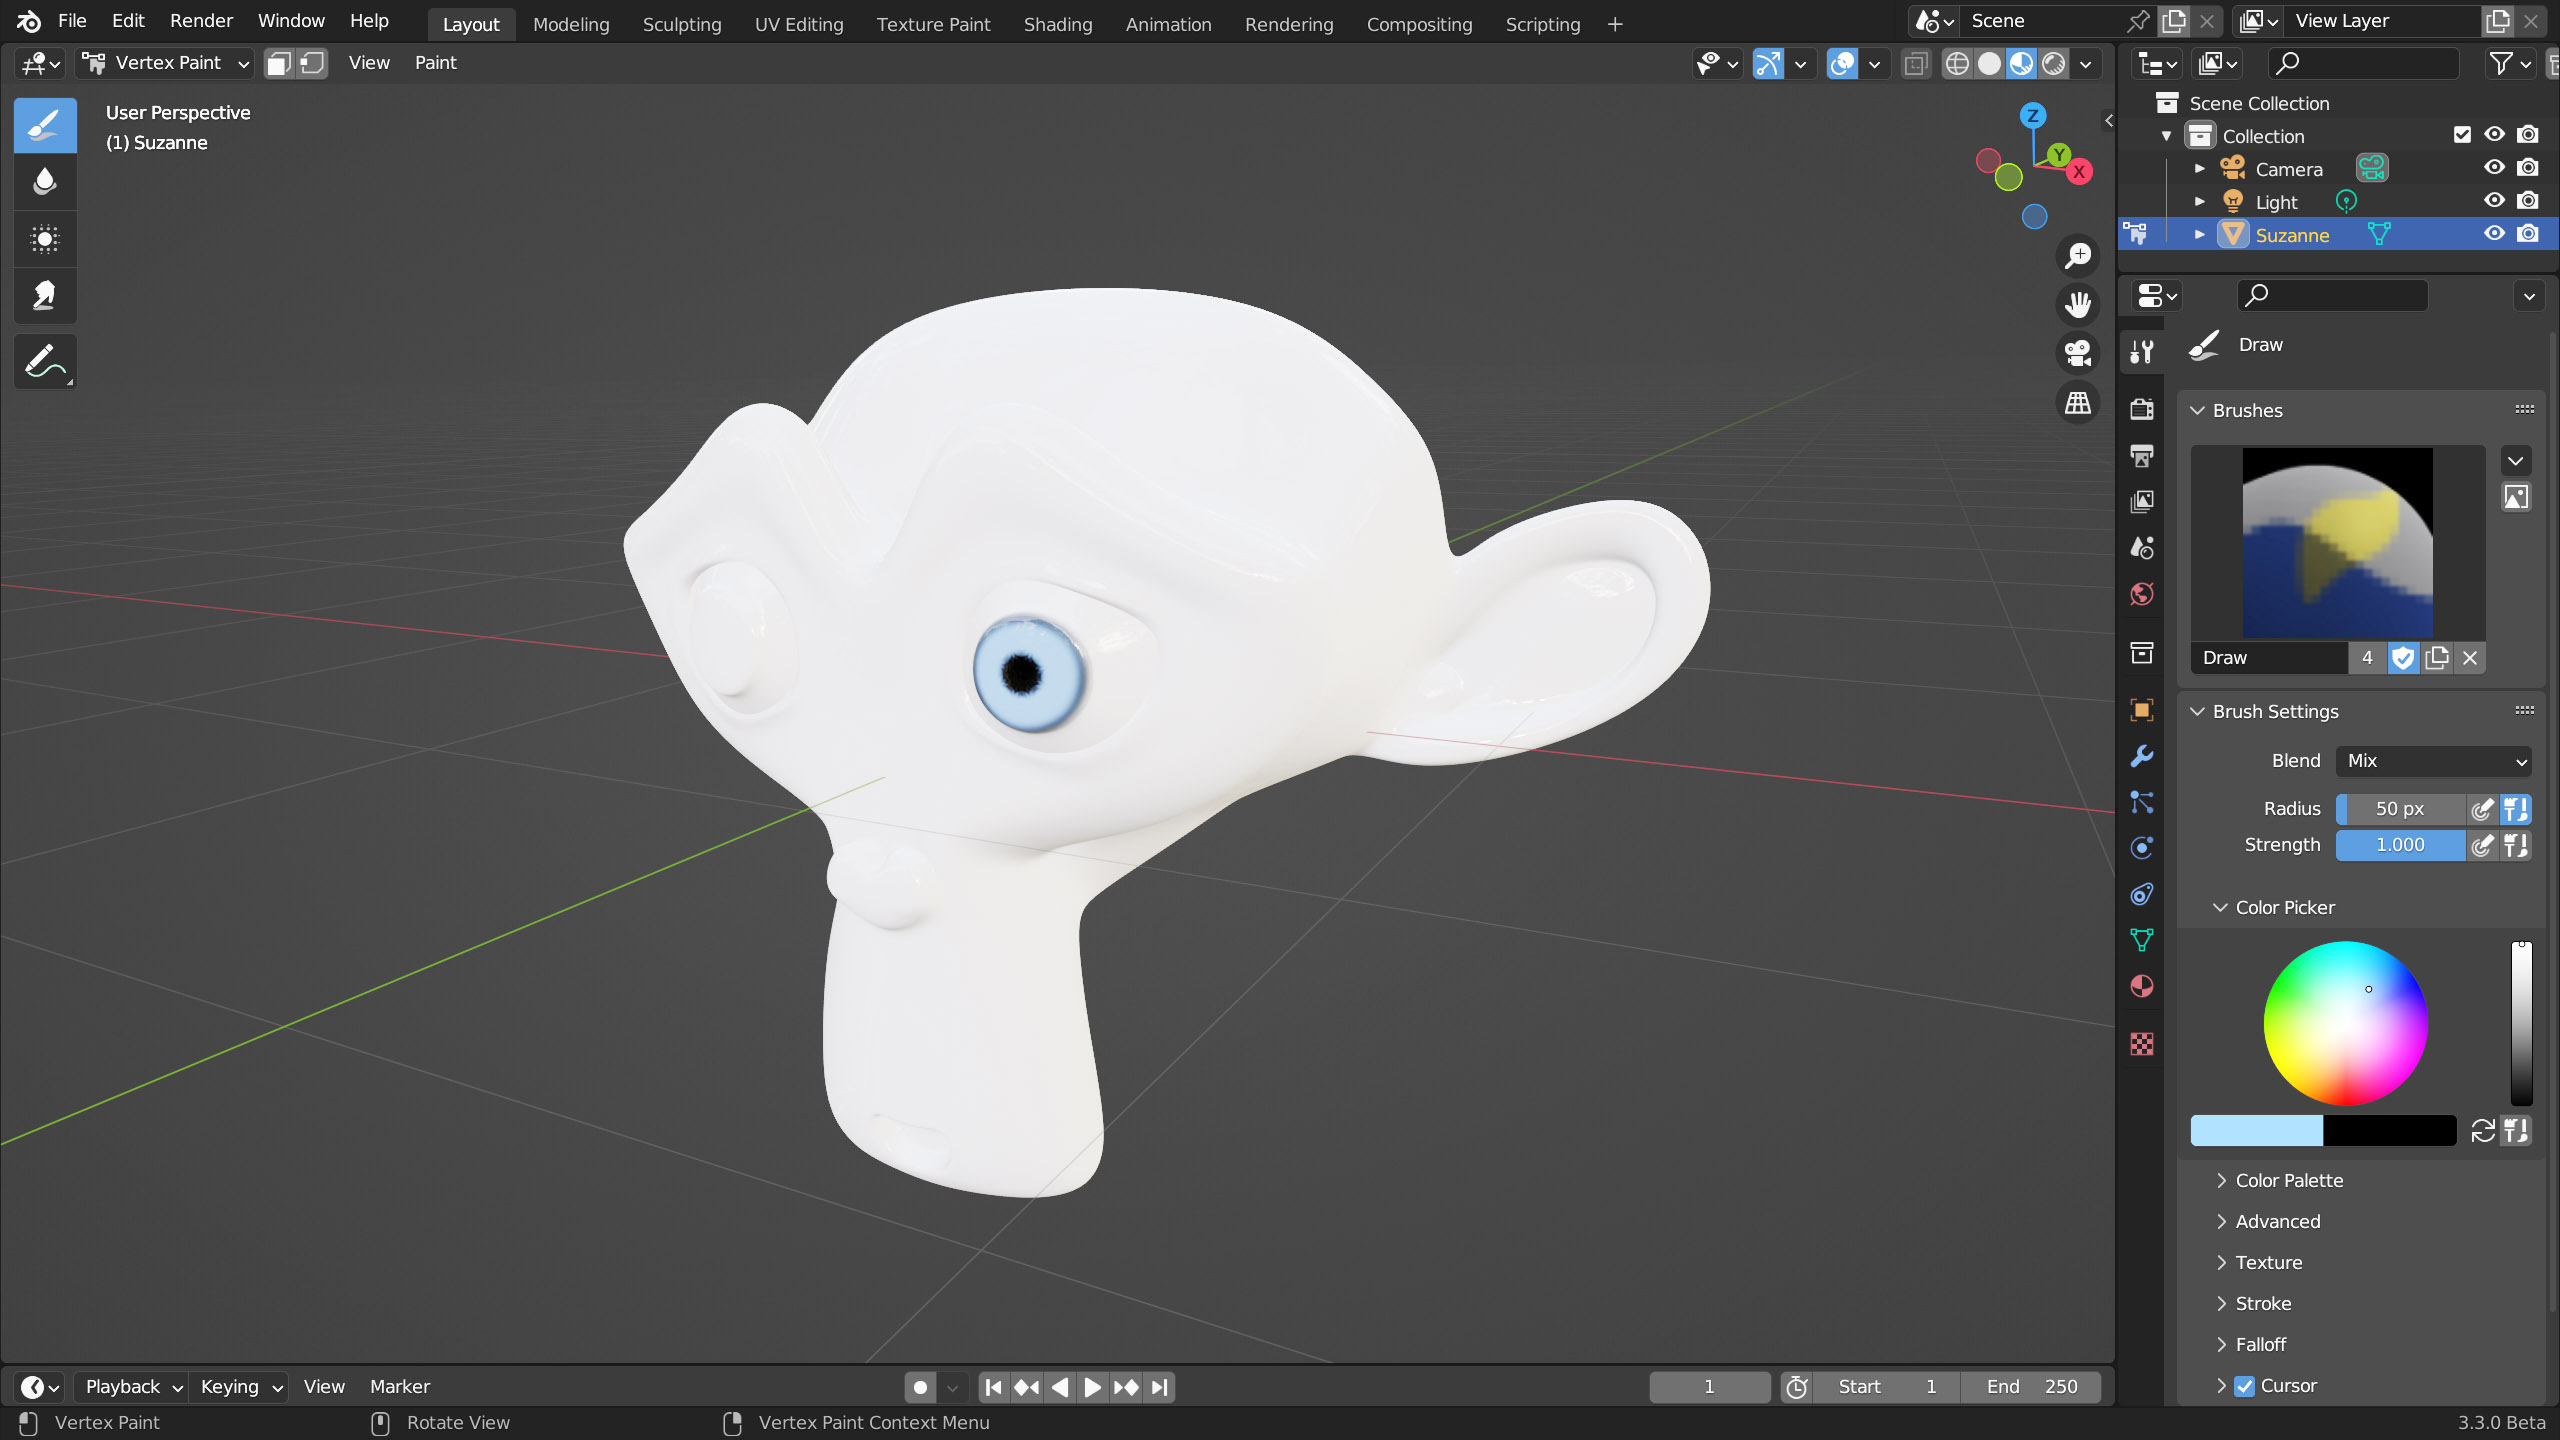
In the left toolbar, we find the usual painting tools whose options are located in the Tools context of the properties. Everything is very similar to the 2D/3D painting modes seen so far. In the top image, you can see that simply applying the brush on a vertex of the cube, the surfaces that integrated the vertex are partially colored. For a more in-depth test, simply divide a monkey primitive with subdivision surface (this must be applied before switching to vertex paint).
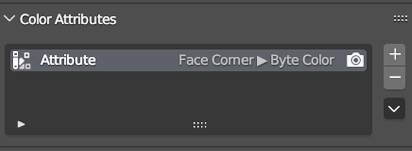
If you change the shading mode of the viewport and/or return to Object Mode, you will notice that the painted areas will disappear. Select the mesh and go to the Object Data context of the properties, the ![]() icon in the Color Attributes panel, you will find the group of painted vertices under the name Attribute (which you can change).
icon in the Color Attributes panel, you will find the group of painted vertices under the name Attribute (which you can change).
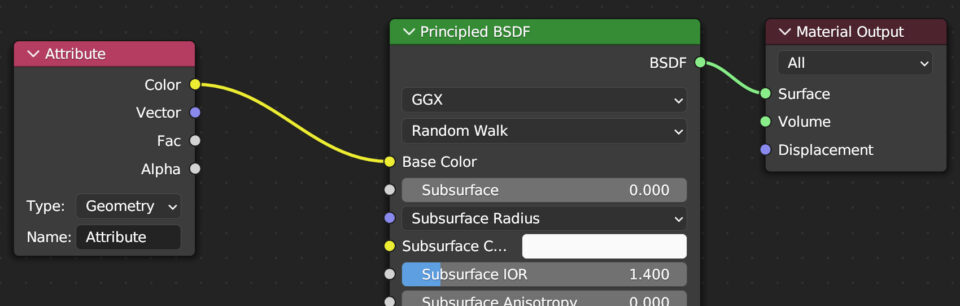
At this point, all you need to do is use the Attribute node as shown in the following image, being careful to correctly write (respecting uppercase and lowercase) the name of the Vertex Colors.
Obviously, it is also possible to paint on surfaces whose materials include textures (bitmap or procedural) exactly as in the image below. In this case, you will need to use the MixRGB node to mix the color sockets of the Image Texture and Attribute nodes, using the fac of the latter

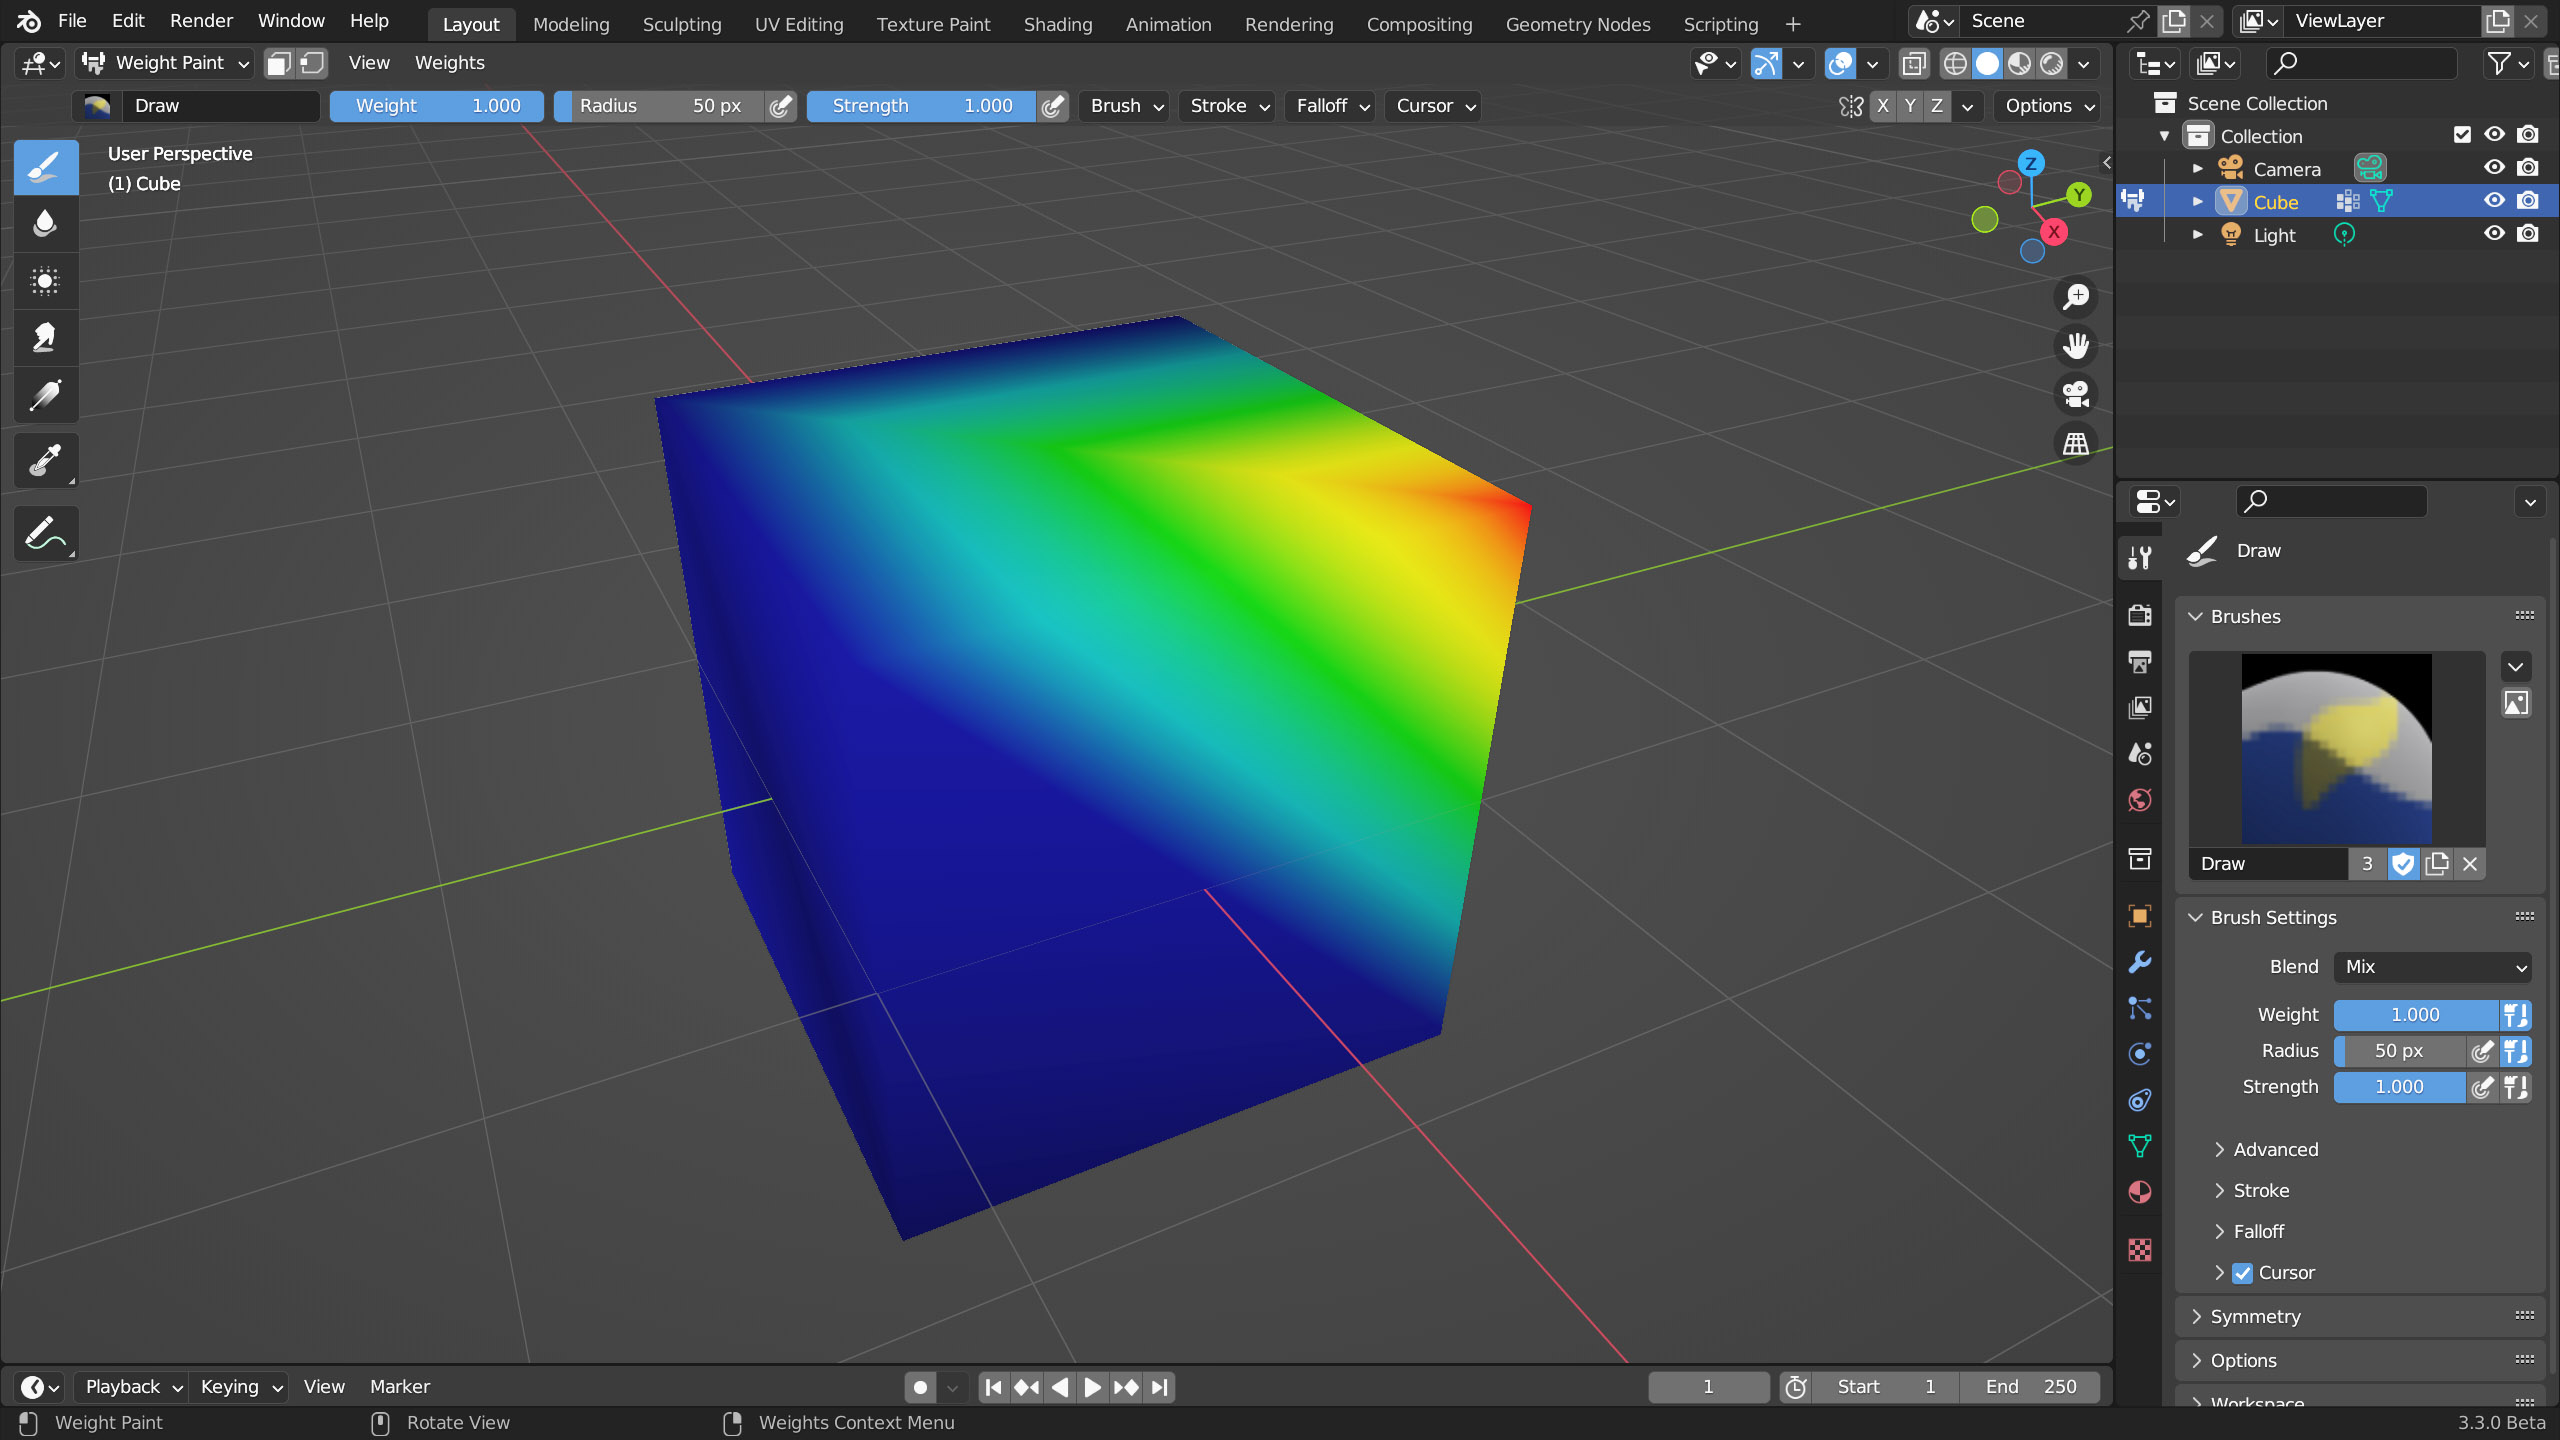
Weight Painting looks almost identical to Vertex Painting, except that in this mode, the model appears entirely blue, and the effect of the brush is to color the vertices with shades from blue to green and from green to red. The purpose of this mode is not to paint the model like in Texture/Vertex painting, and it will have no effect on the material, as Weight Painting only has the function of assigning weights to the vertices of the mesh to modulate subsequent transformations or effects of various kinds. The weights will be zero in correspondence with the Blue to progressively grow up to the maximum (1) for the parts of the model colored in red. Conceptually, Weight Painting has connections with vertex groups, in fact, after drawing the distribution of weights, a group with the involved vertices will be automatically created. On the other hand, when creating any group of vertices, we can assign them a weight with a default Weight value of one.
![]()
Next paragraph
Previous paragraph
Back to Index
Wishing you an enjoyable and productive study with Blender, I would like to remind you that you can support this project in two ways: by making a small donation through PayPal or by purchasing the professionally formatted and optimized for tablet viewing PDF version on Lulu.com