Take any image with a resolution expressed as a power of two (more preferred by GPUs, e.g., 1024×1024) and with an active alpha channel (PNG format) with large transparent areas, as shown in the example next to it. Blender will display such images in the UV Editor by assigning a checkerboard pattern to the transparent areas, just as happens in many other graphics software.
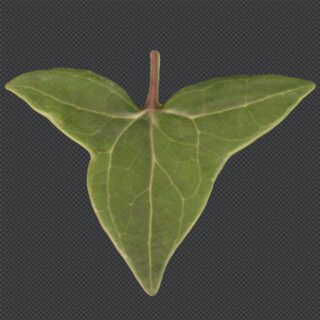
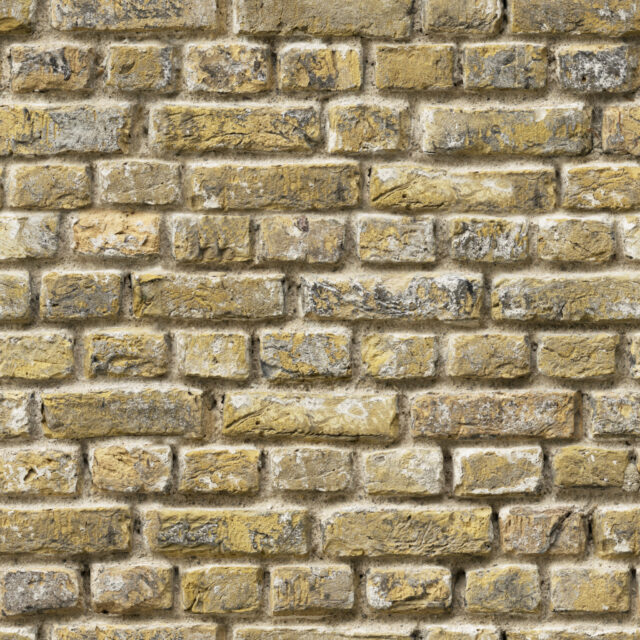
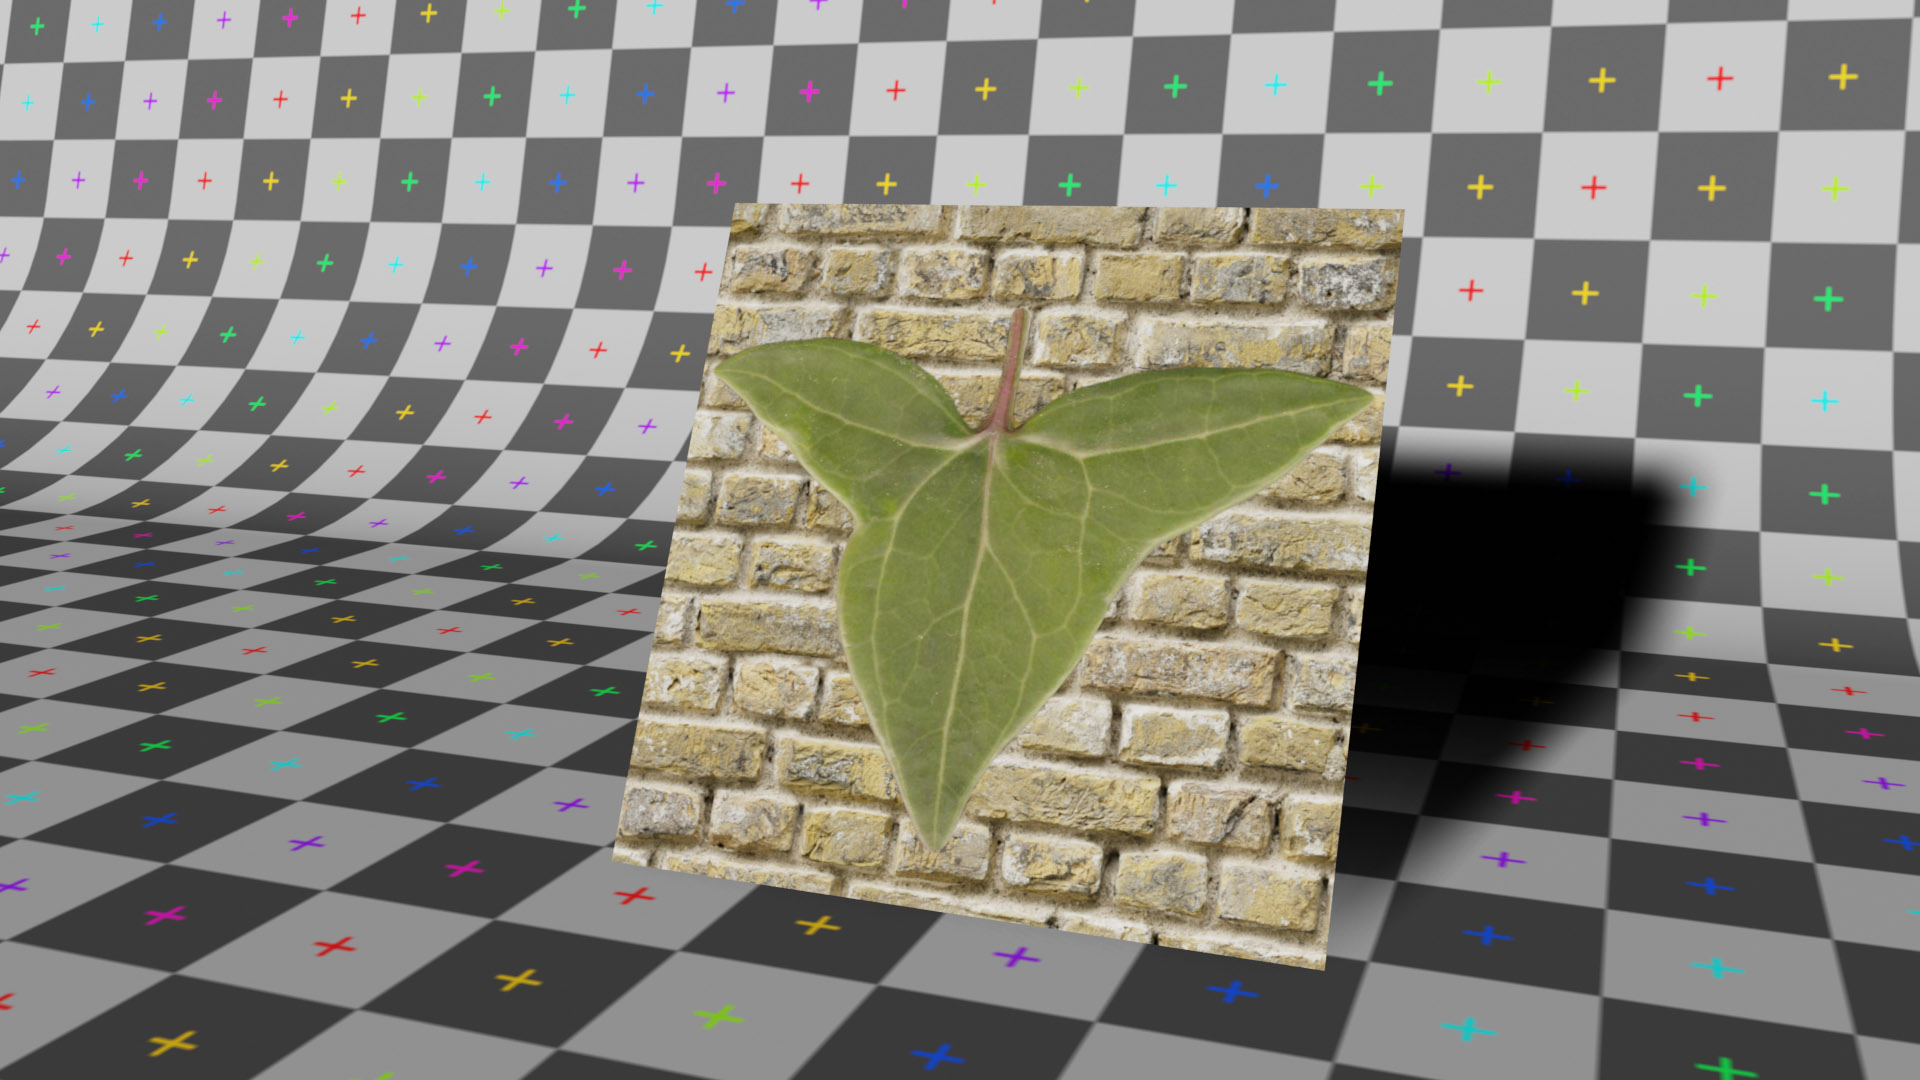
Let’s suppose we want to use this image as a texture on a surface that already has its own base color and/or other texture. In this case, we expect the original color, under the transparent areas, to remain visible. For example, let’s take the Plane primitive with the following image mapped to the Base Color socket:
To properly apply our transparent texture, we will need to use the alpha channel. Each pixel in the image is associated with a value between 0 and 1 that indicates its degree of opacity. All we need to do is linearly mix the two textures using the MixRGB node, as shown in the image.
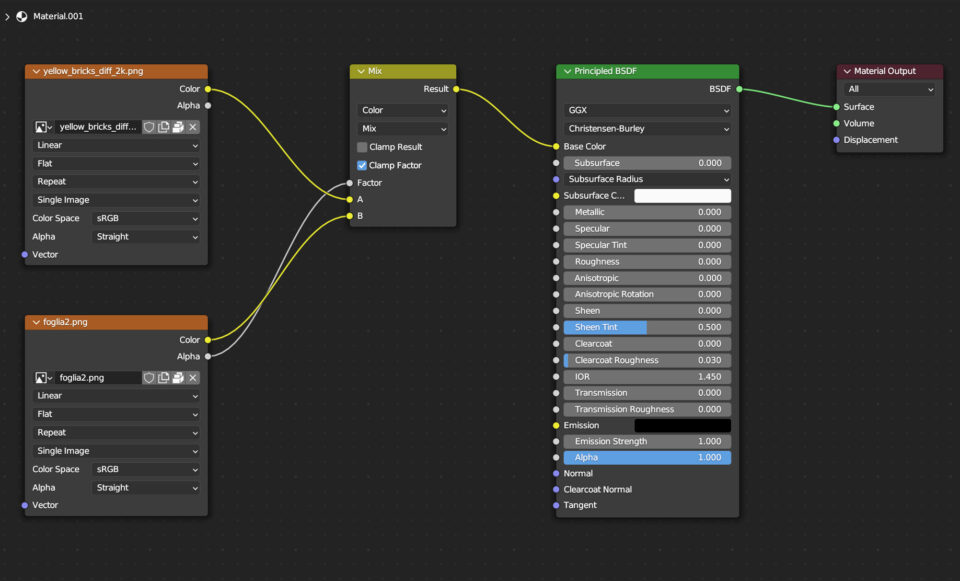
We see the Alpha socket of the leaf texture connected to the fac socket of the MixRGB node. The same procedure should also be repeated for any intensity maps connected to roughness, specular, etc., including normal maps.
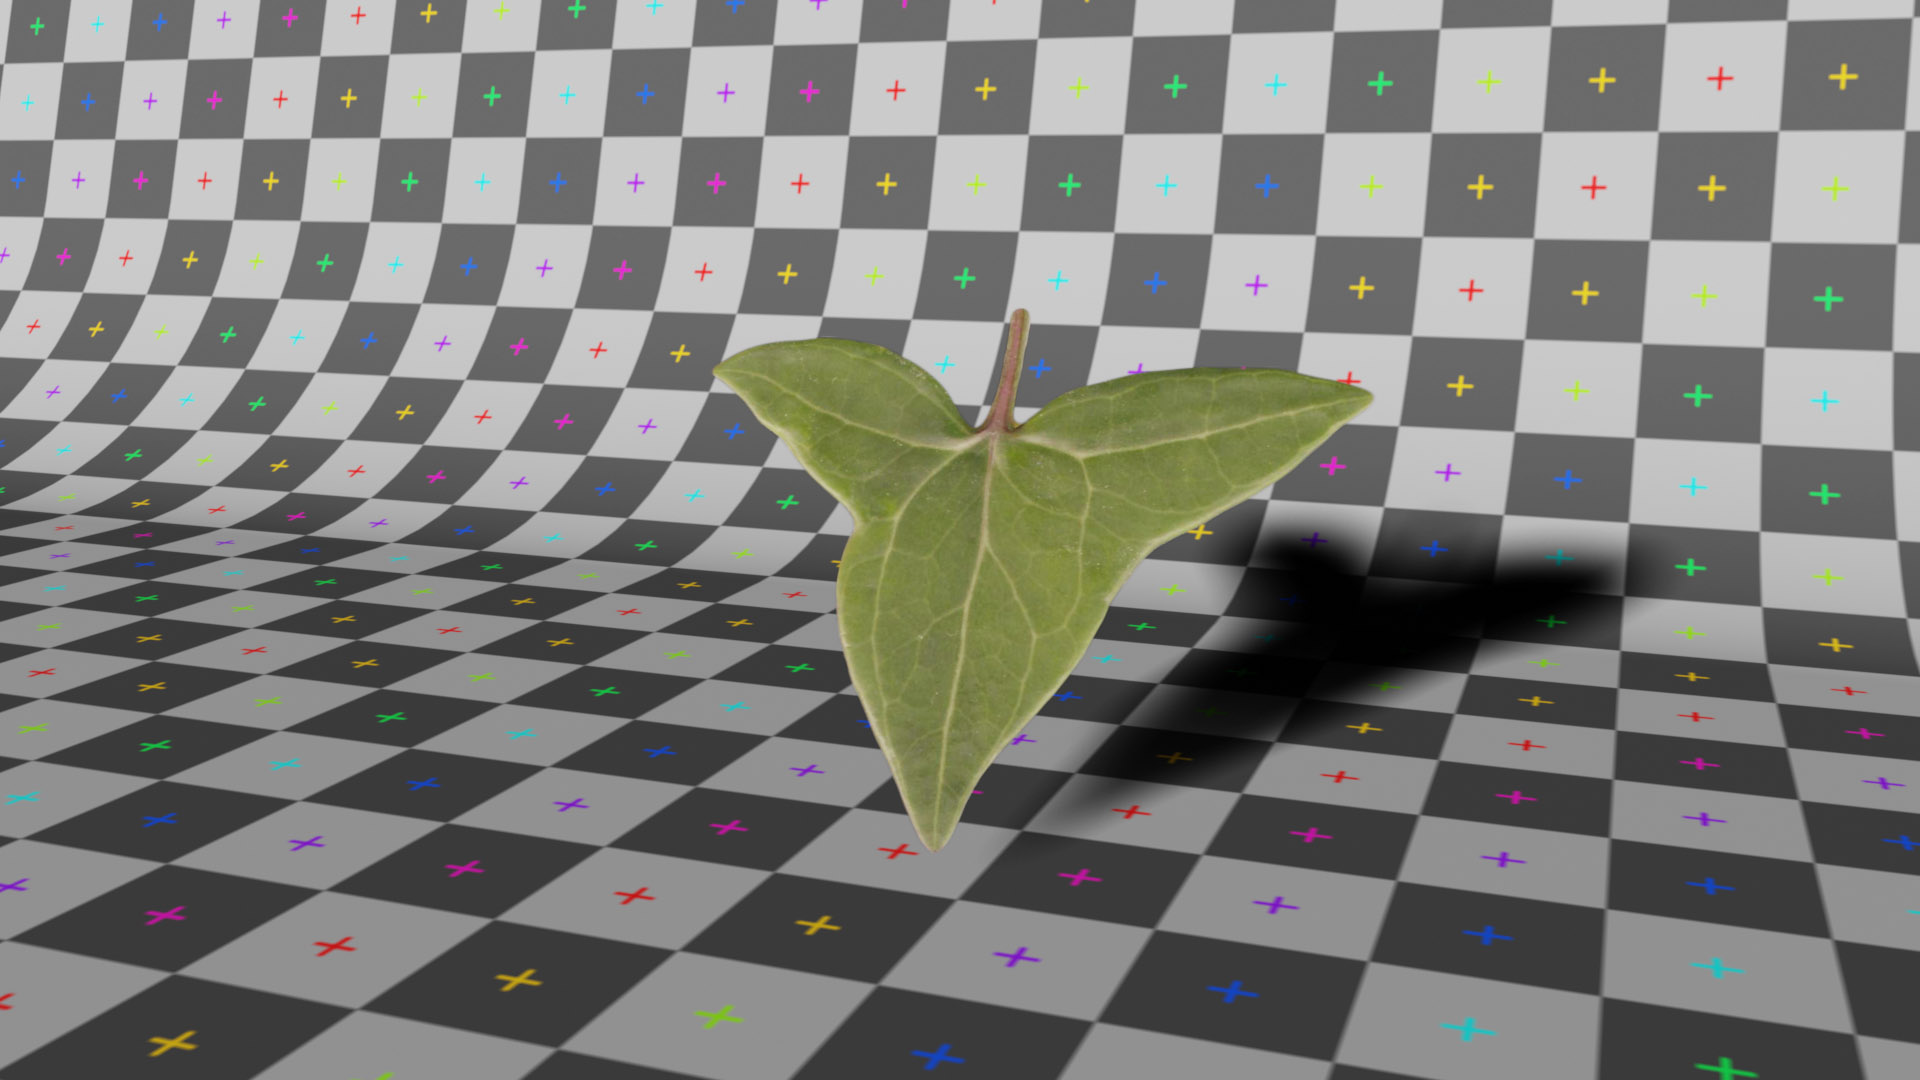
By using the surface unwrapping (in this case a simple square), we can place the texture wherever we want and adjust its size and rotation. If we use the Mapping node (Vector nodes), we can do this
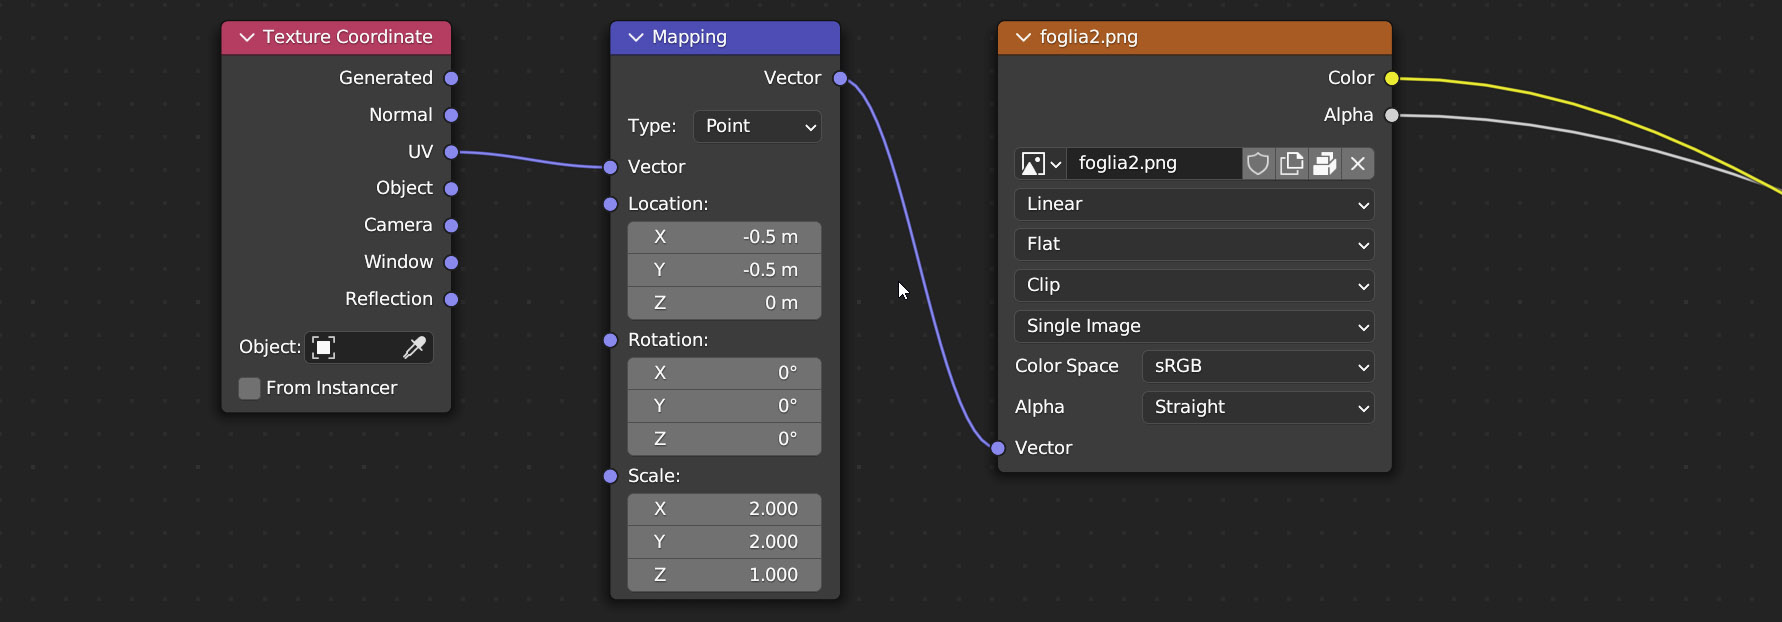
If we try to increase the Scale X and Y values, we will see the texture shrink and repeat itself along the entire surface
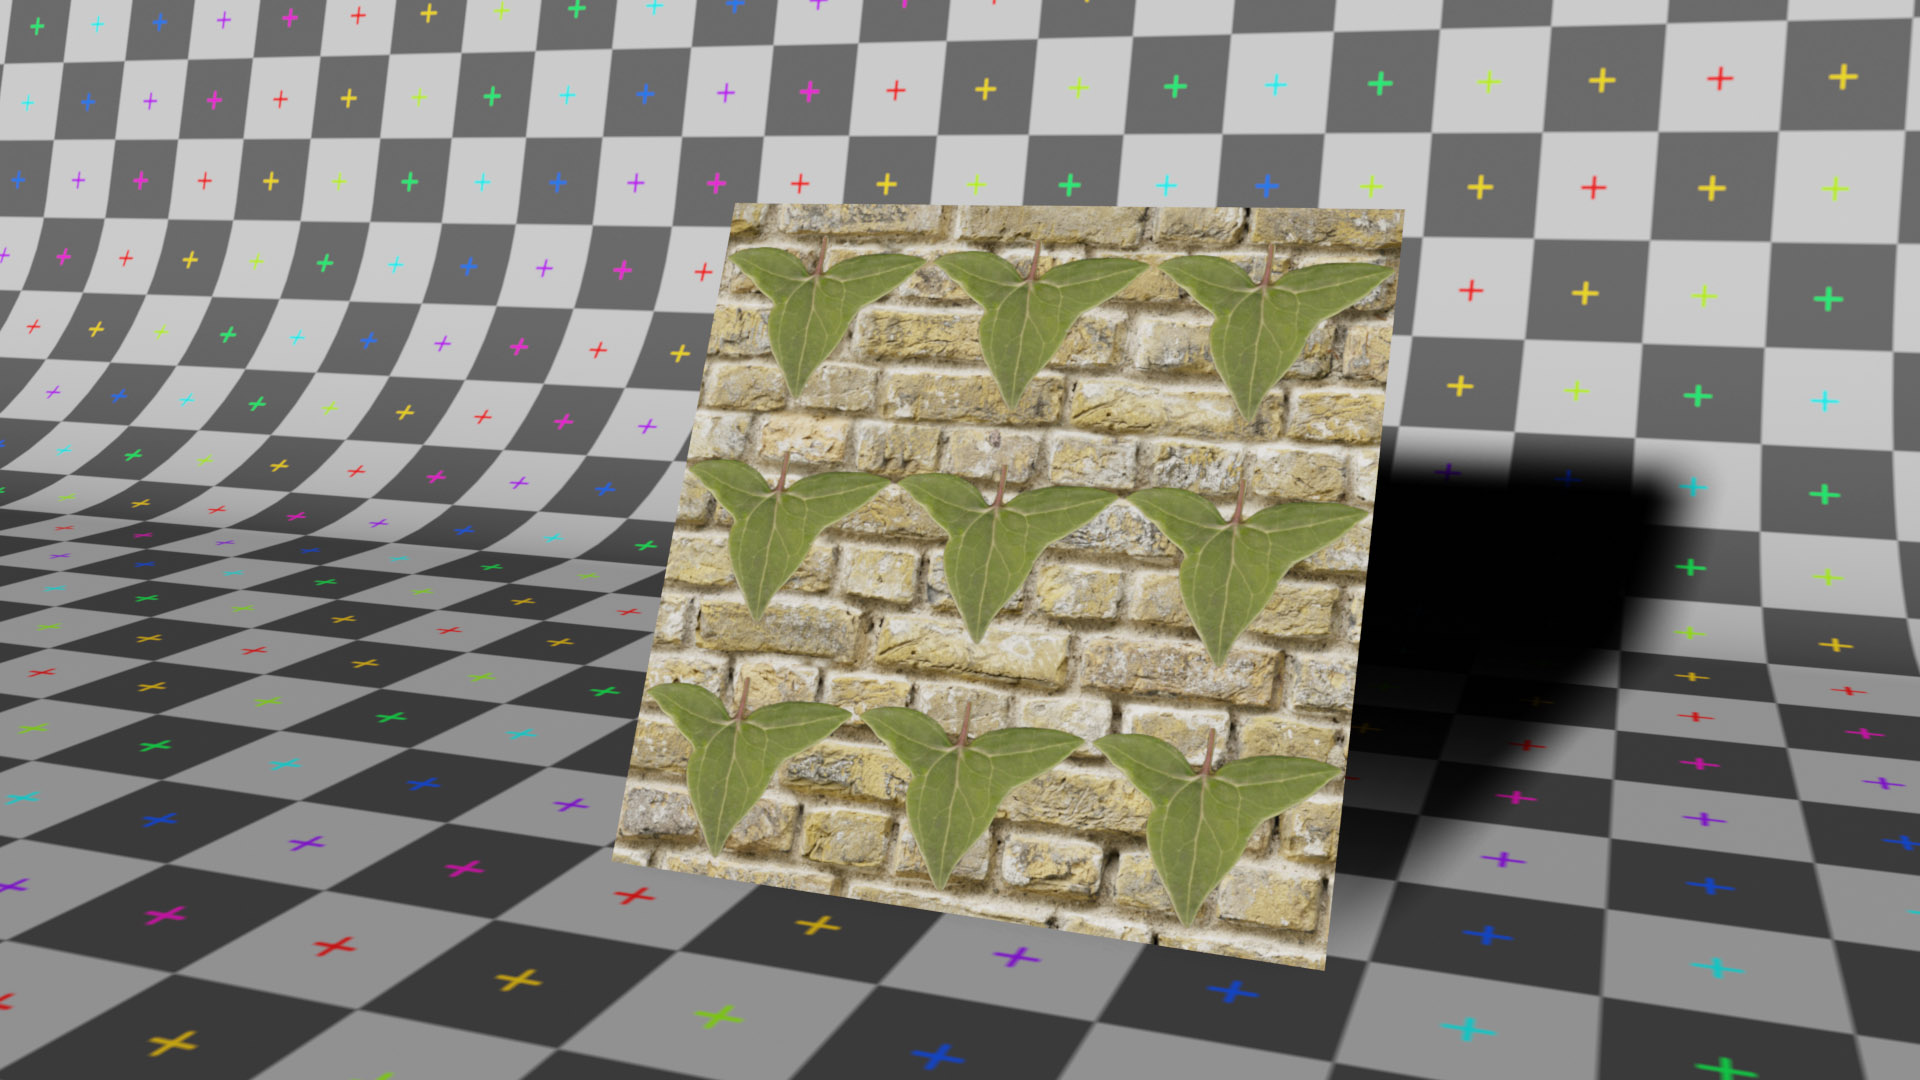
This happens because in the Image Texture node, the extension field is set to Repeat by default. To apply the texture only once, we just need to set it to Clip and then use the mapping node to vary the Location, Rotation, and Scale parameters.

Now let’s suppose we want to use our image with transparent areas in this other way:
To make the plane transparent and show only the opaque areas, we need to define a material conceptually identical to the one seen before, where we will use the alpha channel of the texture to mix the principled shader and the Transparent BSDF shader. So, we will meet two new shader nodes: Mix Shader and the Transparent mentioned above
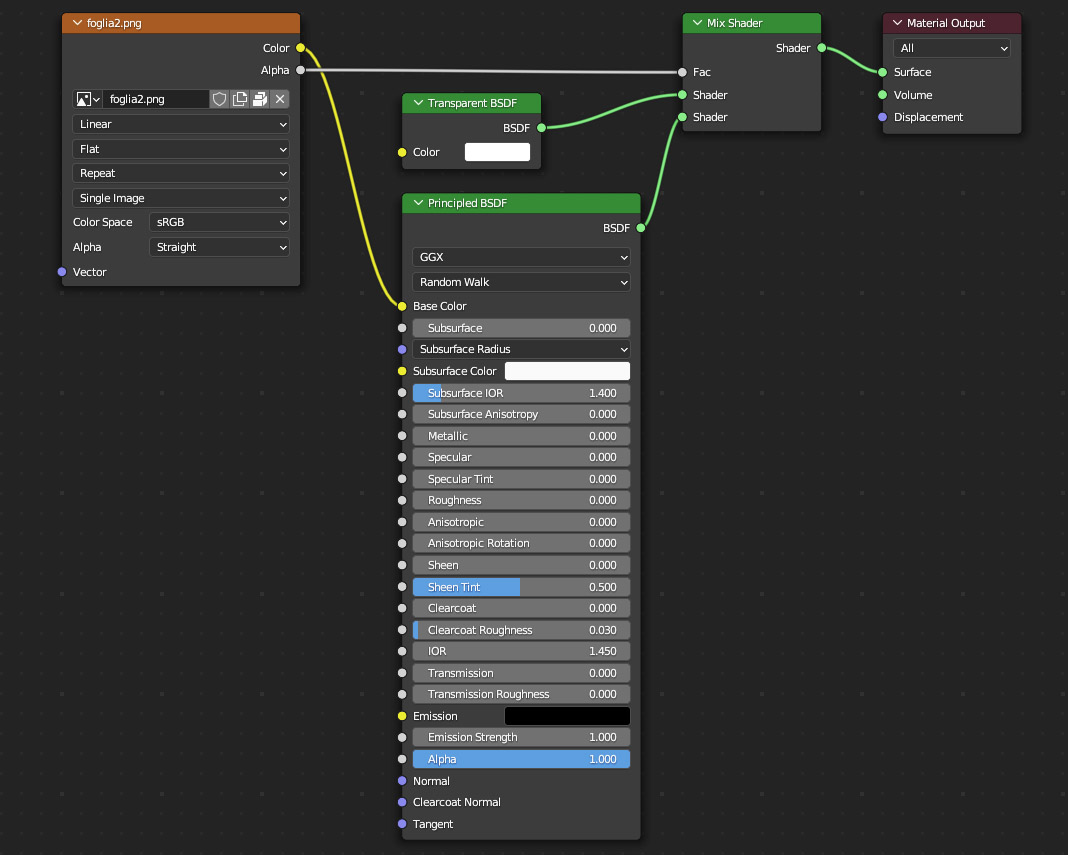
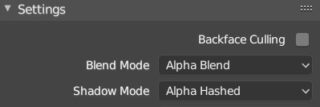
Mix Shader combines the shaders connected to the two input sockets (green) freely, depending on the value of Fac, which in this case is driven by the alpha channel of the texture. The Transparent BSDF shader, as you can easily imagine, is a simple transparency without refraction. In this case, the transparency is not determined by a numerical parameter like the alpha channel, but by the color set in the node. Only white color will have complete transparency. In the image shown before, we notice that the shadows follow the outline of the opaque area so much as to not make us think that it is a simple square surface. To get the transparency of the shadows, we just need to go to the material context of the properties, and more precisely to the Setting panel where we need to set: Alpha Blend in Blend Mode, Alpha Hashed or Alpha Clip in Shadow Mode
Next paragraph
Previous paragraph
Back to Index
Wishing you an enjoyable and productive study with Blender, I would like to remind you that you can support this project in two ways: by making a small donation through PayPal or by purchasing the professionally formatted and optimized for tablet viewing PDF version on Lulu.com