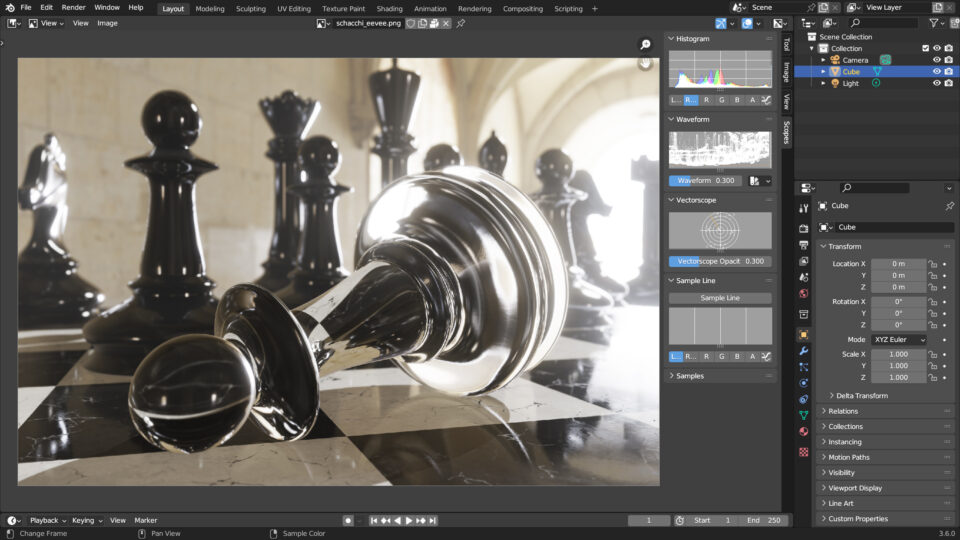
Let’s analyze the Image Editor window represented by the icon ![]() in the selector on the left in the header of any window. This editor is the environment dedicated to the processing of 2D graphics, that is, where to draw or retouch textures by hand, maybe with the aid of a graphics tablet. Despite the existence of specific software such as Gimp or Krita, certainly more suitable for retouching or drawing, the philosophy of Blender is to provide the user with all the tools useful for the complete realization of 3D graphic content, which obviously also include the manipulation and creation of bitmap images to be used as Textures. The Image Editor has three main modes that we can choose through the selector
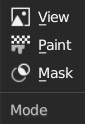
in the selector on the left in the header of any window. This editor is the environment dedicated to the processing of 2D graphics, that is, where to draw or retouch textures by hand, maybe with the aid of a graphics tablet. Despite the existence of specific software such as Gimp or Krita, certainly more suitable for retouching or drawing, the philosophy of Blender is to provide the user with all the tools useful for the complete realization of 3D graphic content, which obviously also include the manipulation and creation of bitmap images to be used as Textures. The Image Editor has three main modes that we can choose through the selector ![]() on the left of the header.
on the left of the header.
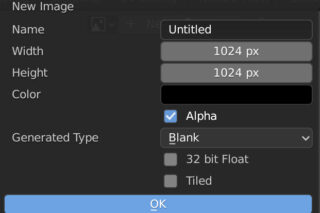
The View mode is a simple image viewer. We can view any image already in use in our project (textures, renders, etc.) or load others from the hard disk or create new ones. When the Editor displays any image, in the sidebar to the right of the window (button N) we find the Image and Scopes tabs. The first shows all the information and metadata of the image, the second provides us with some useful tools such as the histogram. Let’s now move on to the Paint mode and immediately create a new image by clicking the + new button in the center of the header. We can decide the size, the background color and the presence or absence of the Alpha channel.
The toolbar on the left side of the window (T key) includes some useful tools for drawing textures.

After clicking on one of these tools, you will find all of the options for that tool in the Tool tab of the sidebar (N key) where you can enable the pressure levels of the graphics tablet for both the strength and the radius of the brush.
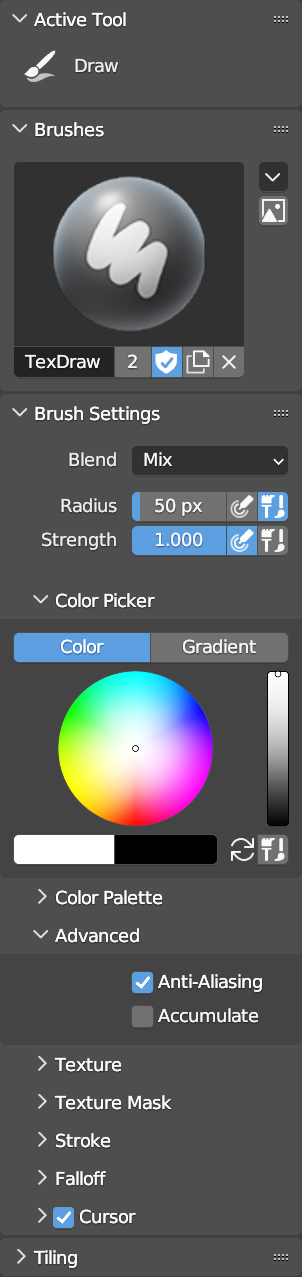
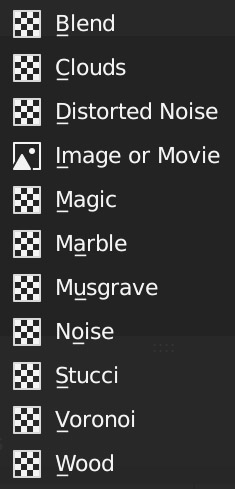
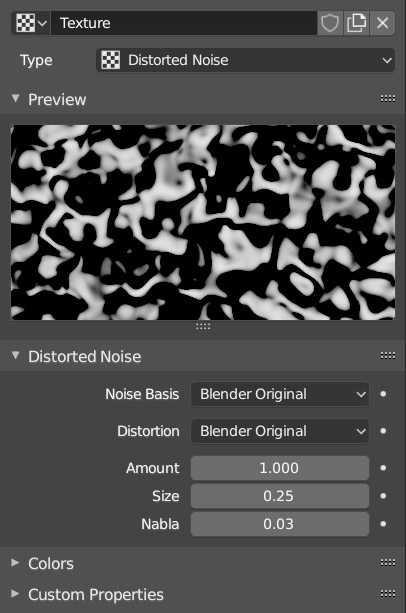
In addition, we will decide on the blend mode for when the brush goes over a previous stroke. In the Texture panel, we can use any procedural texture for brush mapping. Textures that we will define in the corresponding context of the properties, icon ![]() . Although similar, these textures should not be confused with those used in the previous paragraphs in the definition of materials.
. Although similar, these textures should not be confused with those used in the previous paragraphs in the definition of materials.
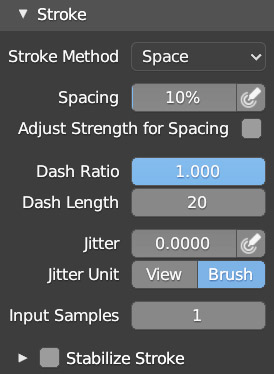
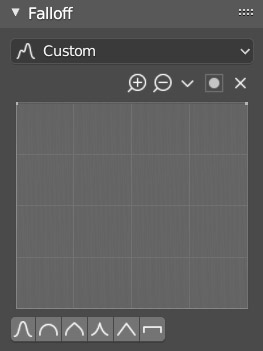
Here we find a wider range of solutions (inherited from the famous Blender-Render engine). Finally, it is possible to choose the type of stroke in the Stroke panel and the profile of the brush’s decay in the Falloff panel.
Switching to the Texture Paint workspace will split the layout into two, with the UV Editor on the left and the 3D View on the right in Texture Paint mode.
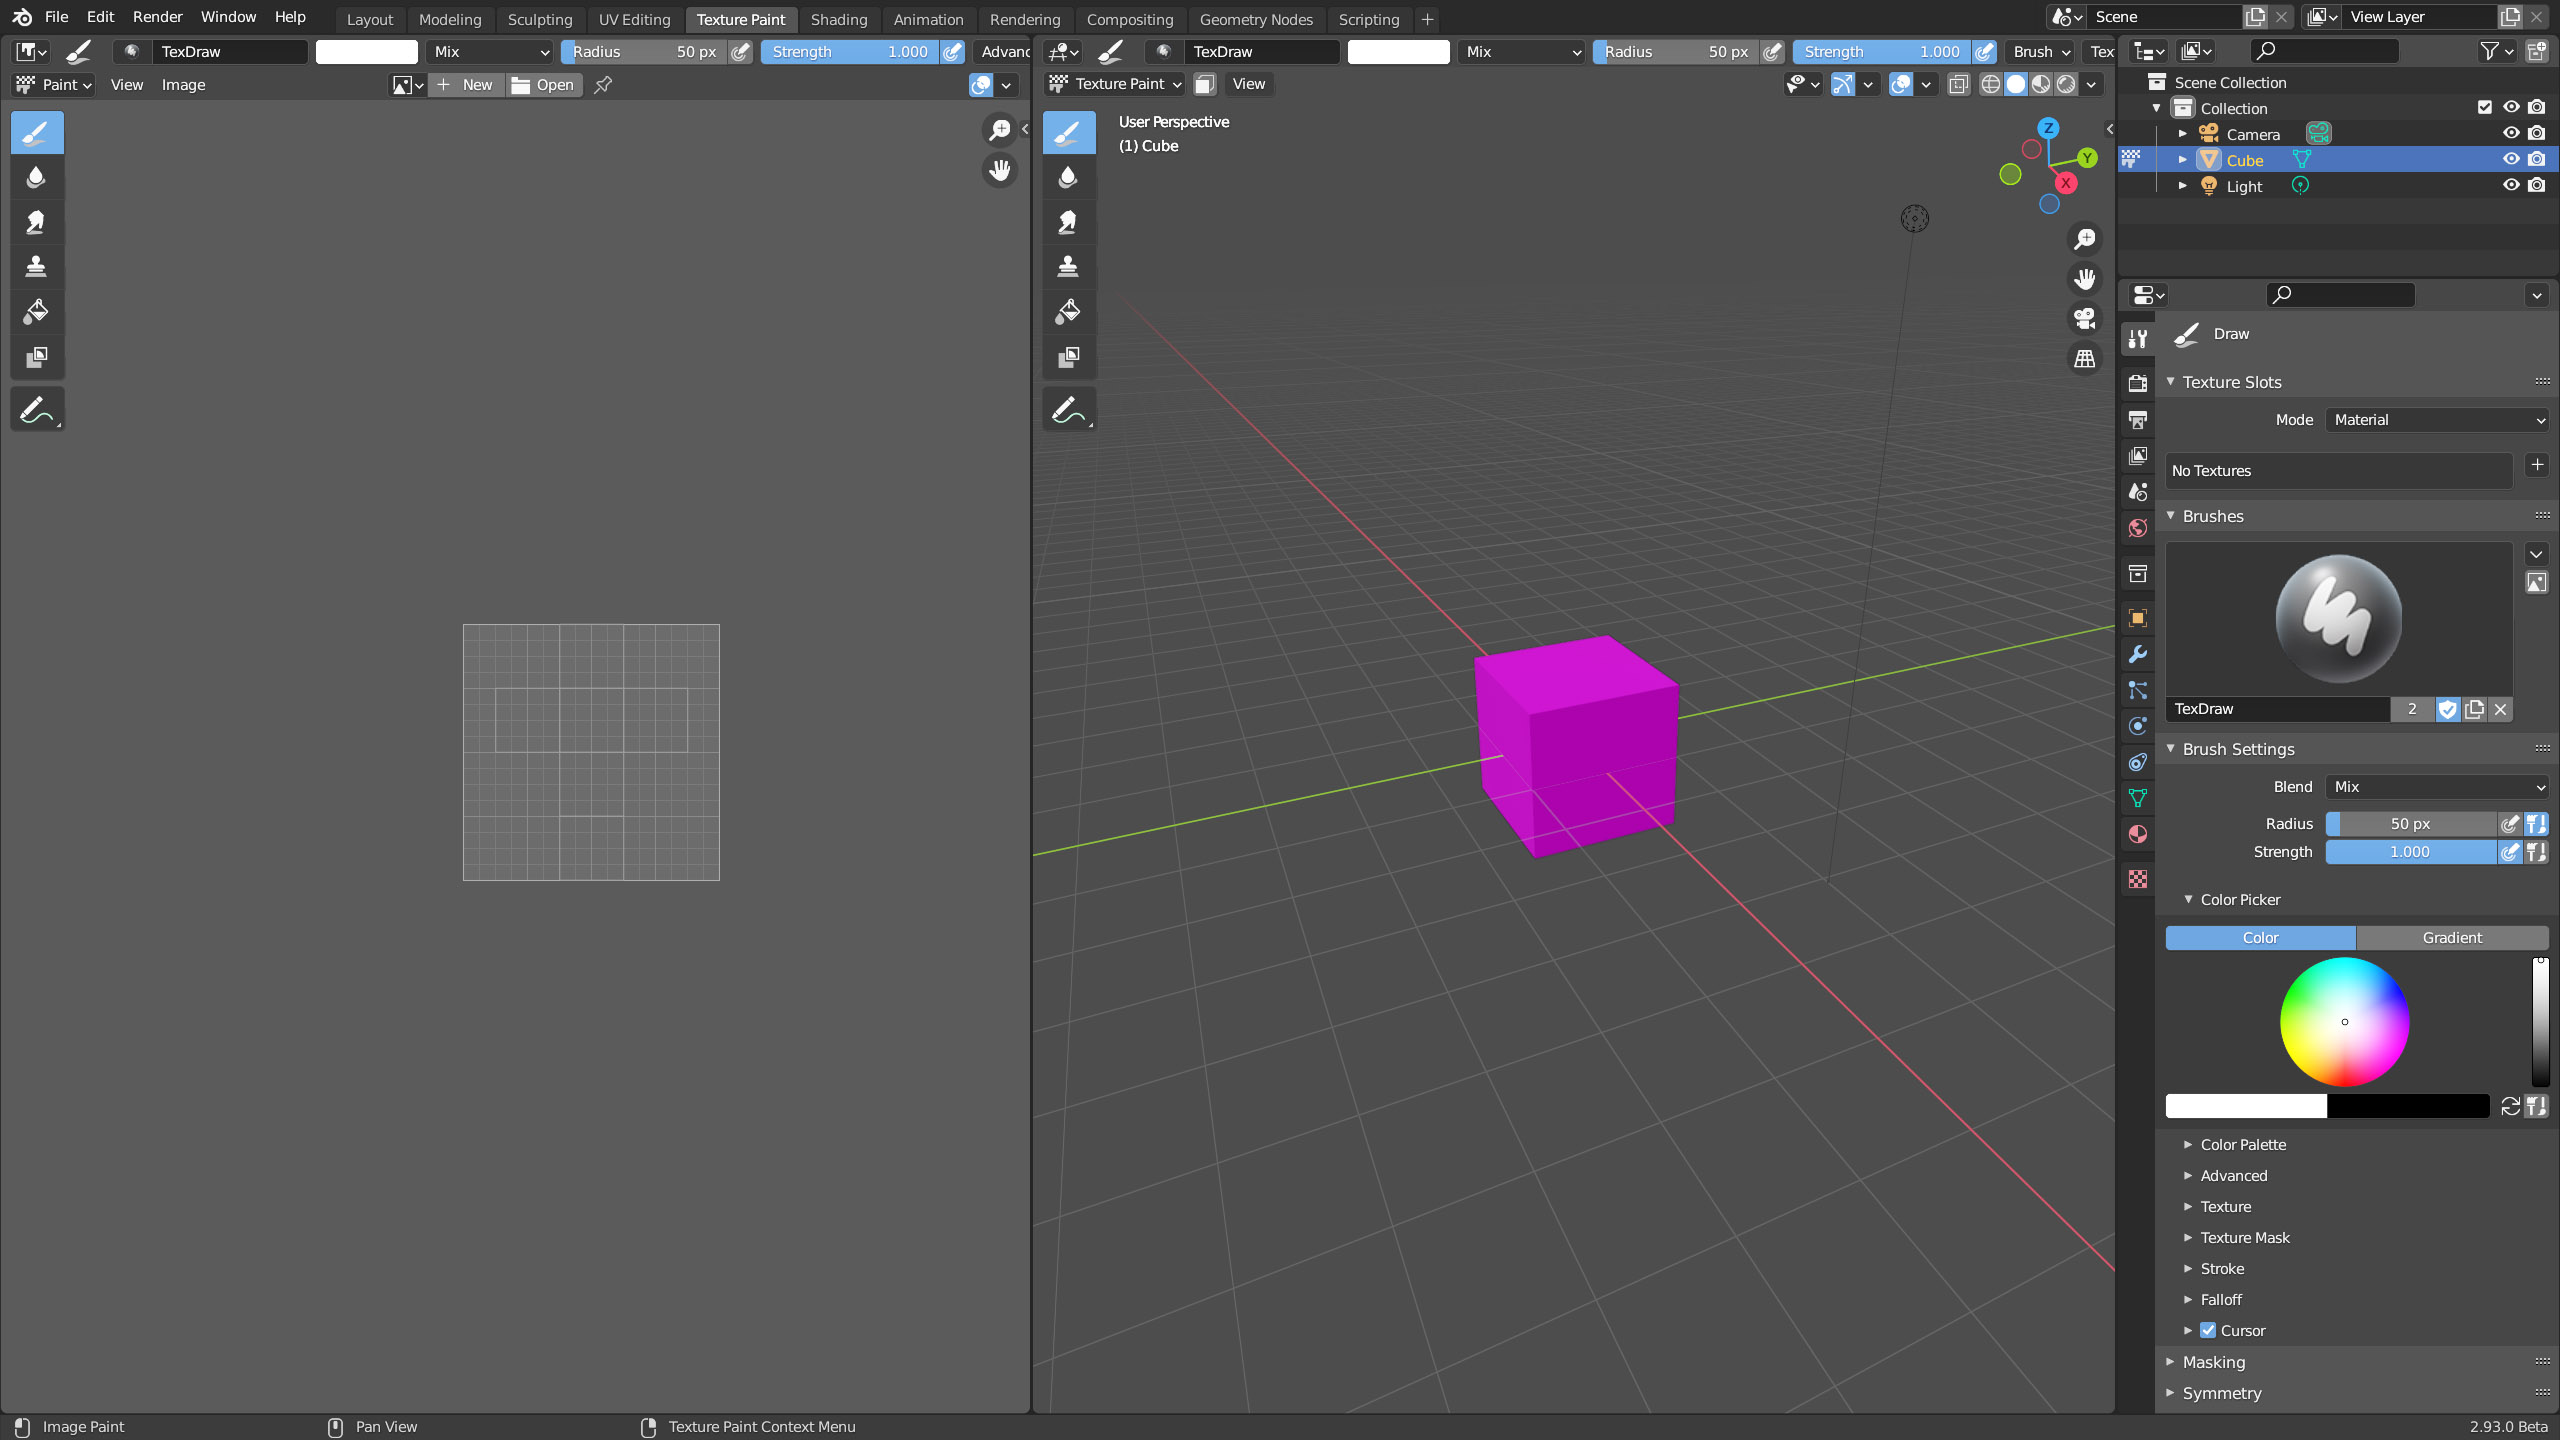
In Texture Paint mode, we can perform 3D painting directly on the 3D view of our Mesh, provided that it has a texture. Let’s start again with the default cube and its classic UV layout (remember that it will always be necessary to have an unwrap in which no face is superimposed on the others, which would certainly happen if we unwrapped the cube without adequate seams). Selecting the Draw tool in the toolbar, we will see the message No Textures appear in the Texture Slots panel in both the Tool tab of the sidebar and in the Active Tool context of the properties (both will have the same function)
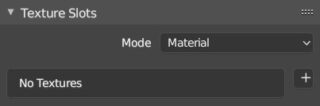
this is due to the lack of a texture necessary for painting. Click on the + symbol next to it to create a new texture to apply to one of the classic parameters necessary for defining materials.
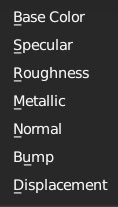
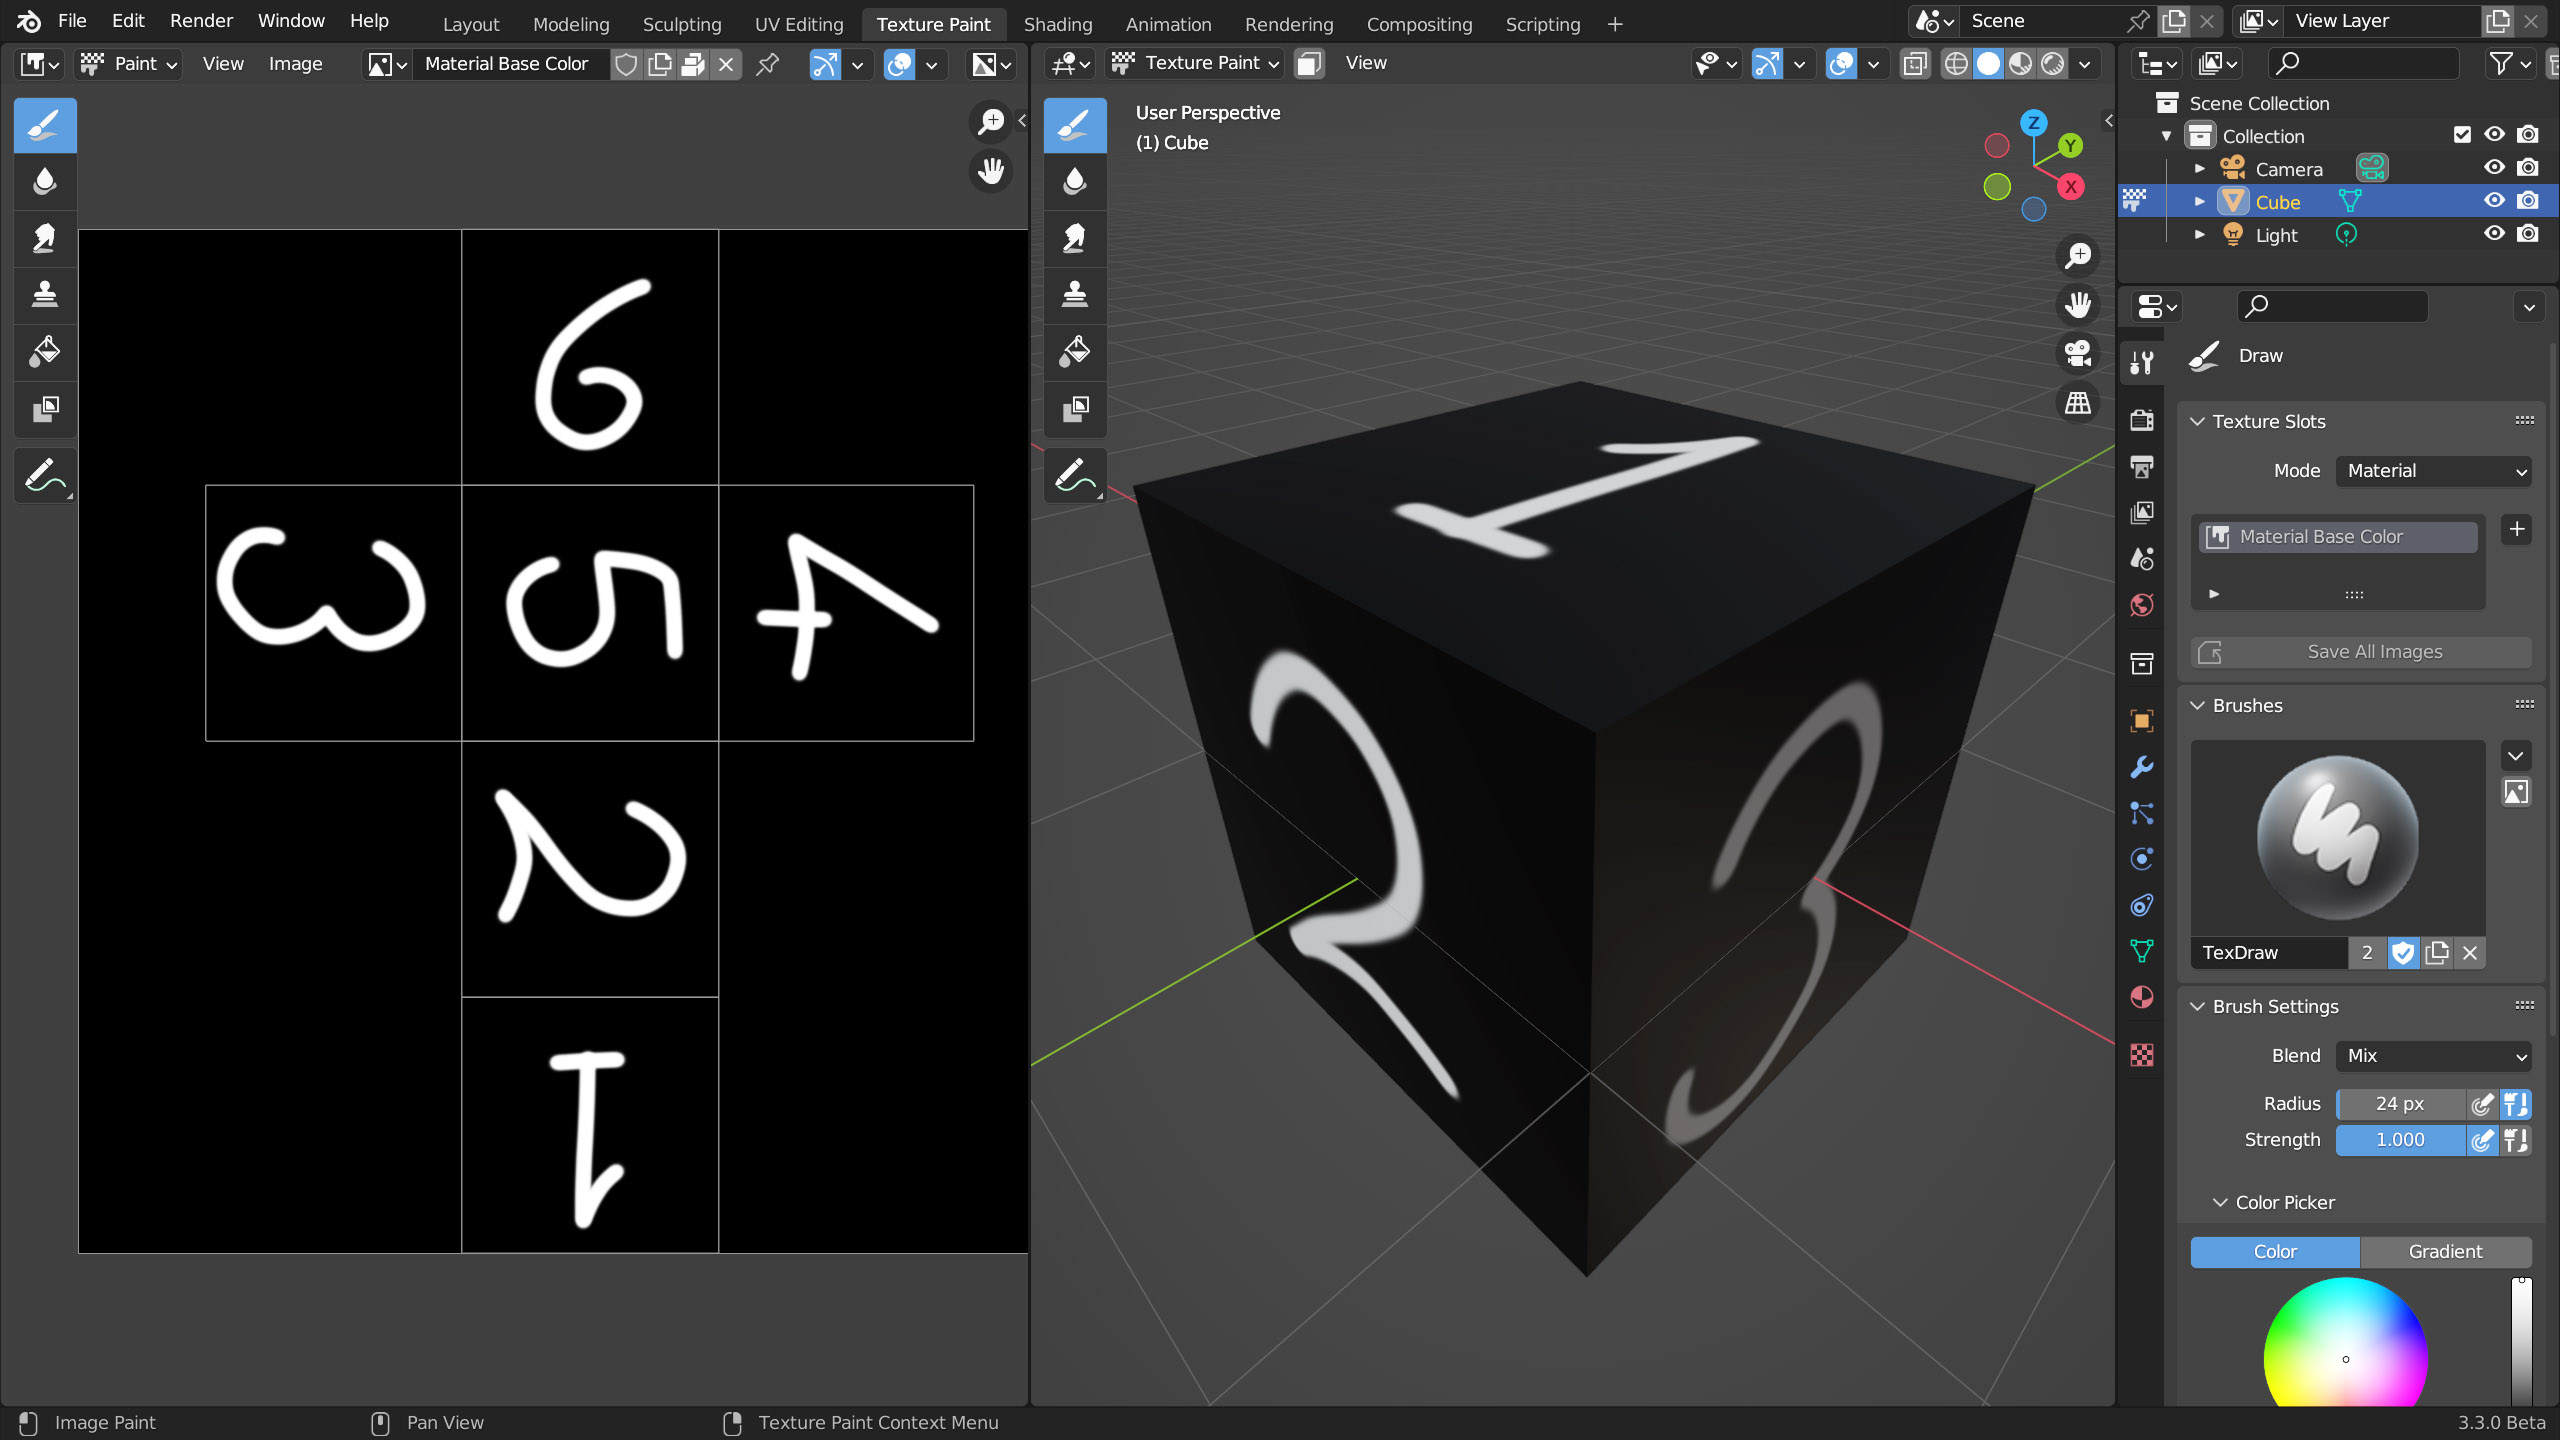
We choose Base Color and start with a simple black or white background. At this point, we can begin to draw on the model directly in the 3D View (in any rendering mode). All of the options previously seen in Paint 2D mode for defining and using the brush are also valid here.
Next paragraph
Previous paragraph
Back to Index
Wishing you an enjoyable and productive study with Blender, I would like to remind you that you can support this project in two ways: by making a small donation through PayPal or by purchasing the professionally formatted and optimized for tablet viewing PDF version on Lulu.com