Select the light present in the default scene and access the Object Data context of the properties through the icon ![]()
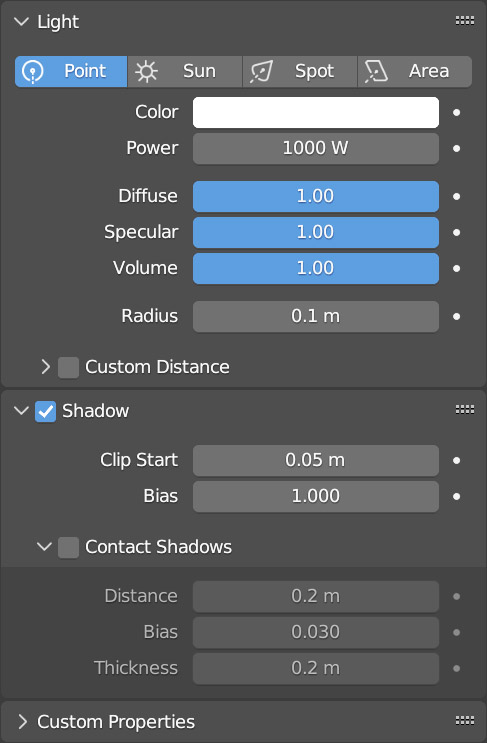
In the Light panel, we find four buttons with which we can choose the type of light source, which in this case is a Point lamp, capable of emitting light in all directions. Finally, it is possible to set the color of the light (by default white), the energy and the degree of reflection by materials with specular reflection.
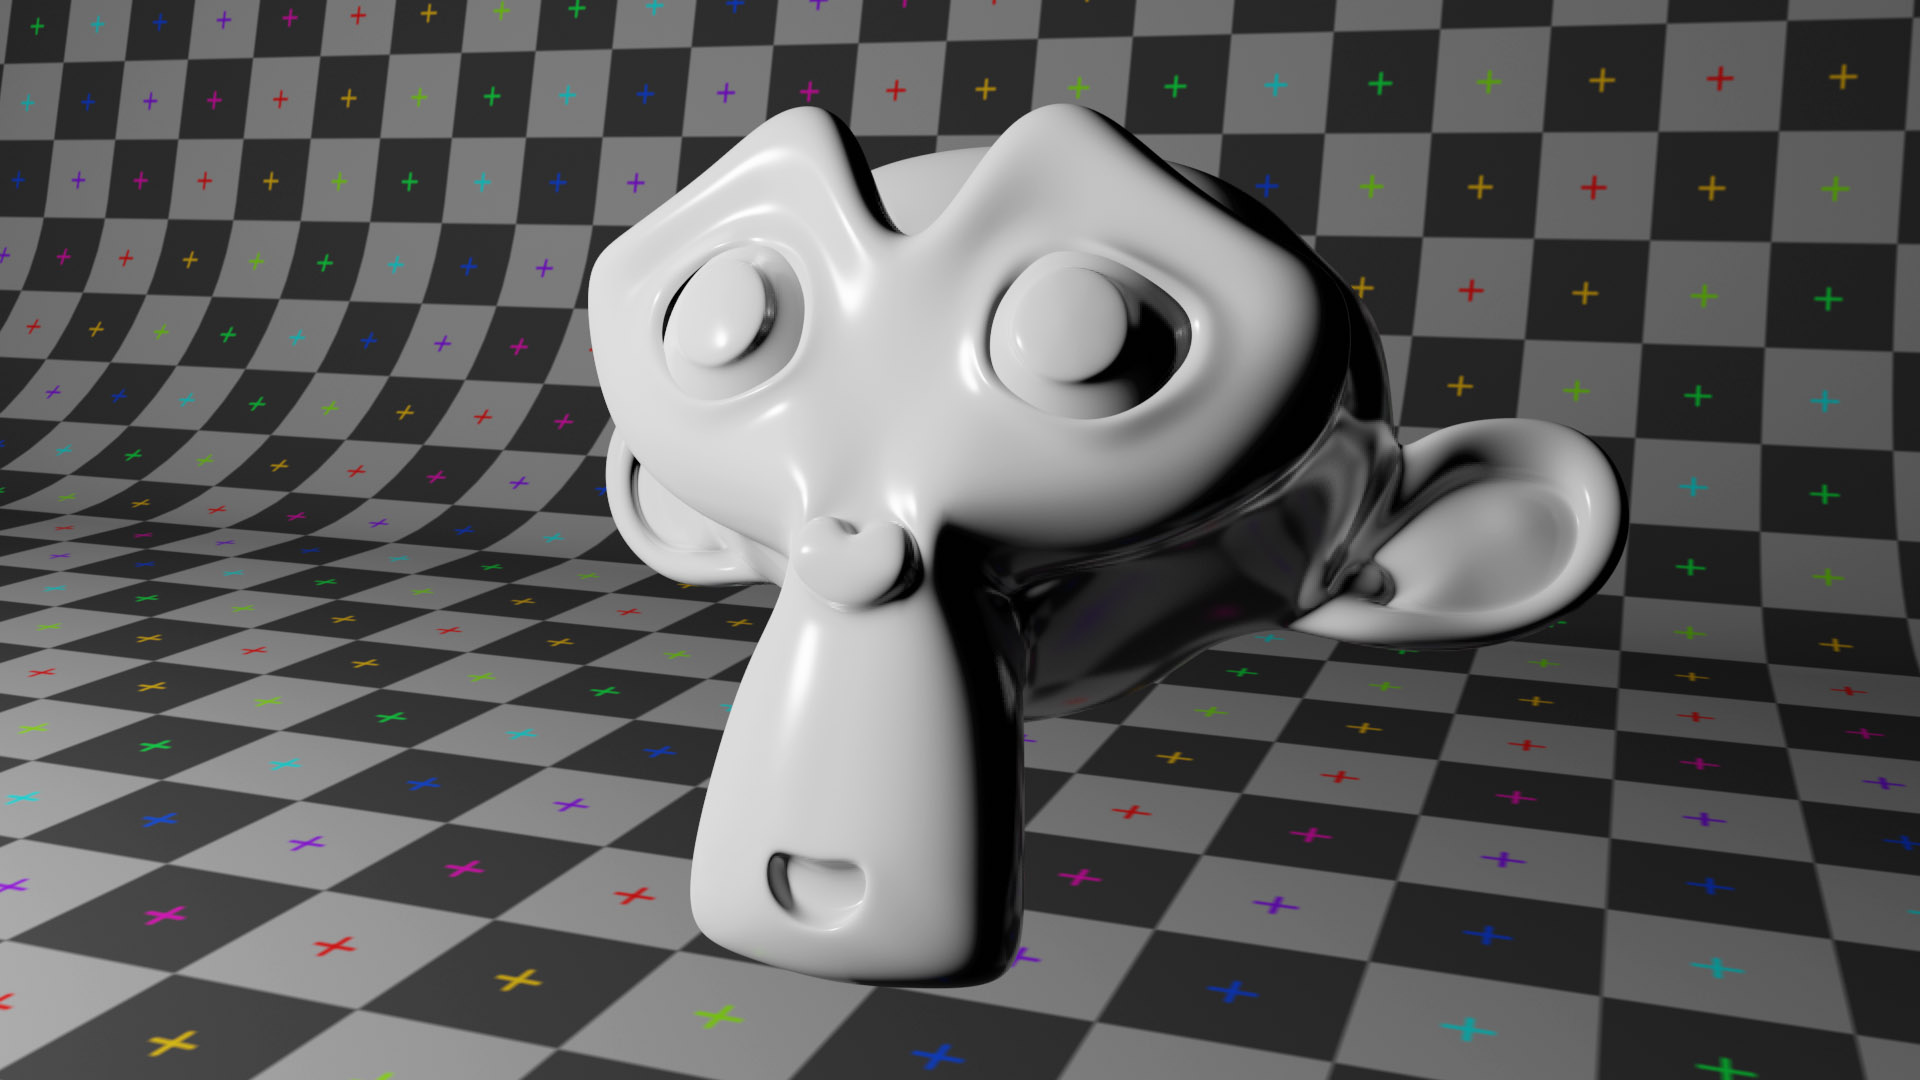

In the top you can see the effect of specular equal to one and then zero; in the latter case, the light source illuminates the scene, but is not detected by specular reflection (nor by metallic reflection). On the contrary, zeroing the Diffuse bar, we can make the lamp produce only specular reflection. The point lamp is not actually point-like, but has a size that can be adjusted through the Radius bar (verifiable in specular reflections). It is also possible to limit the range of action of the lamp by activating Custom Distance.
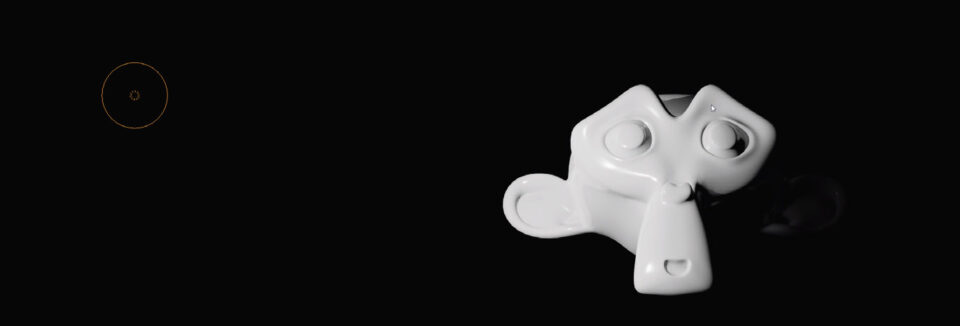
The point lamp appears in the viewport as a small dotted double circle whose size does not depend on the zoom level of the view, together with a circle whose diameter is determined by the Radius value. Light sources are not rendered directly, but become visible only through surfaces and volumes illuminated by them.
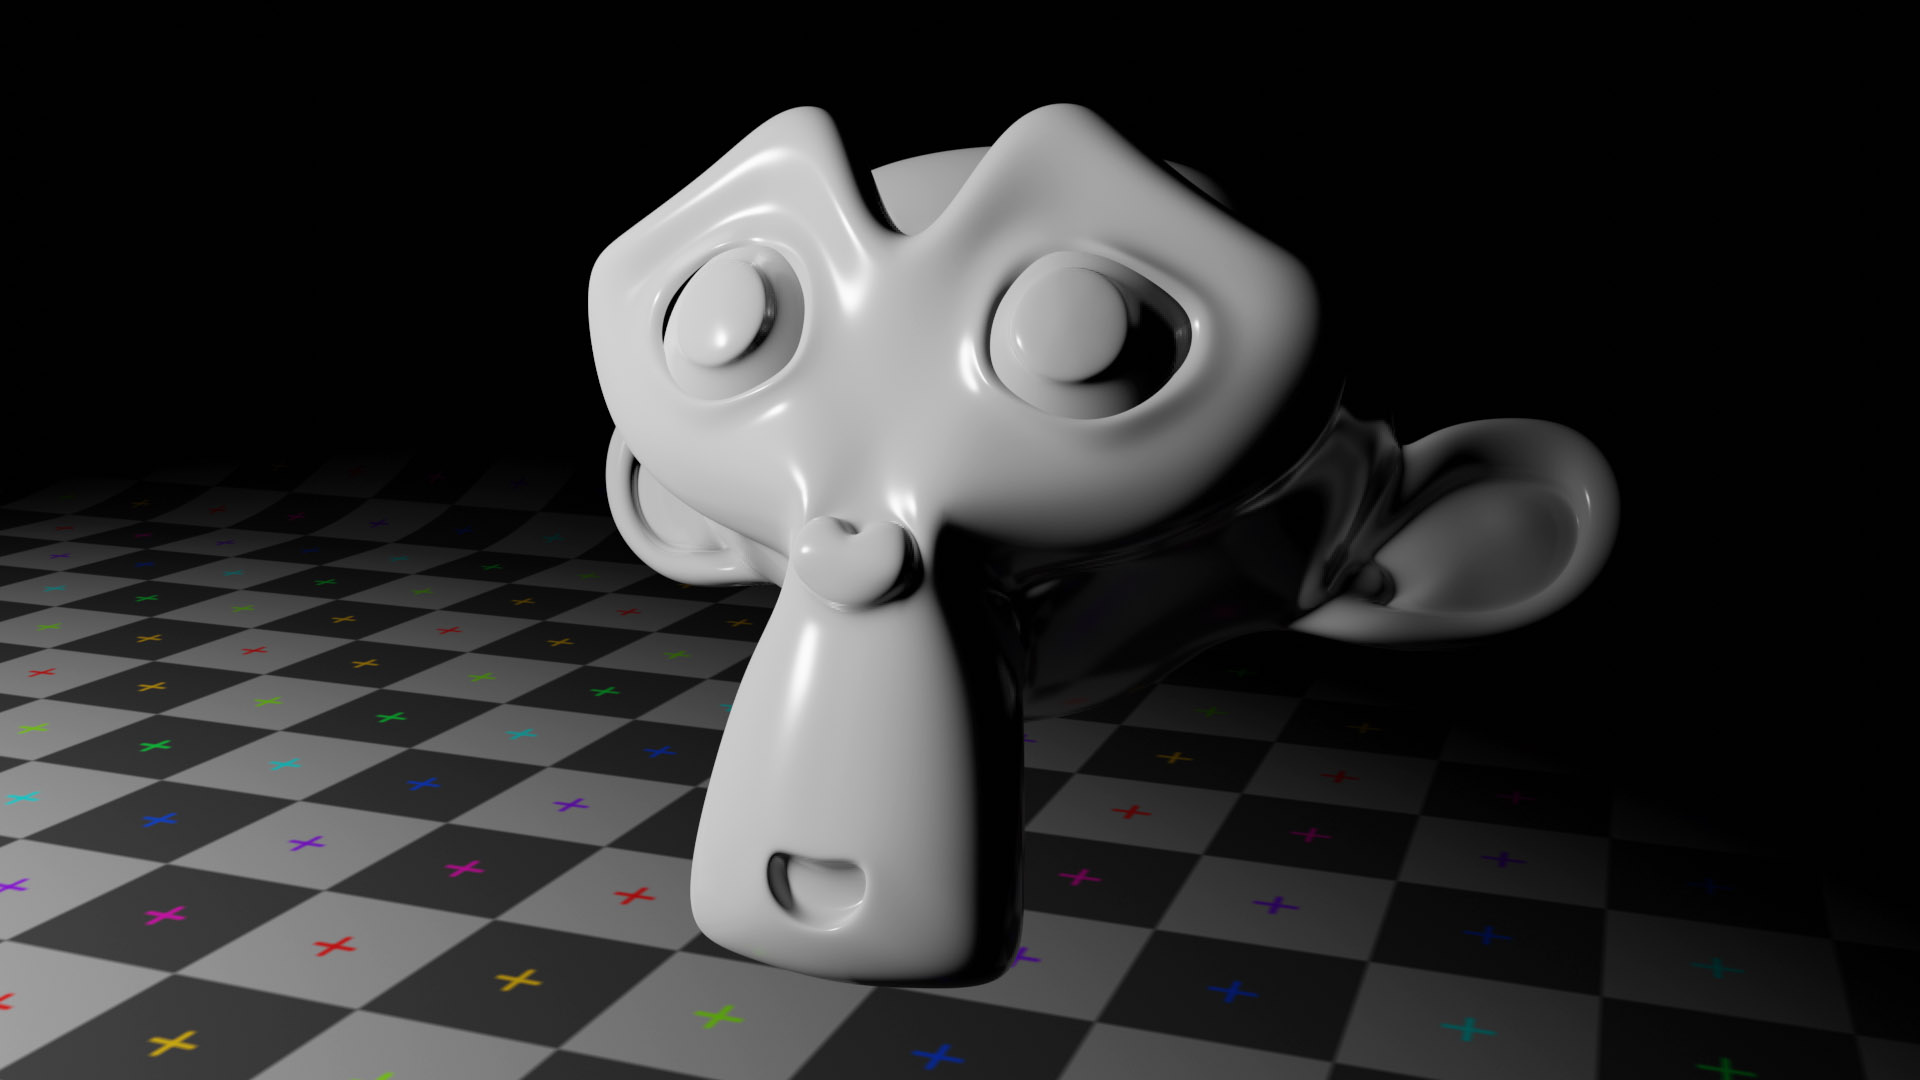
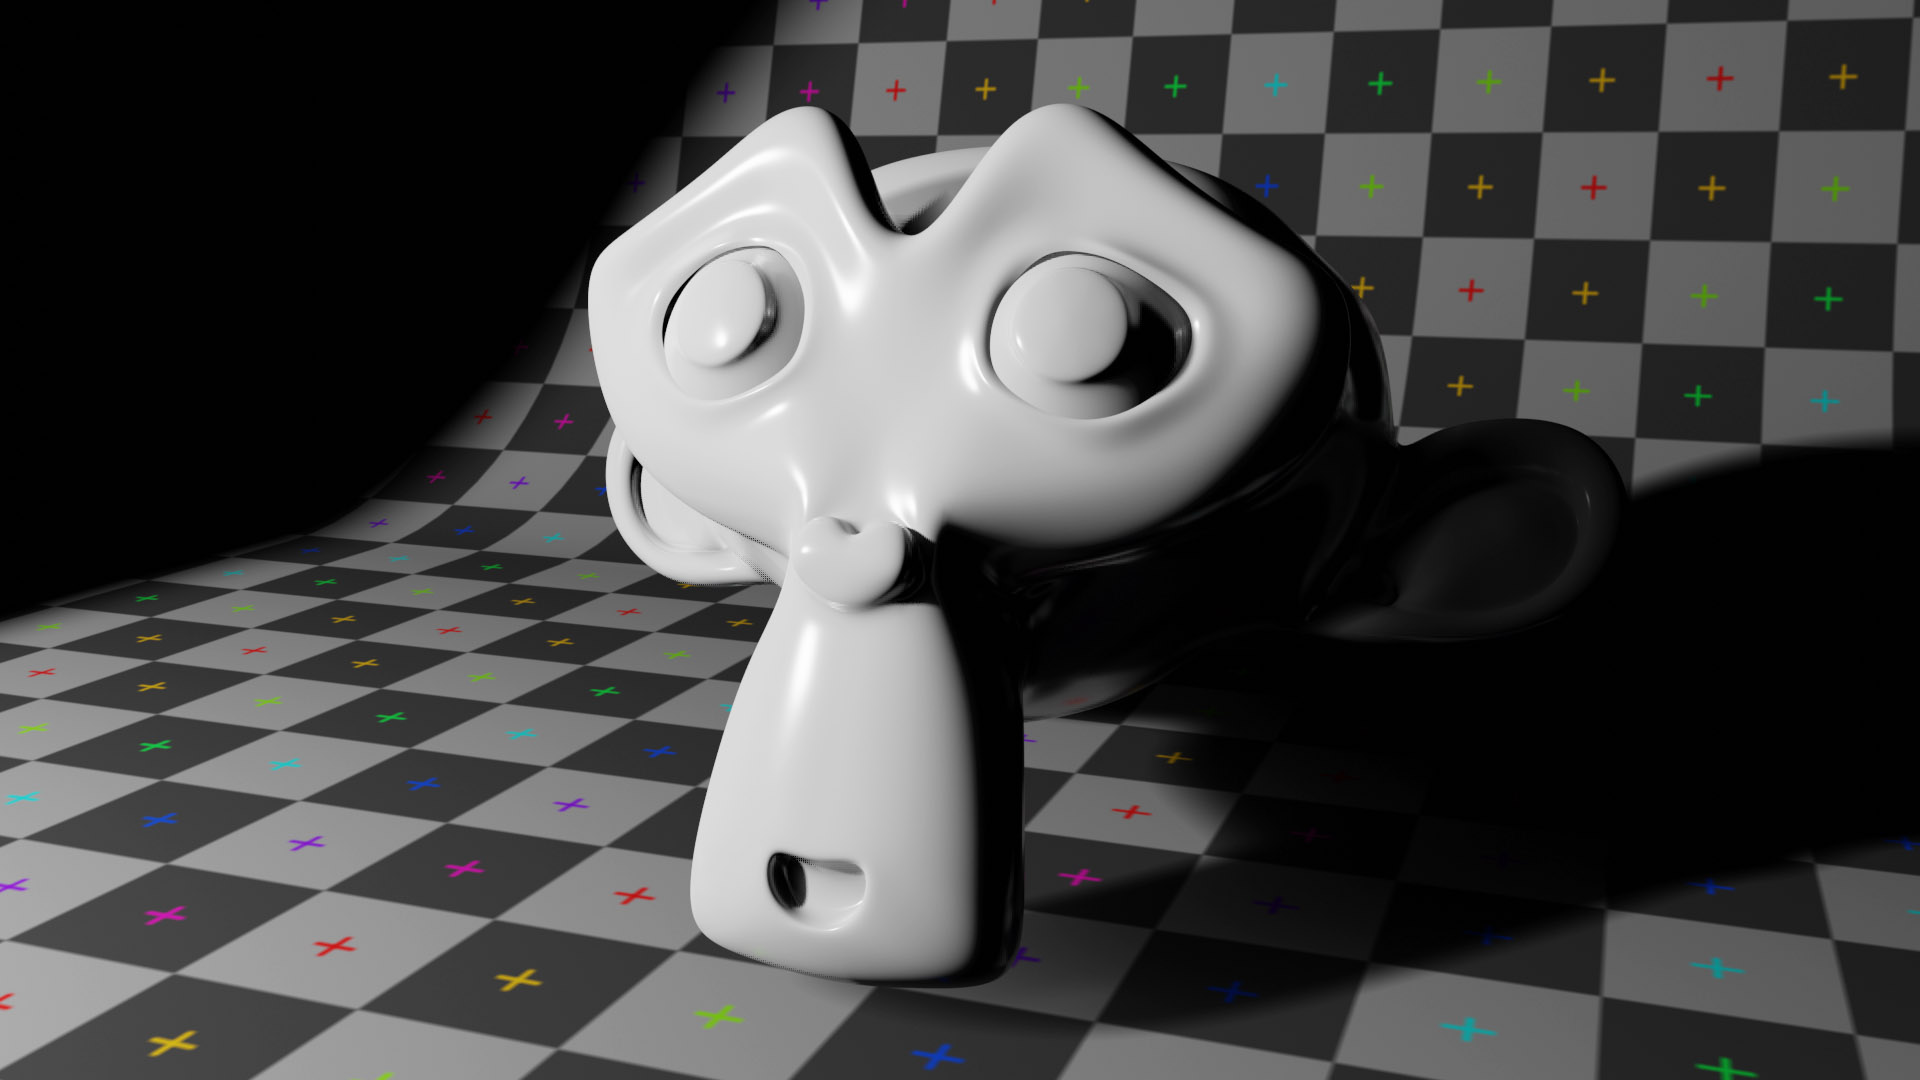
After the obvious property of illuminating the scene, let’s now analyze the other fundamental character of any light source, i.e. the ability to project shadows. In the images shown so far there are no shadows because I deliberately kept the Shadow panel deactivated. In fact, you can illuminate the scene with different lamps, but leave only some of them the task of projecting shadows. With the default settings, we get the result visible on the right. The quality of the shadows depends mainly on the settings of the Shadow panel in the Render context:
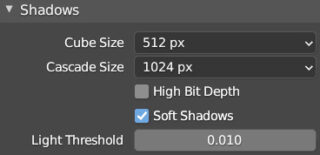
Cube Sized is the main parameter regarding the quality of the shadows (4096 is the maximum). The higher the value, the more GPU RAM will be used. High Bitdepth reduces artifacts, but significantly increases RAM consumption. Soft Shadow improves the rendering of shadows by softening the edges. This effect depends on the Radius value set for the light object. Real world light sources cast shadows that vary from sharp (hard) to blurry (soft) with a penumbra area. The softness is determined by two factors: the size of the light source and the distance of the objects from it. In the shadow panel of the light object you will also find the Contact Shadow box, which is deselected by default. Activating this function will make a shading appear in all the contact zones between different surfaces, with an overall rendering that will significantly improve (following images: top without contact shadow, and bottom with contact shadow)


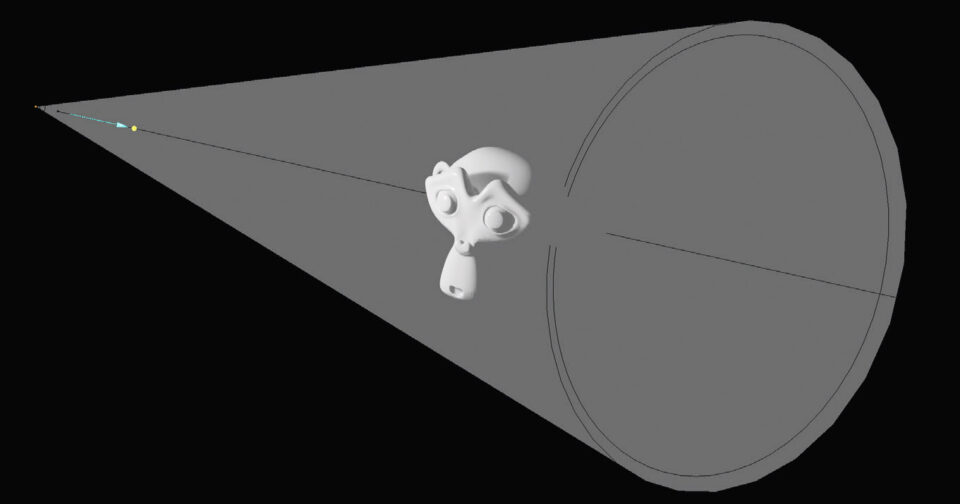
The spot lamp is a directional spotlight that is represented by a cone of light in the 3D View.
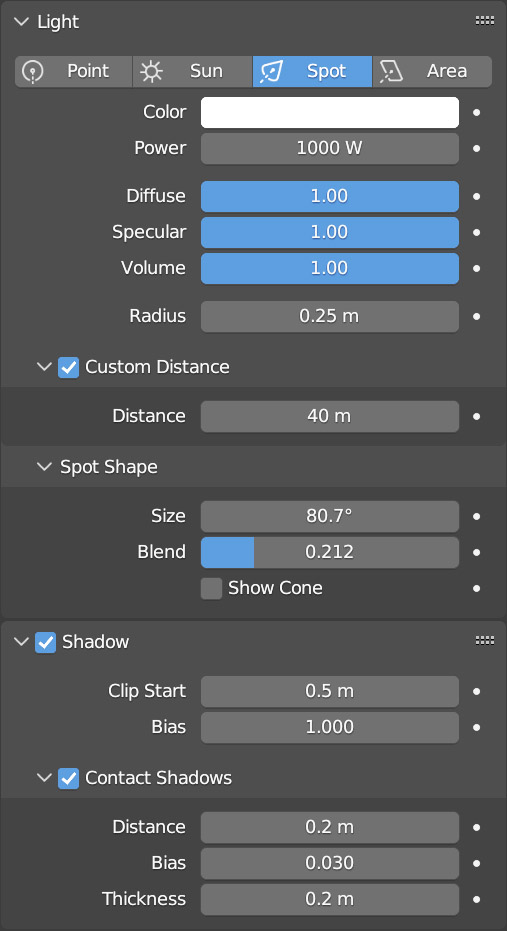
Its properties are similar to those already seen in the case of the point lamp, plus the Spot Shape panel appears with the angle of the cone and the penumbra area (delimited by the two concentric circles at the base of the cone).
The Sun lamp is a solar light source that projects parallel beams of light as it happens in reality, due to the distance of the Sun from our planet. The position of this light source in the scene will not matter, while the orientation of the light beam, represented in the 3D view by a single line, will be essential. At the level of settings, the only difference with the Spot and Point lamps is the presence of the Cascaded Shadow Map panel.

which brings us back to the Shadow panel of the Render context
where we can increase the resolution of directional shadows by raising the Cascade Size value up to 4096 (with a noticeable slowdown in real-time rendering). The Cube Size parameter, essential for raising the resolution of shadows projected by Spot and Point lamps, will have no effect for Sun lamps. The power/intensity for sun lamps is not expressed in watts, but only with a number (usually values between 1 and 2 are considered typical).
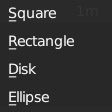
For area-type lamps, the only additional setting compared to Point lights is the Shape option.
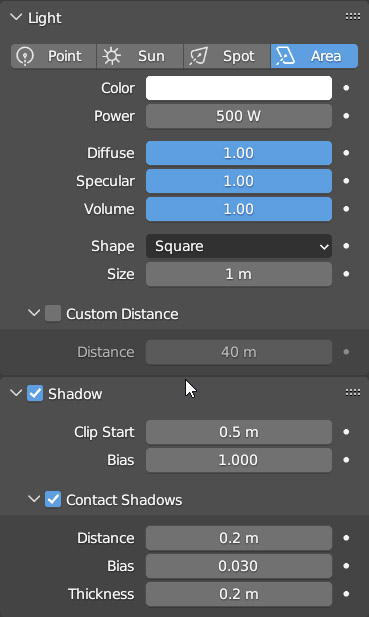
with which we can decide the shape of the light area that will obviously appear in the specular reflections of surfaces.
Lighting does not depend exclusively on the presence of the lights listed so far, but also on the World, i.e. the element that surrounds any scene created in Blender and which is dedicated an entire properties context that can be reached by clicking the icon ![]()
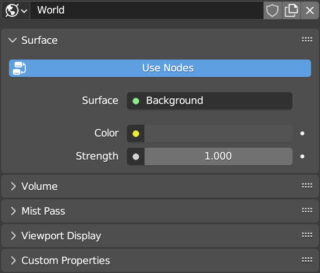
By default we find a simple dark gray color that in addition to acting as a background for the scene will make surfaces that are not directly illuminated by light sources less dark. If you click on the small yellow circle to the left of the color selector, the following menu will appear on the screen.
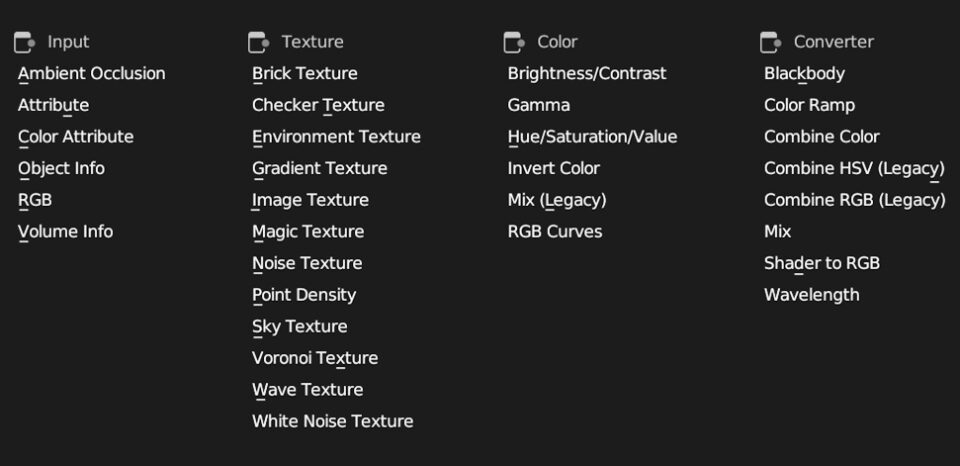
In the Texture column, choose the option: Environment Texture. At this point, in the 3D View in Rendering mode ![]() you will see that the color of the Background has changed from the starting gray to magenta, i.e. the color that in Blender denotes the absence of texture where a texture is expected. Let’s go to the Shader Editor window (maybe by switching to the Shading workspace) where you will find this selector
you will see that the color of the Background has changed from the starting gray to magenta, i.e. the color that in Blender denotes the absence of texture where a texture is expected. Let’s go to the Shader Editor window (maybe by switching to the Shading workspace) where you will find this selector ![]() at the top left, which is set to Object by default. By clicking it, we can choose to work on the shading of the World, rather than on the traditional renderable objects.
at the top left, which is set to Object by default. By clicking it, we can choose to work on the shading of the World, rather than on the traditional renderable objects.
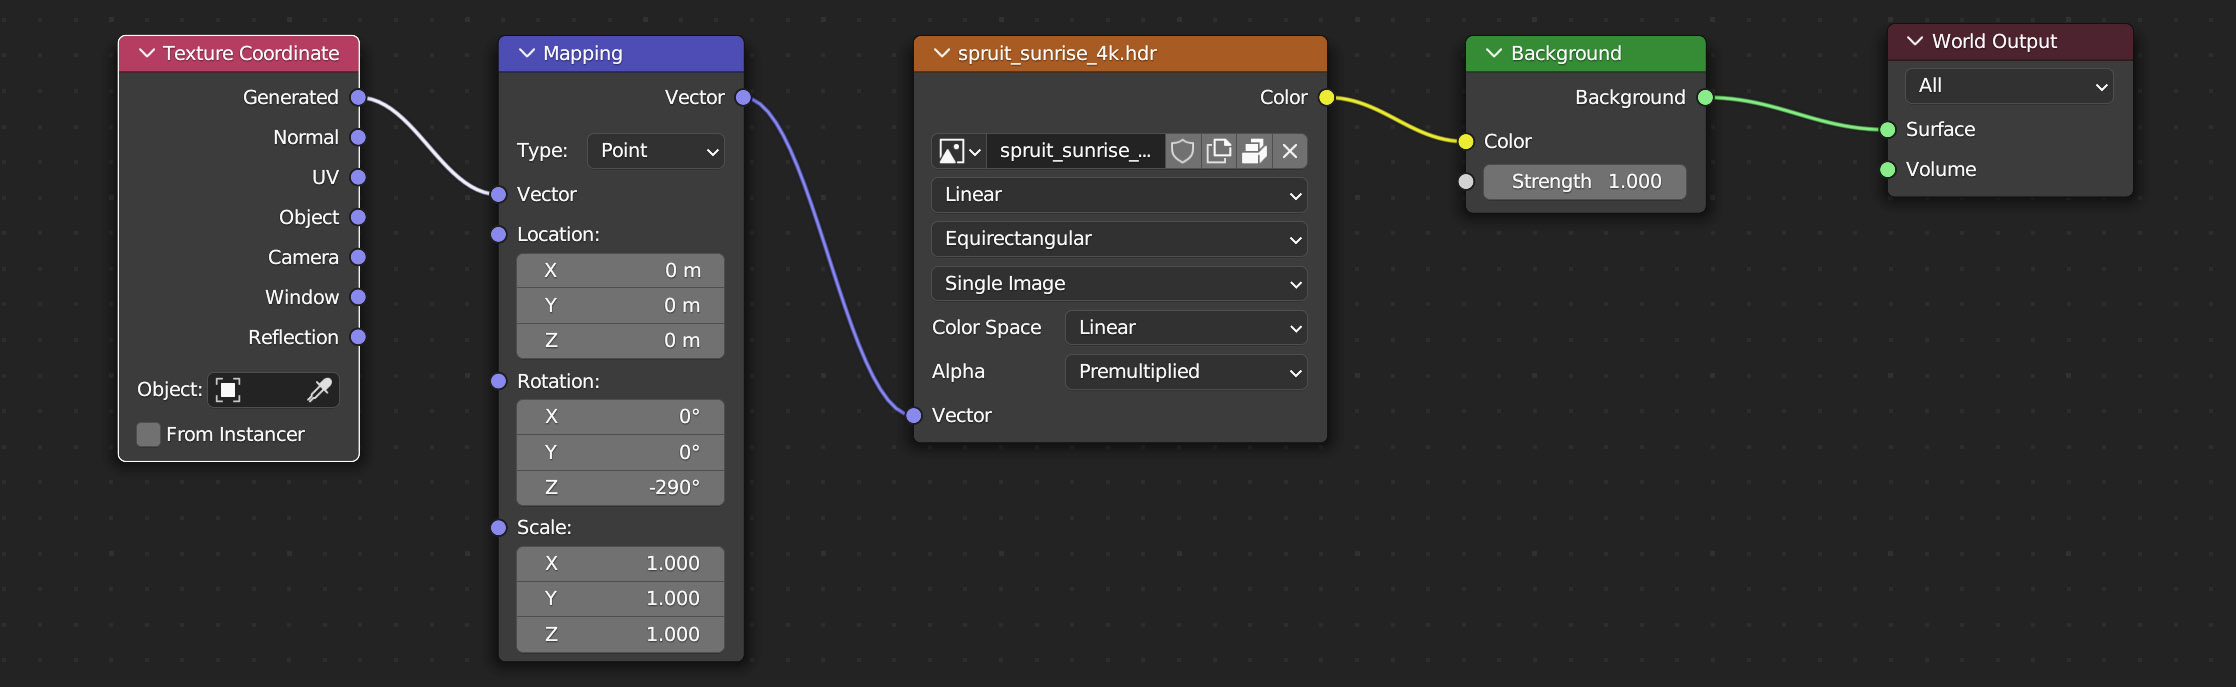
The World shader editor will appear with only three nodes:
- Environment Texture (texture node)
- Background (shader node)
- World Output.
At this point, we need to choose an appropriate image to use as an environmental map. These images are special 360° photographs with a wide color range. This topic will be covered in more detail in Section 4.5, which is dedicated to the operation of the World in Cycles. For now, just go to hdrihaven.com (or similar) to download a free HDRI background (Creative Commons Zero license). The file (.hdr) is what needs to be loaded into the Environment Texture node.
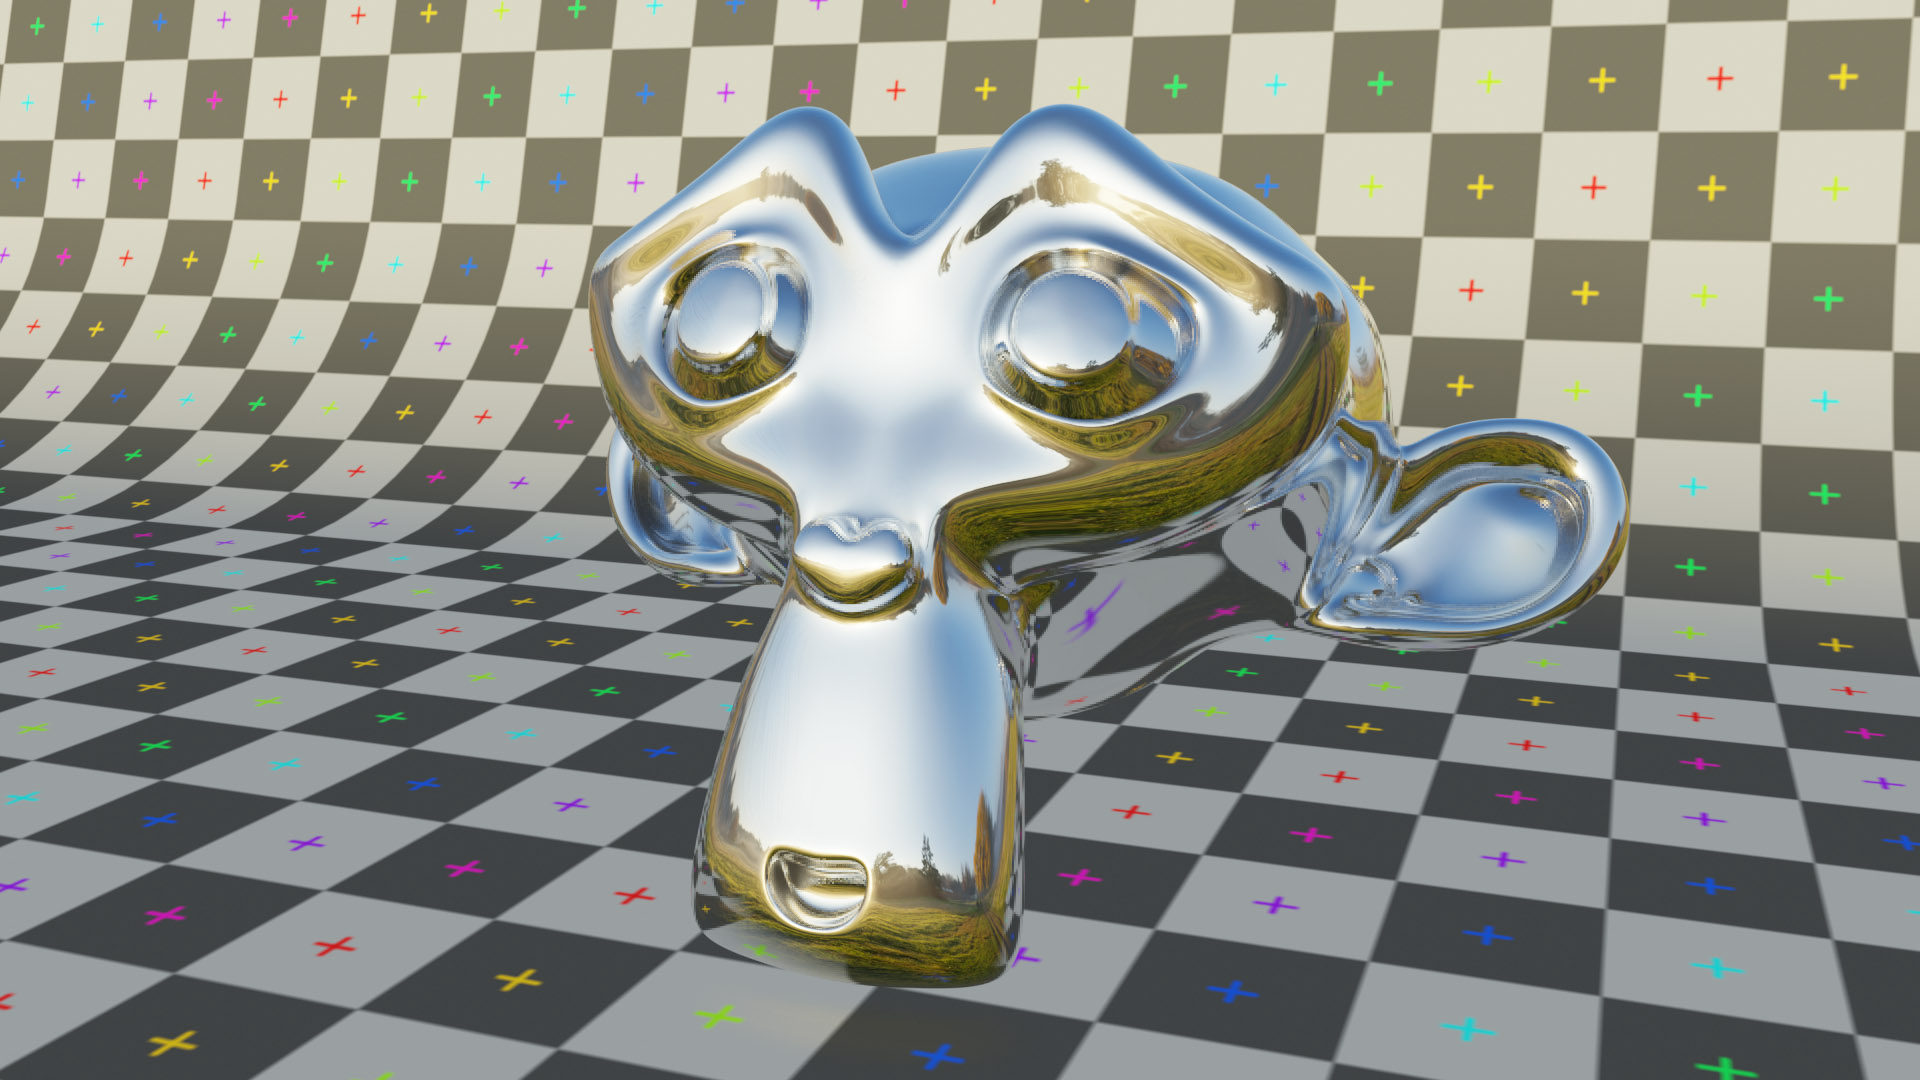
You will immediately realize that the World set up in this way illuminates the models very realistically, without however projecting any shadows. This is currently an insurmountable limitation of Eevee. HDRI backgrounds find their ideal application in global illumination engines such as the excellent Cycles, as they are able to faithfully reproduce the original lighting, including shadows. In Blender Eevee we will necessarily have to place ad hoc light sources (for example, a sun lamp oriented in a way that is compatible with any sun present in the HDRI background).

there are some tools that can help improve shading quality located in the Add>Light Probe menu.

We will ignore the Reflection Cubemap objects because the Screen Space Reflection algorithm already provides reflections of this kind, but as you can see in the image above, they have inaccuracies and artifacts. In cases where we find ourselves with a plane that reflects partially (specular or metallic), we can place a Reflection Plane object on top of it. In the preview of the 3D View (whether rendered or material preview), the reflection plane always appears as a mirror, but in the final rendering it gives way to the plane you created with its reflection level.
As you can see above, the reflection is now much more accurate. This method is only helpful for flat reflective surfaces, not much can be done for non-flat surfaces (although in that case the inaccuracies will be much less noticeable).
The Reflection Plane object is also essential for reflecting meshes with transparent materials and with Screen Space Refraction enabled as seen in paragraph 3.3. In this case, Screen Space Reflections does not show reflections unless the Reflection Plane is present.
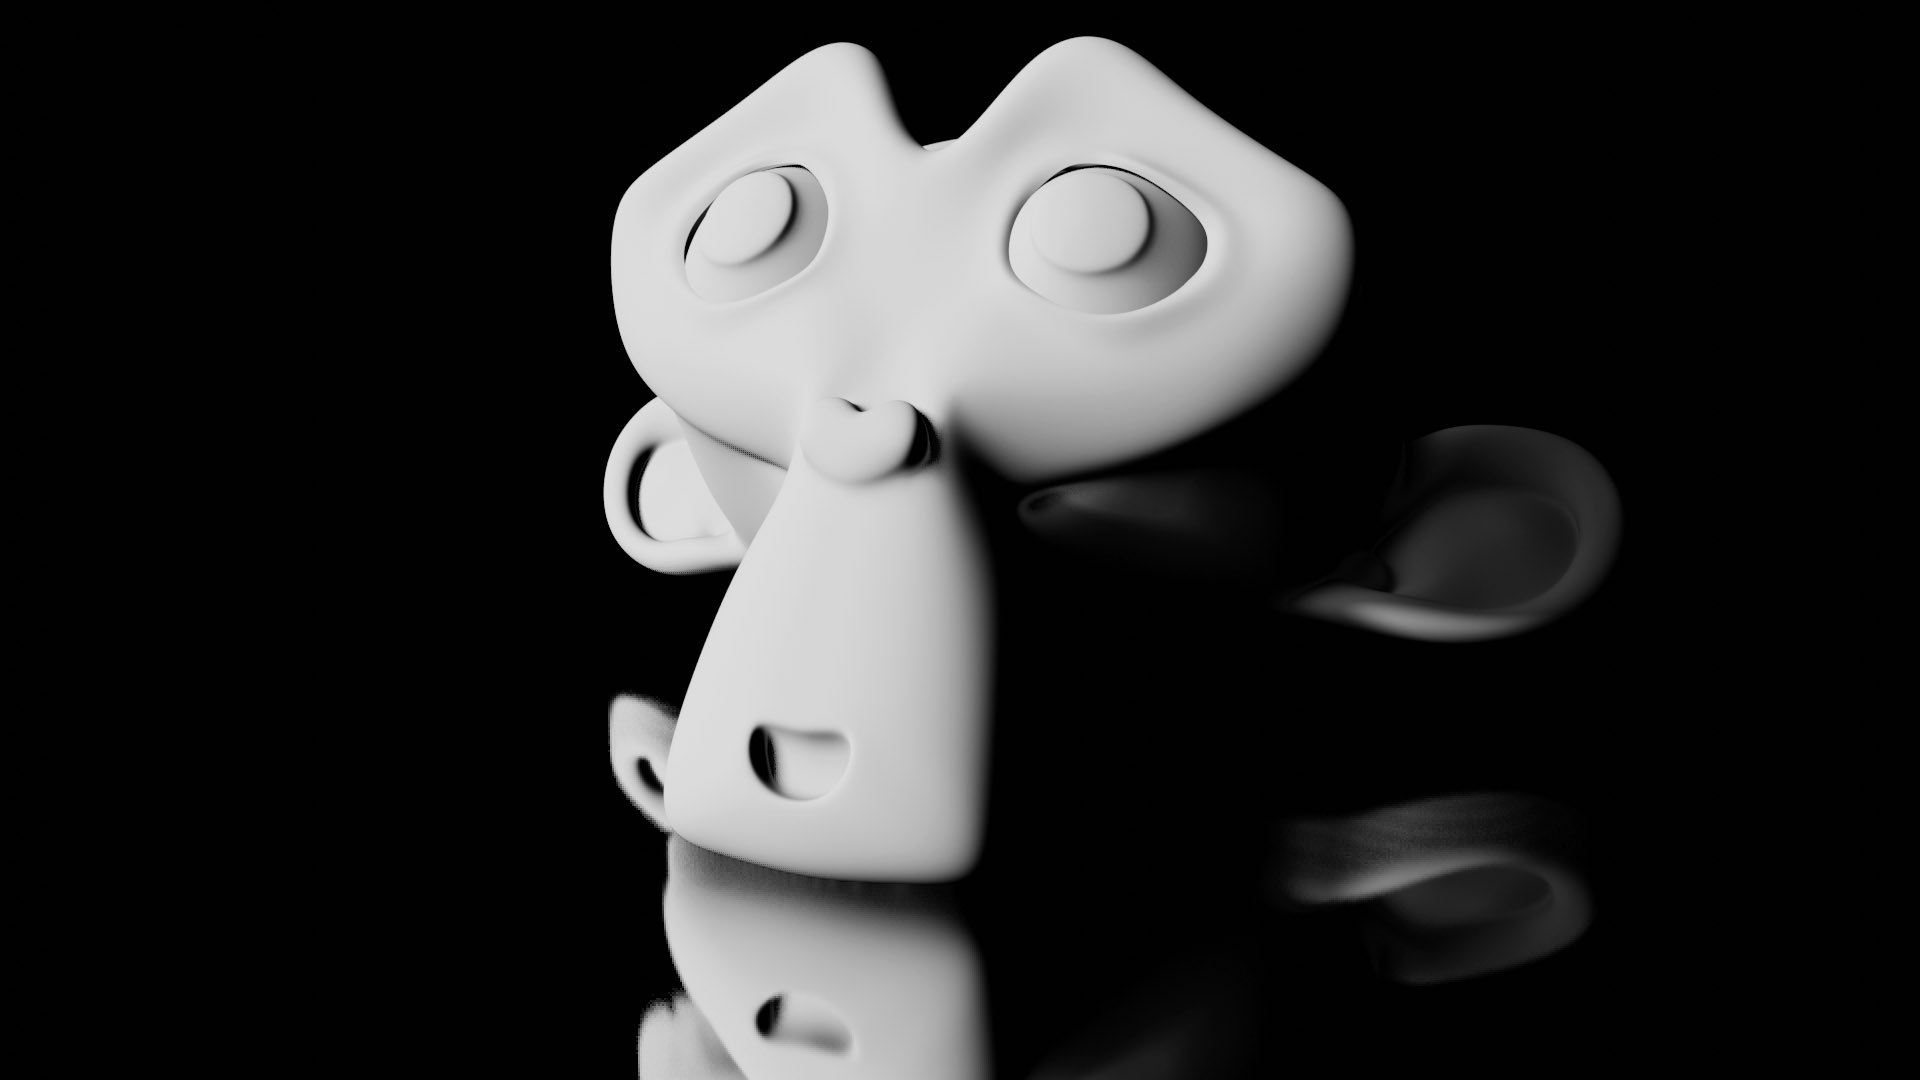
In the absence of specular or metallic reflections, the shading of any surface is never influenced by the diffuse color of nearby surfaces. With the Irradiance Volume (also located in Light Probe), it is possible to pre-calculate the effect of indirect lighting and the resulting rebound of diffuse rays. However, since this phenomenon is natively and accurately processed by Blender Cycles, I recommend using this engine in all situations where your work requires good reflection rendering, with the additional benefit of having perfectly defined shadows.
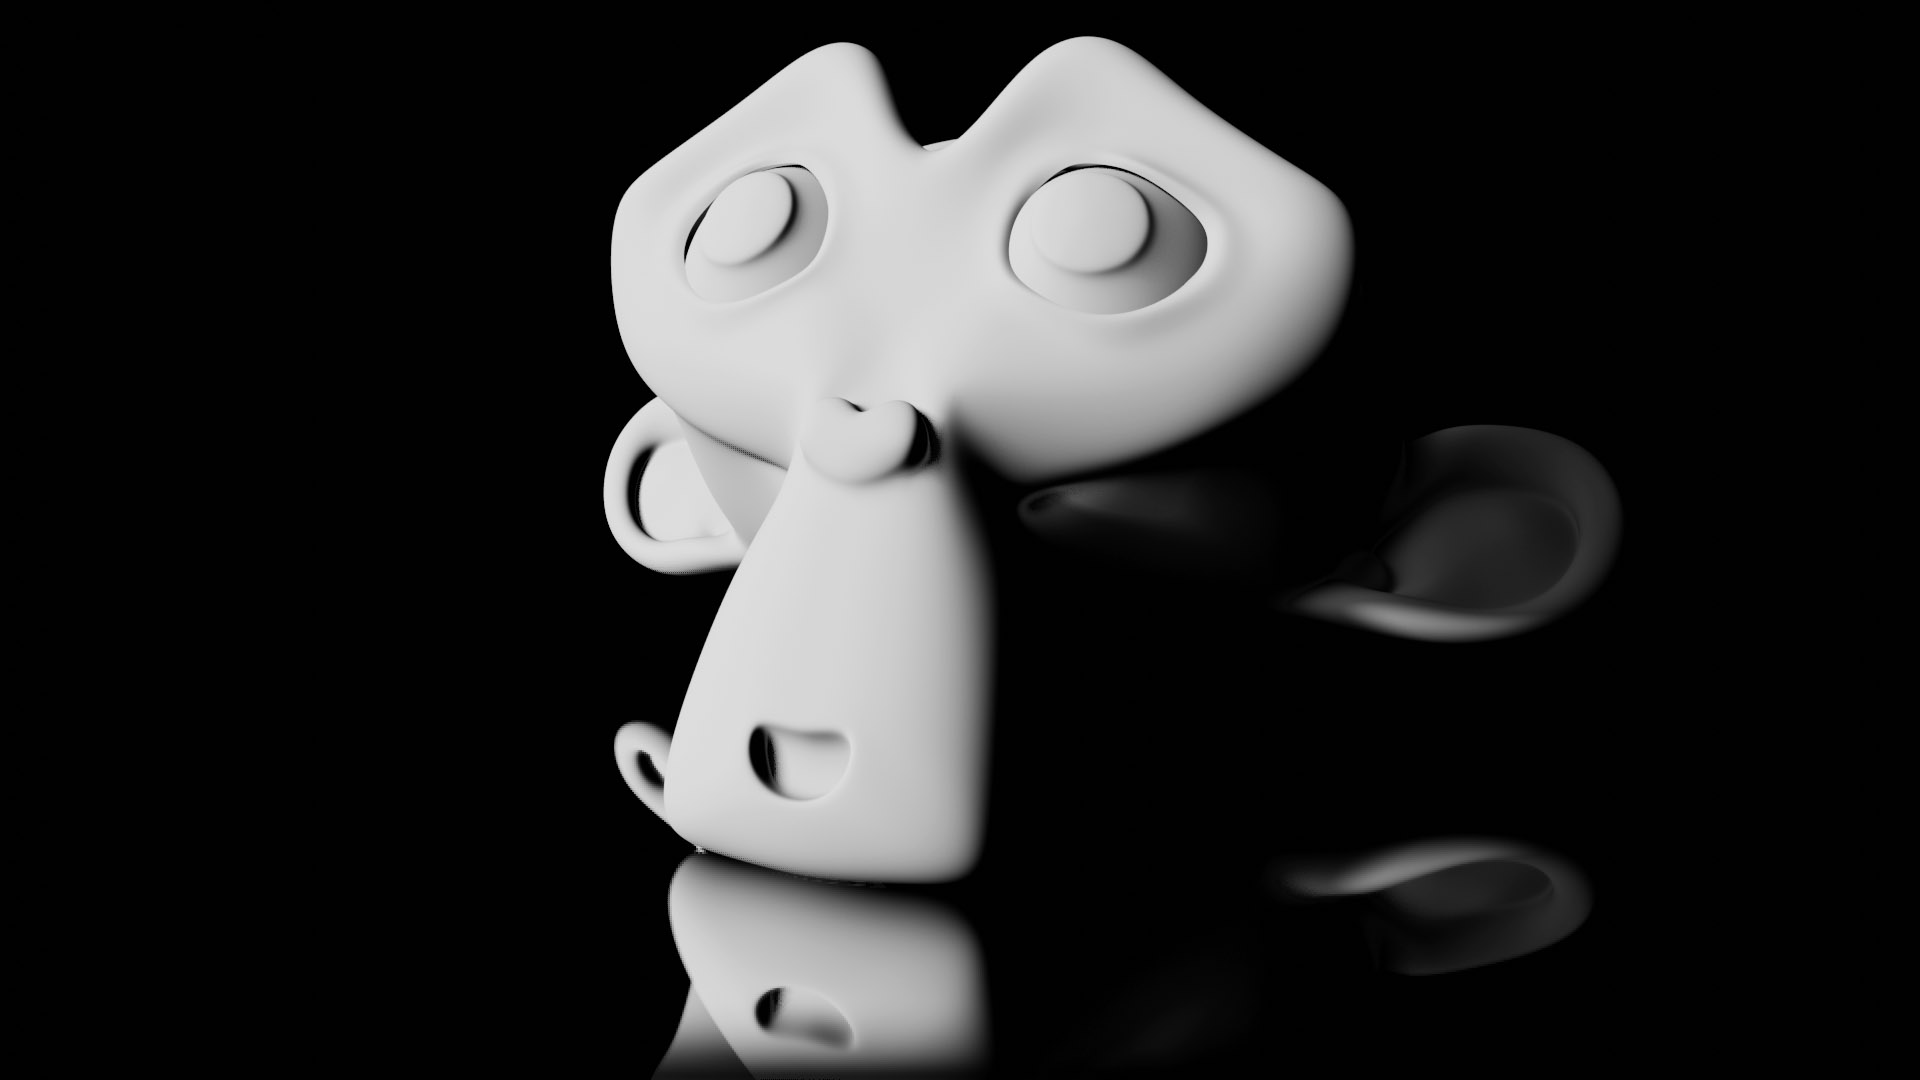
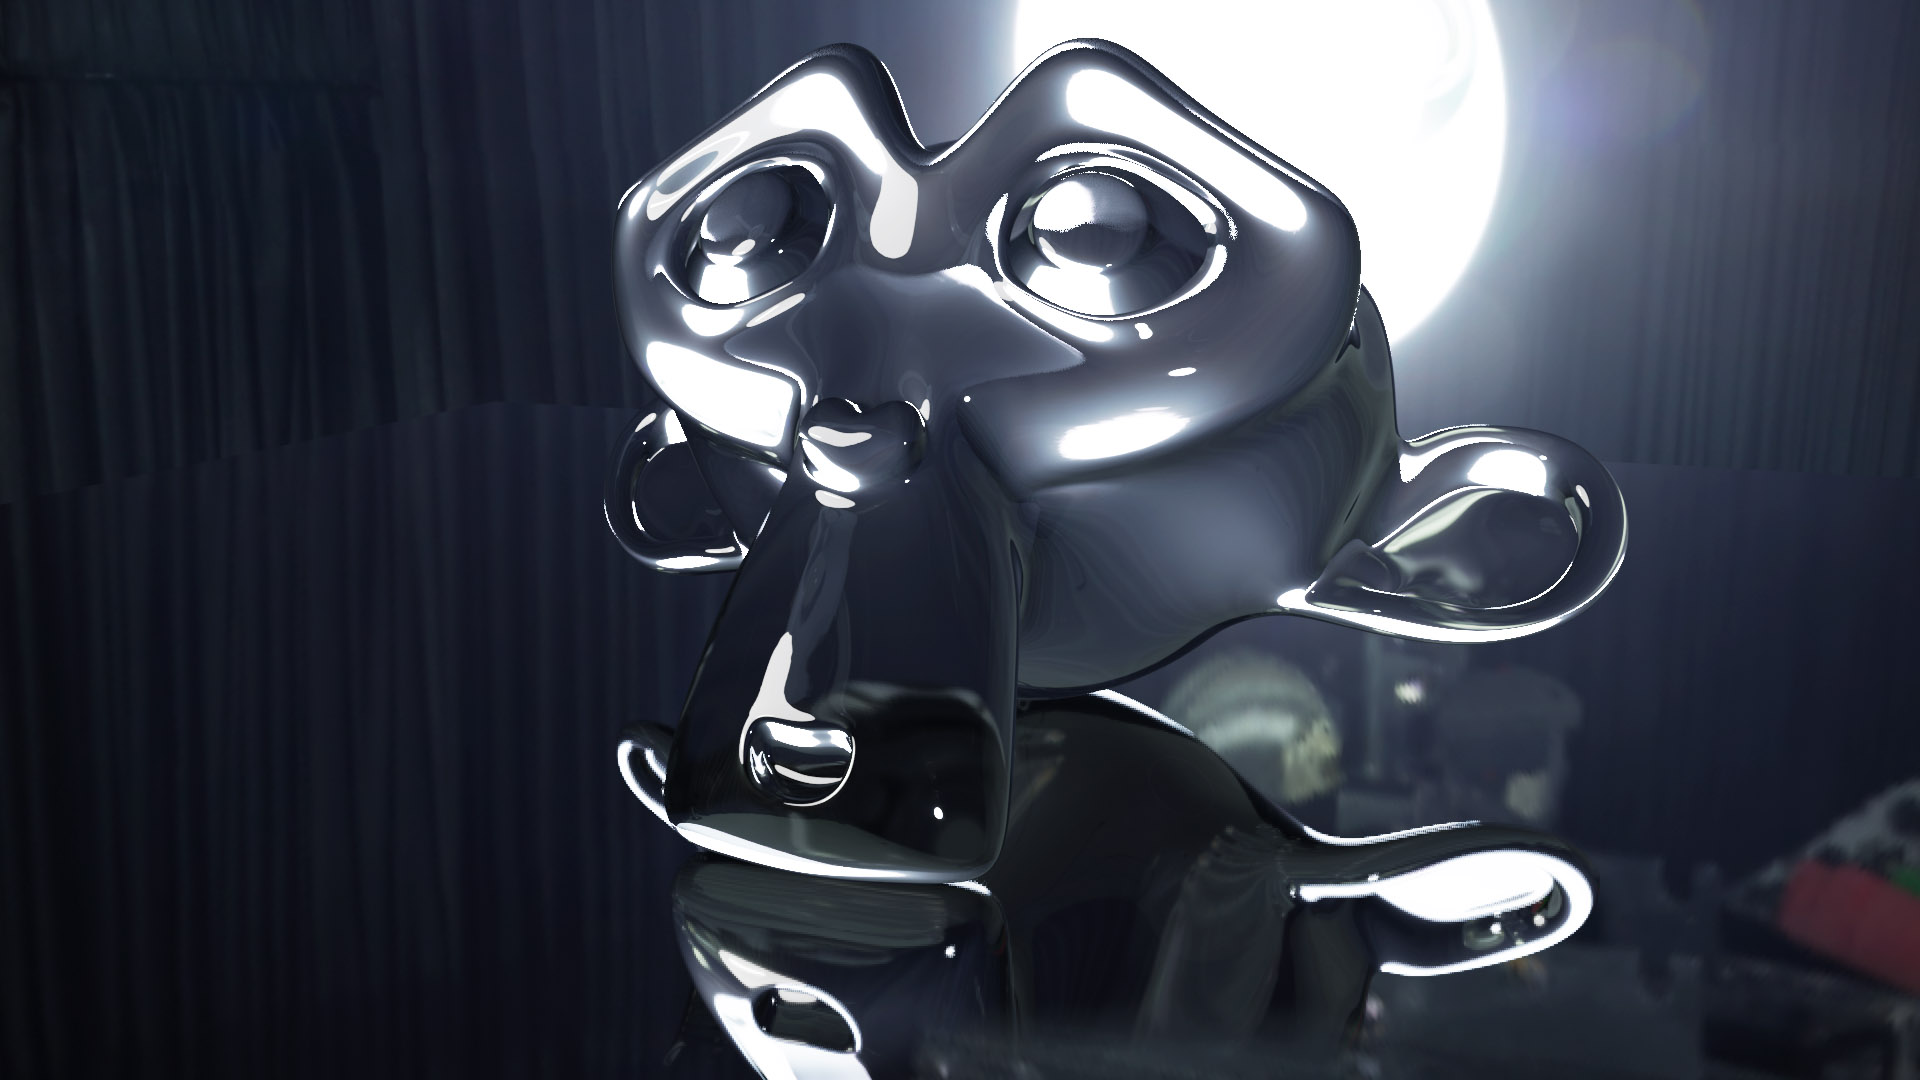
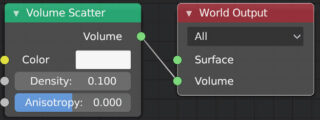
Let’s now take a quick look at the volumetric shading offered by Blender. The rendering of this type of rendering in Eevee is rather limited, which is why we will delve into the subject in the chapter dedicated to Cycles. Let’s just create a simple world using the Volume Scatter (shader) node alone, whose purpose is to simulate the presence of a gaseous mass that can diffuse the light passing through it.
We can then directly observe the presence of Light type objects.

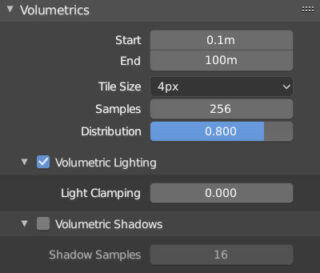
The quality of volumetric shading increases as the Tile Size value decreases and the Samples value increases (be careful of video memory consumption) in the Volumetrics panel of the Render context properties.
Next paragraph
Previous paragraph
Back to Index
Wishing you an enjoyable and productive study with Blender, I would like to remind you that you can support this project in two ways: by making a small donation through PayPal or by purchasing the professionally formatted and optimized for tablet viewing PDF version on Lulu.com