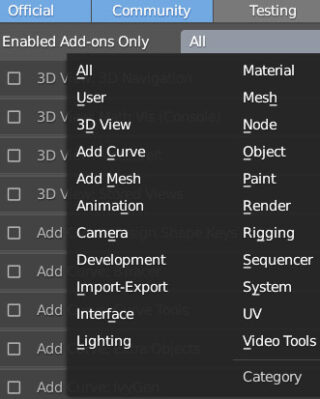
In this appendix, we will cover some of the Add-Ons introduced in section 2.1, divided into the categories listed here.
Let’s start with the 3D View: by enabling 3D Navigation ![]() we will see that the 3D Navigation field appears in the sidebar (N key), in the View tab.
we will see that the 3D Navigation field appears in the sidebar (N key), in the View tab.

This field groups various functions previously used by keyboard shortcuts (mainly using the numeric keypad) and a Cursor field, which is useful for centering the cursor at the origin of the reference system or on any selected object, as well as quickly framing it if it is not visible in the 3D View. The 3D Nav tab may be useful if you are working on a laptop without a numeric keypad or if you prefer to operate comfortably using the mouse. There is no rule to follow on when and how to use keyboard shortcuts instead of navigating through existing menus. The important thing is to follow your own, instinctive and comfortable path, which will certainly evolve as you gain more mastery of the software. The list of all keyboard shortcuts can be found in the Keymap tab of the user preferences, where they can be changed to your liking.
Another interesting 3D View add-on is Measure It ![]() which may be useful in a technical context because it allows you to view various data related to the model in the 3D View, such as the length of edges, the area of surfaces, or the measurement of any angle. This data will appear in all shading modes (eevee and cycles). After activating the add-on, select the default cube and go to the View tab in the sidebar in Edit mode to find the MeasureIt tools.
which may be useful in a technical context because it allows you to view various data related to the model in the 3D View, such as the length of edges, the area of surfaces, or the measurement of any angle. This data will appear in all shading modes (eevee and cycles). After activating the add-on, select the default cube and go to the View tab in the sidebar in Edit mode to find the MeasureIt tools.
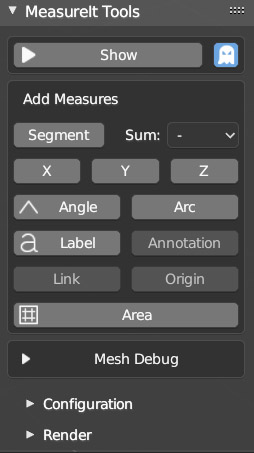
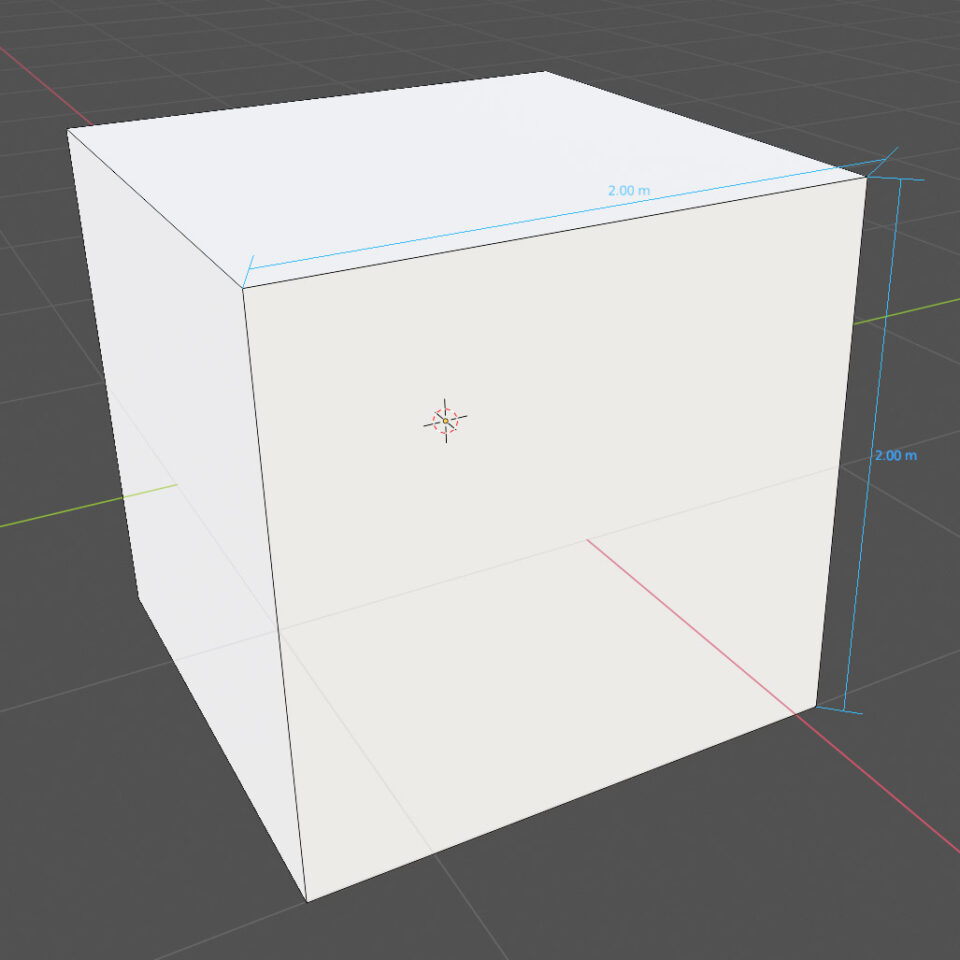
The text and segments will remain visible even when switching to Object Mode. If you select a face and then click Area, you will see this:
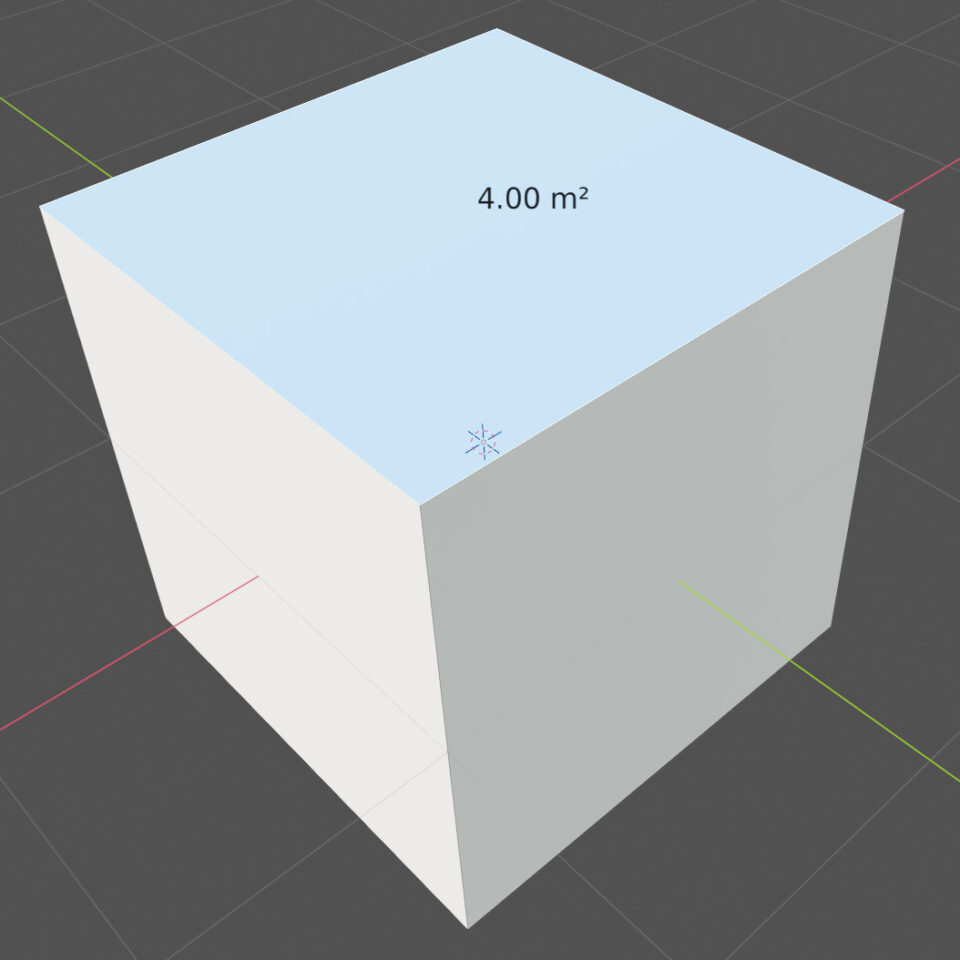
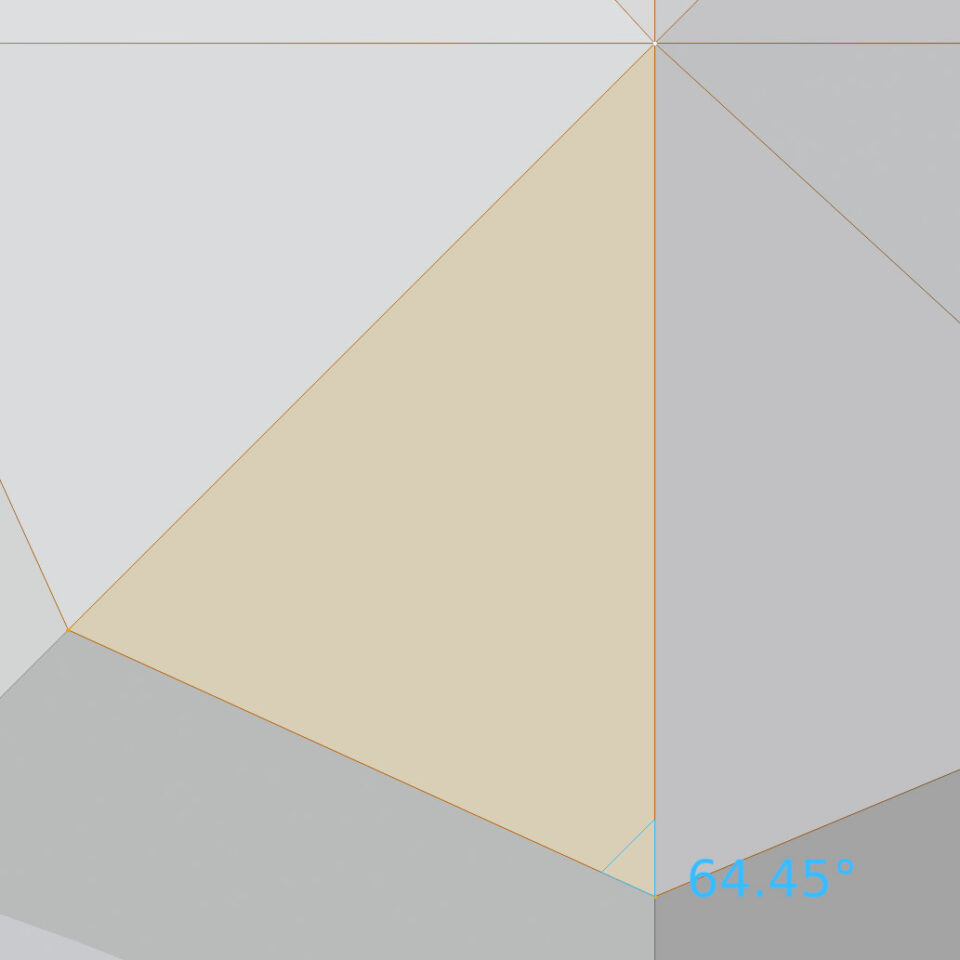
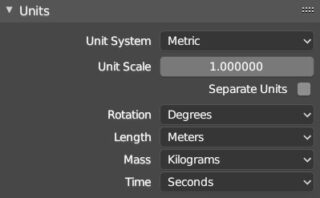
As you can see, distances are expressed in meters, surfaces in square meters, and angles in sexagesimal degrees. This reflects the default metric set in the Units panel of the Scene context Properties.
The Mesh Debug panel allows you to display and highlight vertices, edges, and faces, along with their count and other useful information, which will disappear when the panel is closed. (Note: for complex meshes with many vertices, the viewport may become significantly slower).
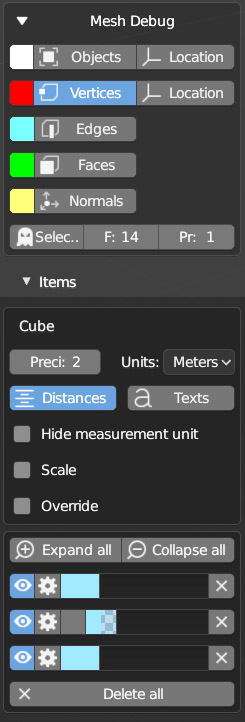
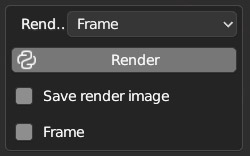
With the Items panel, you can customize the colors and sizes of the fonts for individual measurements by simply locating them in the list and clicking on the gear icon. Finally, with the Render panel, you can render all the graphics produced by the add-on in an image with a transparent background (png rgba) to be overlaid on the scene render (eevee or cycles).
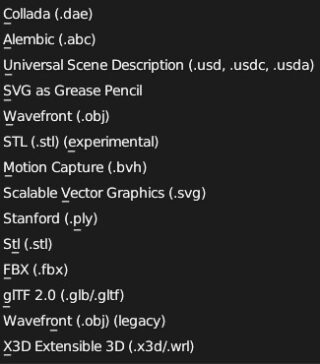
In the main header’s File menu, you will find these default options for importing 3D objects or scenes in widely used formats.
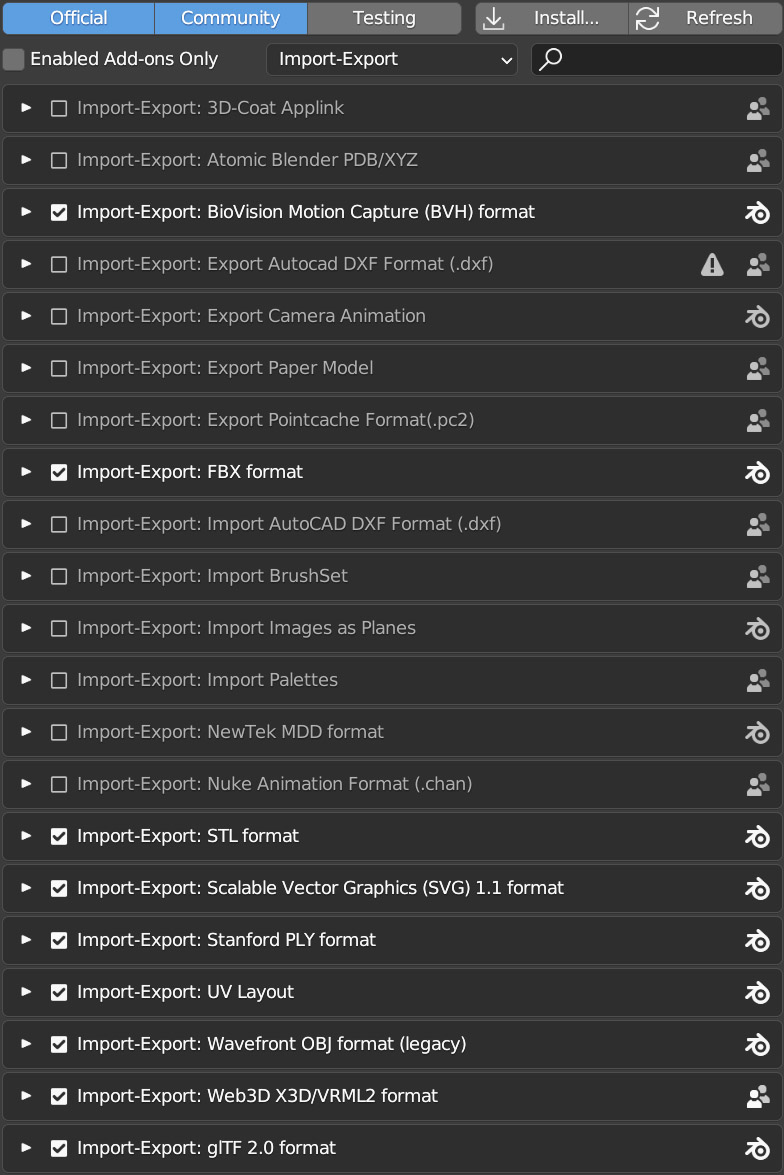
From the Add-ons tab of the user preferences, you can add other formats for import-export.
Among the add-ons, we also find various curves or meshes to use freely in our projects. These additional objects are often rich in options that are not always intuitive, which you can explore over time with a little experimentation. In this appendix, we will limit ourselves to a quick overview of the Add Mesh and Add Curve add-ons. You will find all objects activated through these add-ons in the 3D View header: Add>Mesh (or Add>Curve). By inserting any of these meshes/curves into the scene, the options for their definition will be found in the Tool panel that initially appears closed at the bottom left of the 3D View. This panel will disappear when you perform any operation on the mesh that is different from its definition.
A.N.T Landscape is a fractal terrain generator with hills and valleys
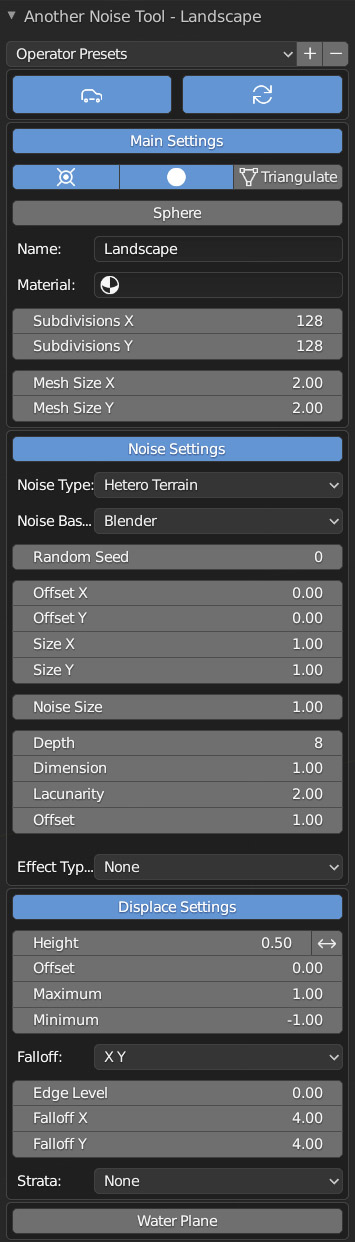
First of all, I recommend you browse the long list of Operator Presets, where you will most likely find the type of terrain you are looking for. We can also generate individual rocks, asteroids and/or planetoids. In short, it is a very rich and interesting add-on. In the first group of options, we can decide the size and resolution (subdivision) of the model. To manage large-sized and highly detailed terrain, it is absolutely necessary to have a sufficiently powerful computer. The second group of options is the most complex because it makes various combinations of fractal algorithms possible, each of which can subsequently be refined by varying some parameters.
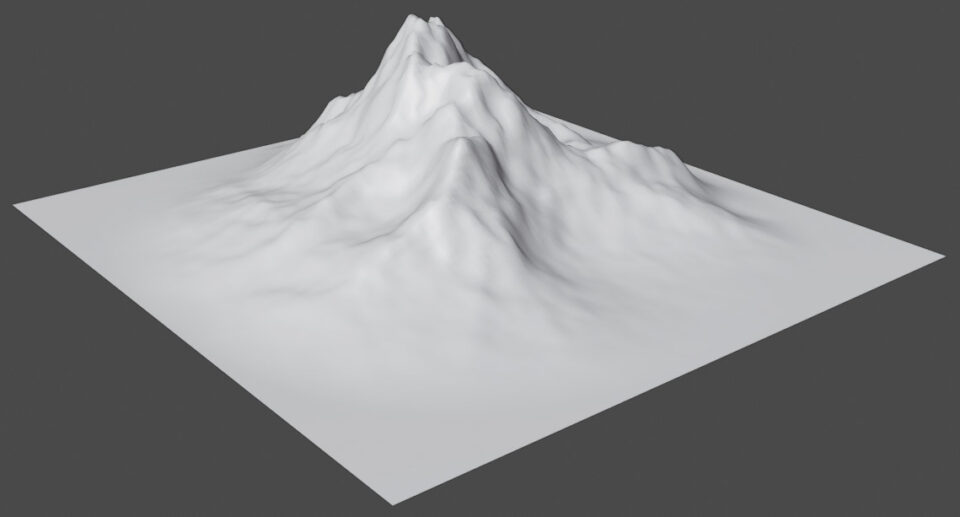

I recommend proceeding mainly by trial and error (low resolution terrain) in order to identify the shape that best fits your starting idea. Then you can move on to a fine modification of the values that define the terrain by progressively increasing the definition. Although the initial tools panel is intended to disappear when we work on the model, you can modify and redefine the terrain from the create tab in the sidebar (N).

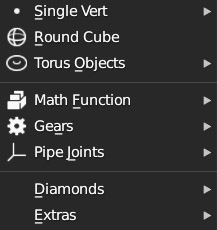
With the Extra Object add-on, we have access to meshes such as: gemstones, gears, mathematical functions, elementary geometric shapes, other types of toroids, and a miscellaneous collection of additional objects
Math Function allows you to create two types of 3D surfaces: Z Math Surfaces, i.e. functions Z=f(x,y), or XYZ Math Surfaces: true three-dimensional surfaces defined by three equations: X(u,v), Y(u,v), and Z(u,v) which we will write in Blender using the typical syntax of programming languages.
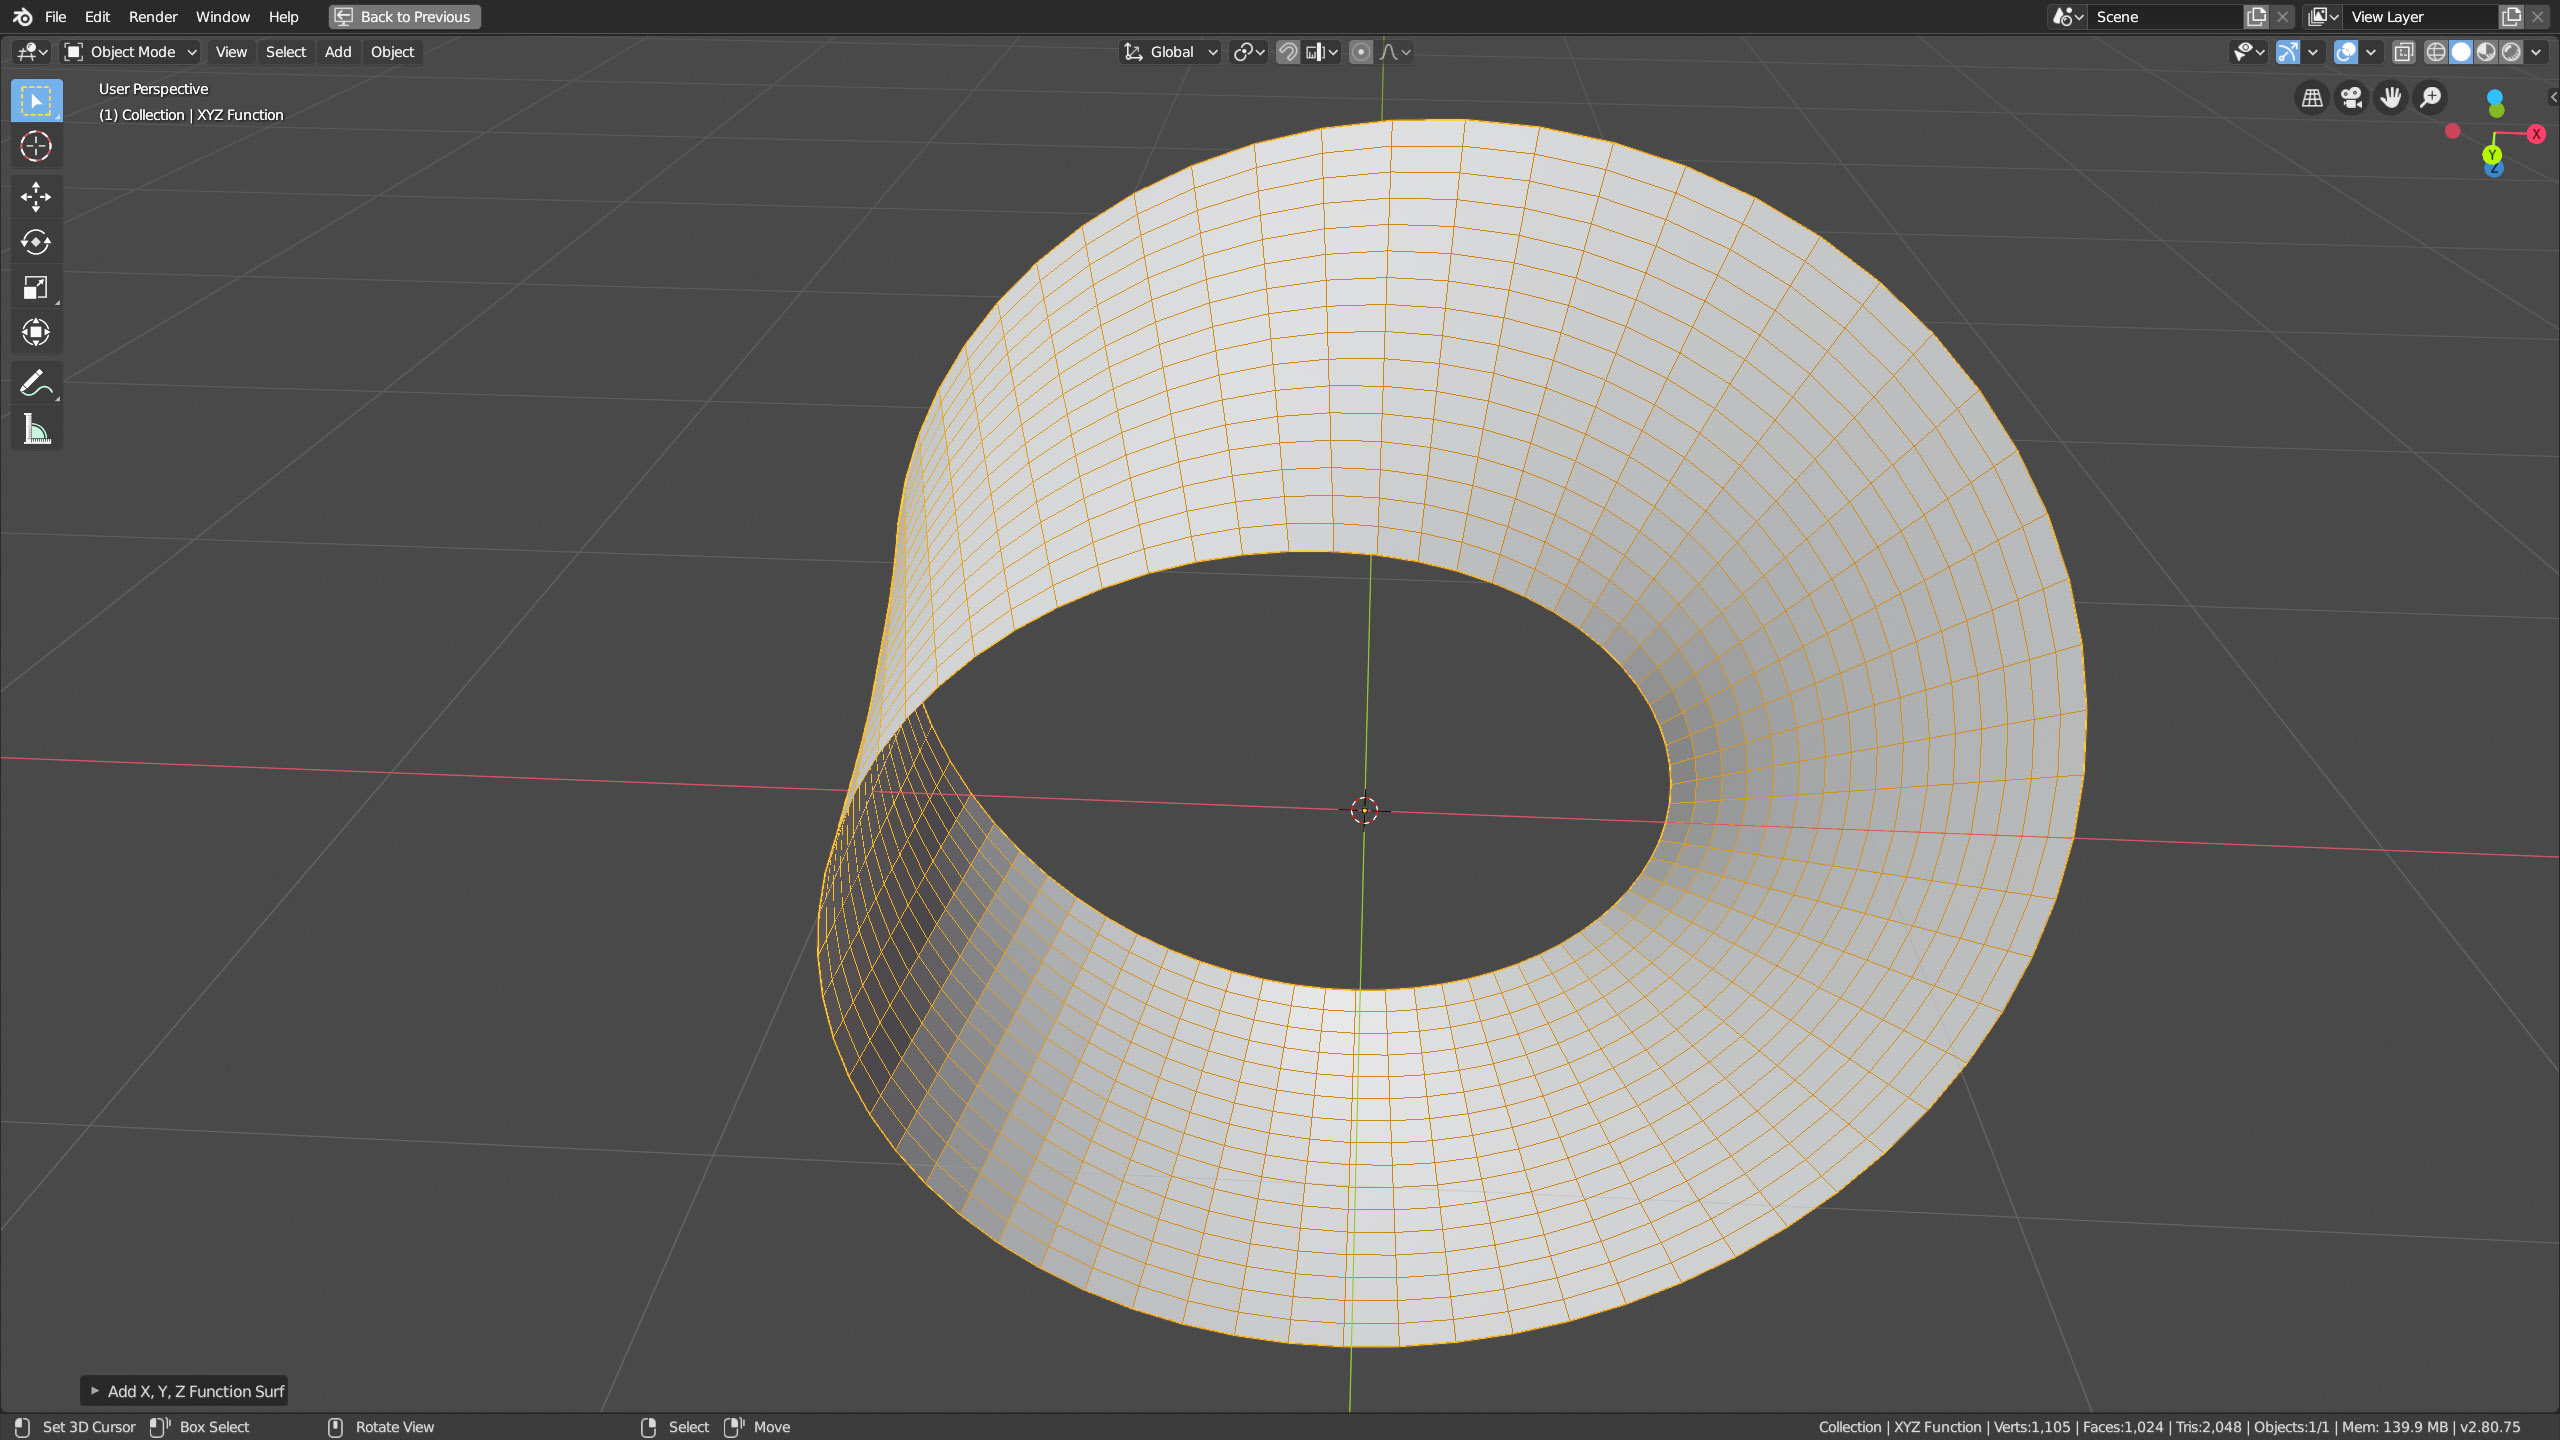
Here you can see the example of the famous Möbius strip (present among the Blender presets) whose equations and UV coordinate intervals are:
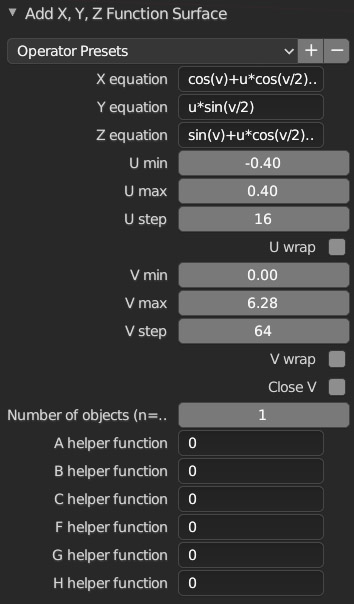
Clearly, to create this type of mesh, it is in no way possible to go randomly, but it is necessary to have a minimum familiarity with the mathematical principles of three-dimensional geometric surfaces (in any case, these can be found online with their corresponding equations).
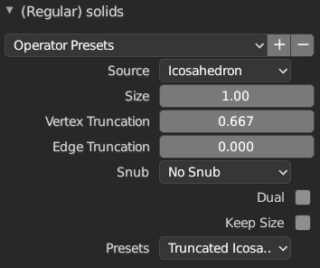
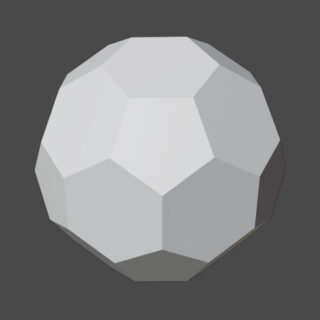
Also in the Math Function group, we find the important Regular Solids, which include the Platonic solids (polyhedra with regular polygons as faces), semi-regular Archimedean solids (polyhedra with two or more types of regular polygons as faces), and Catalan solids. In total, the number of polyhedra available is truly enormous, and each of these can be varied in different ways; let’s analyze the classic Truncated Icosahedron (an Archimedean solid at the base of a soccer ball), available among the presets of our add-on.
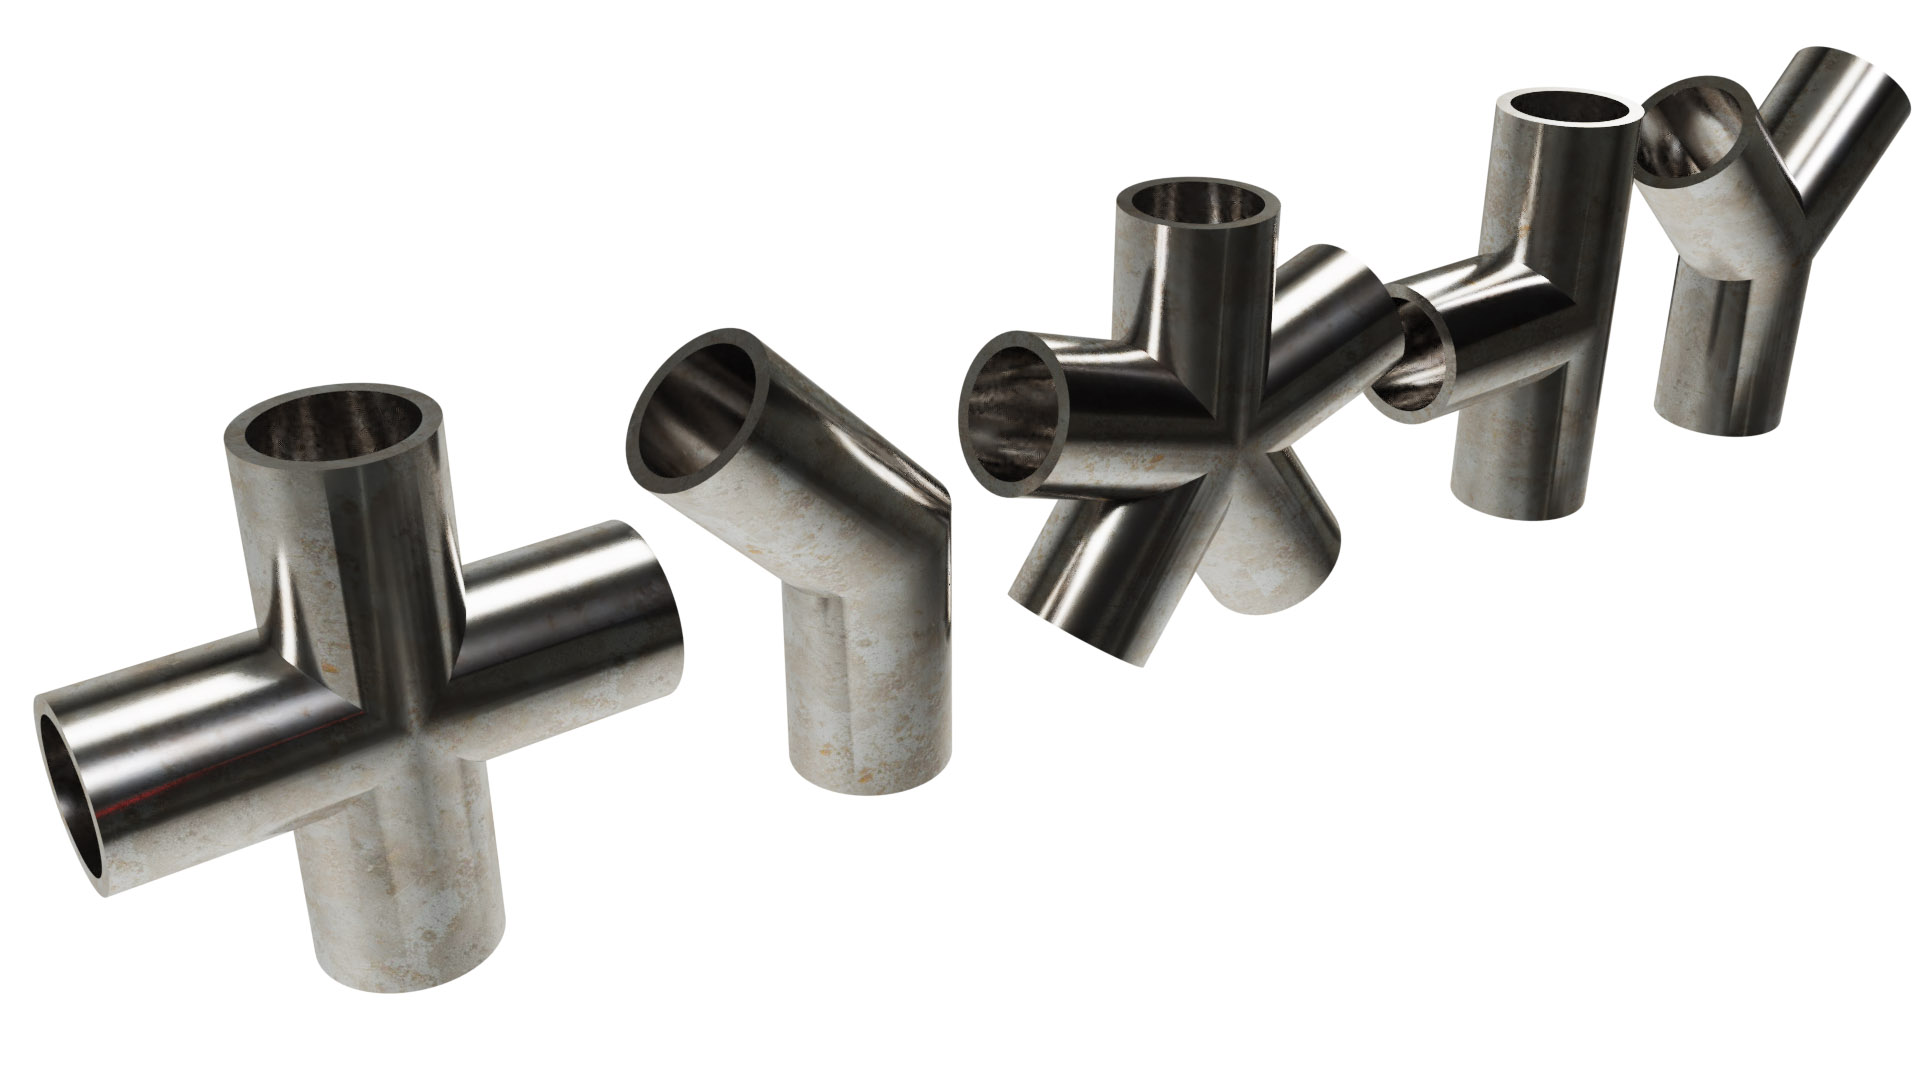
Again with the Add Mesh: Extras Object add-on, in the Add>Mesh menu we find the Pipe Joints, that is, joints for cylindrical pipes.
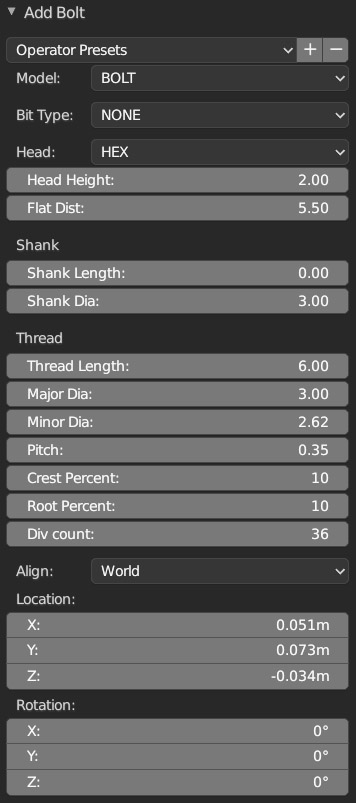
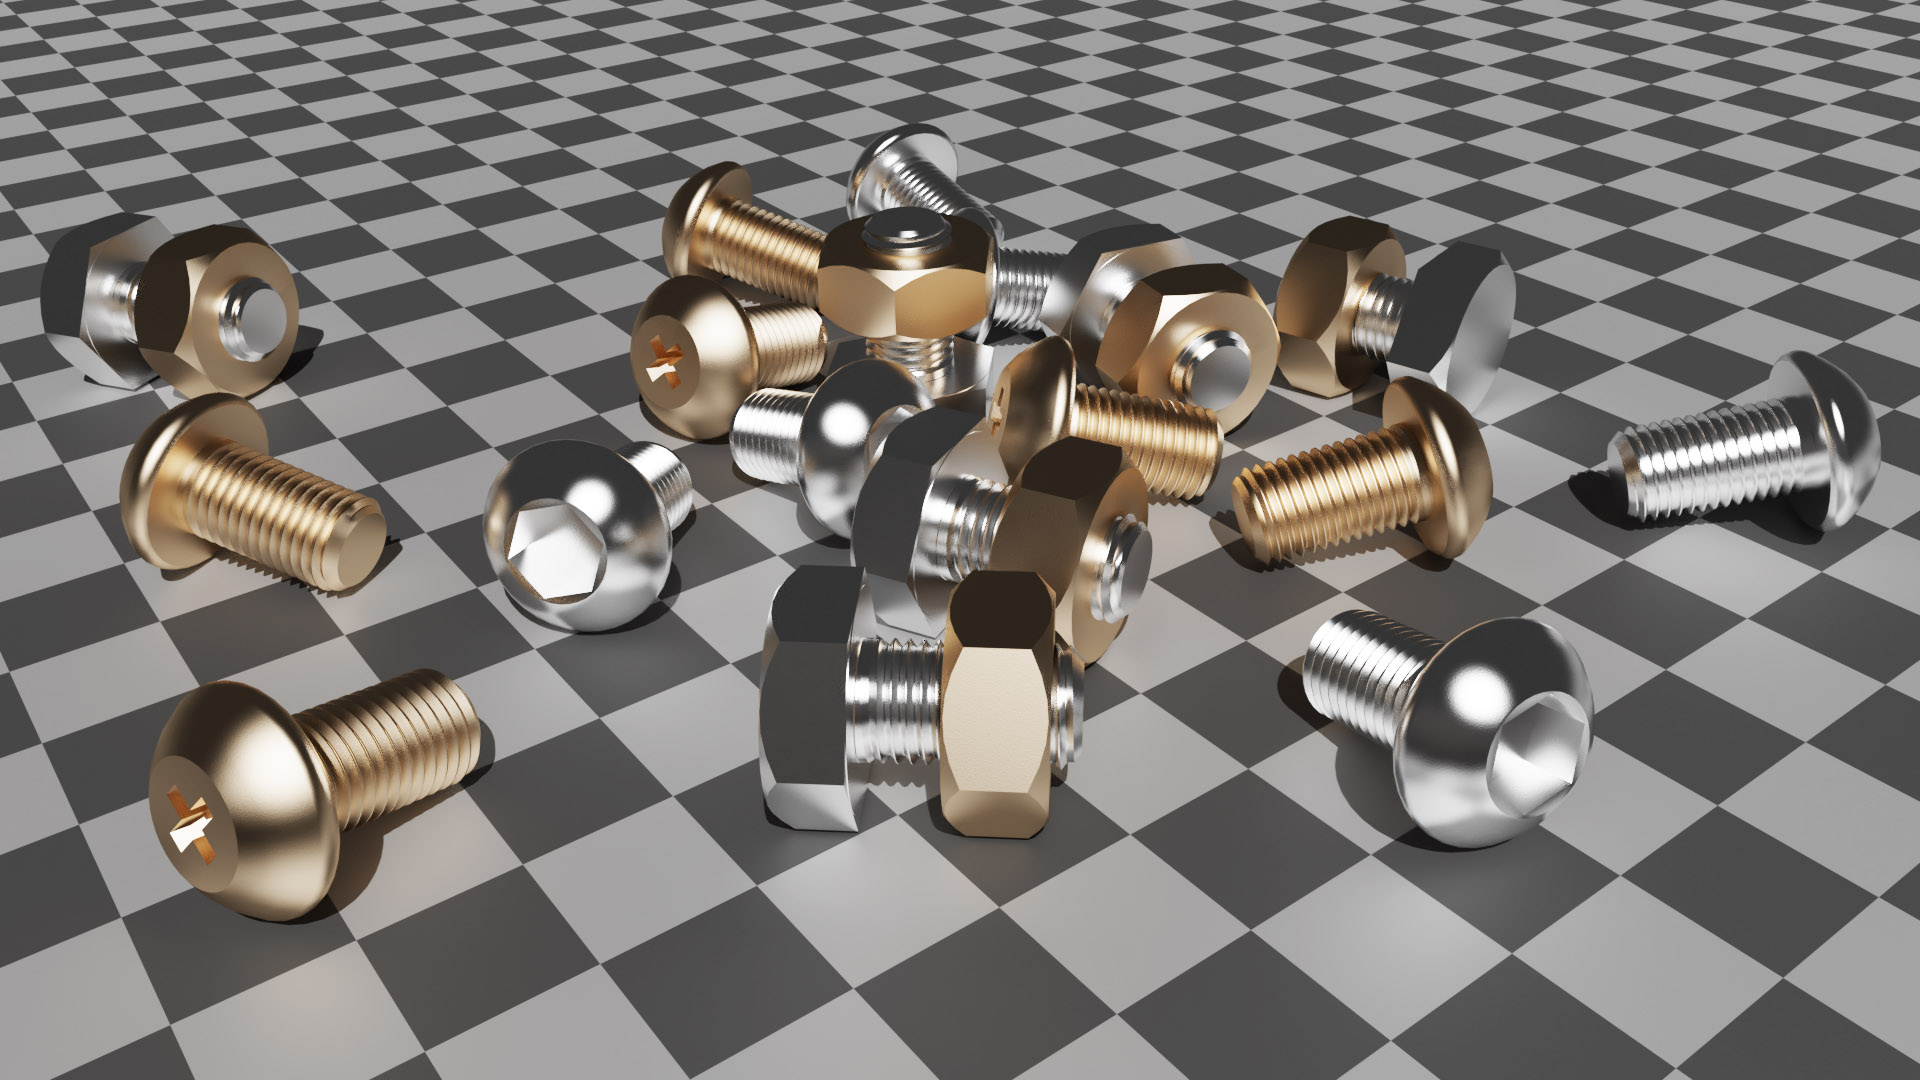
If a project requires screws or bolts, simply activate the Bolt Factory add-on and find what you are looking for among the various possible combinations.
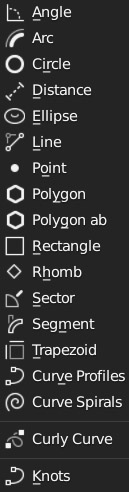
The add-ons related to curves can be found in the Add Curve category.
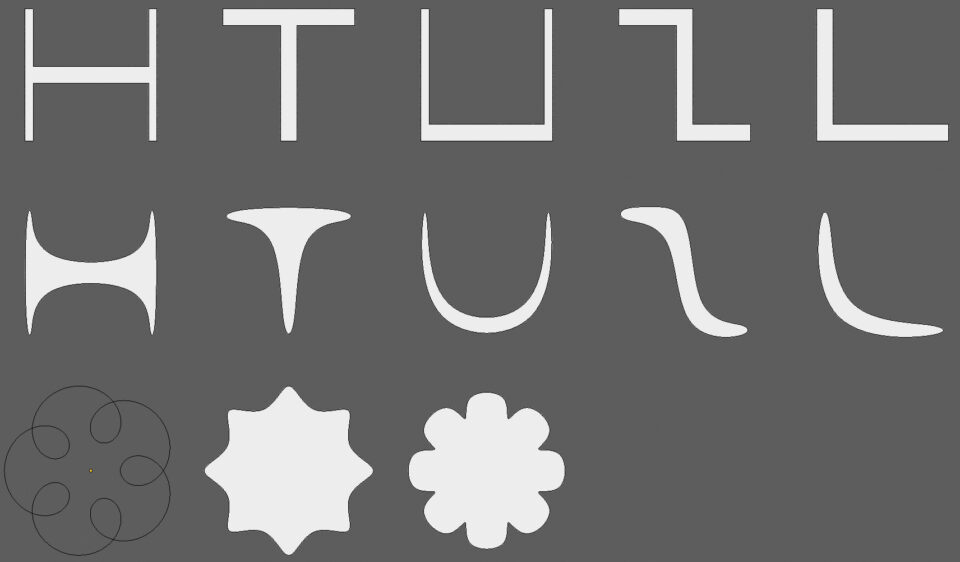

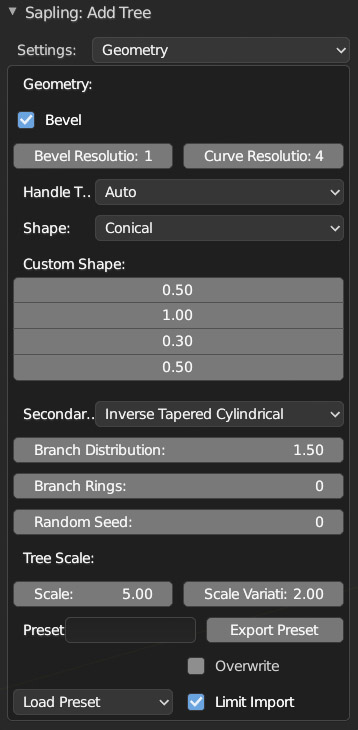
The Sapling Tree Gen add-on allows you to easily and intuitively generate various types of trees.

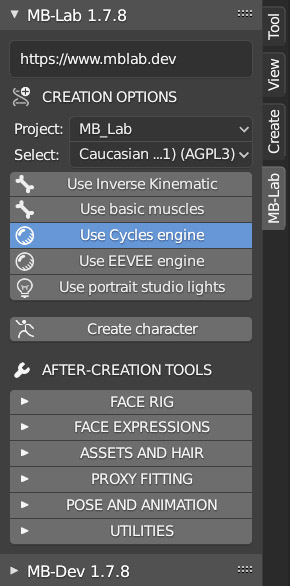
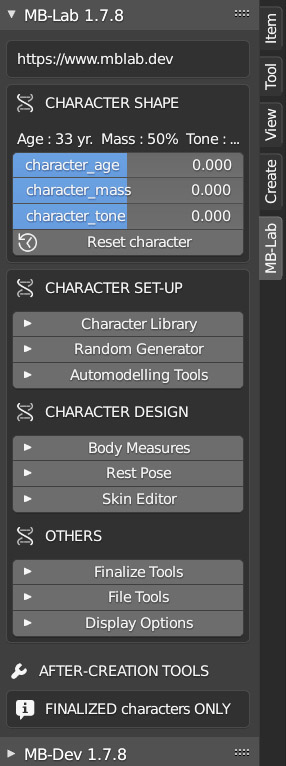
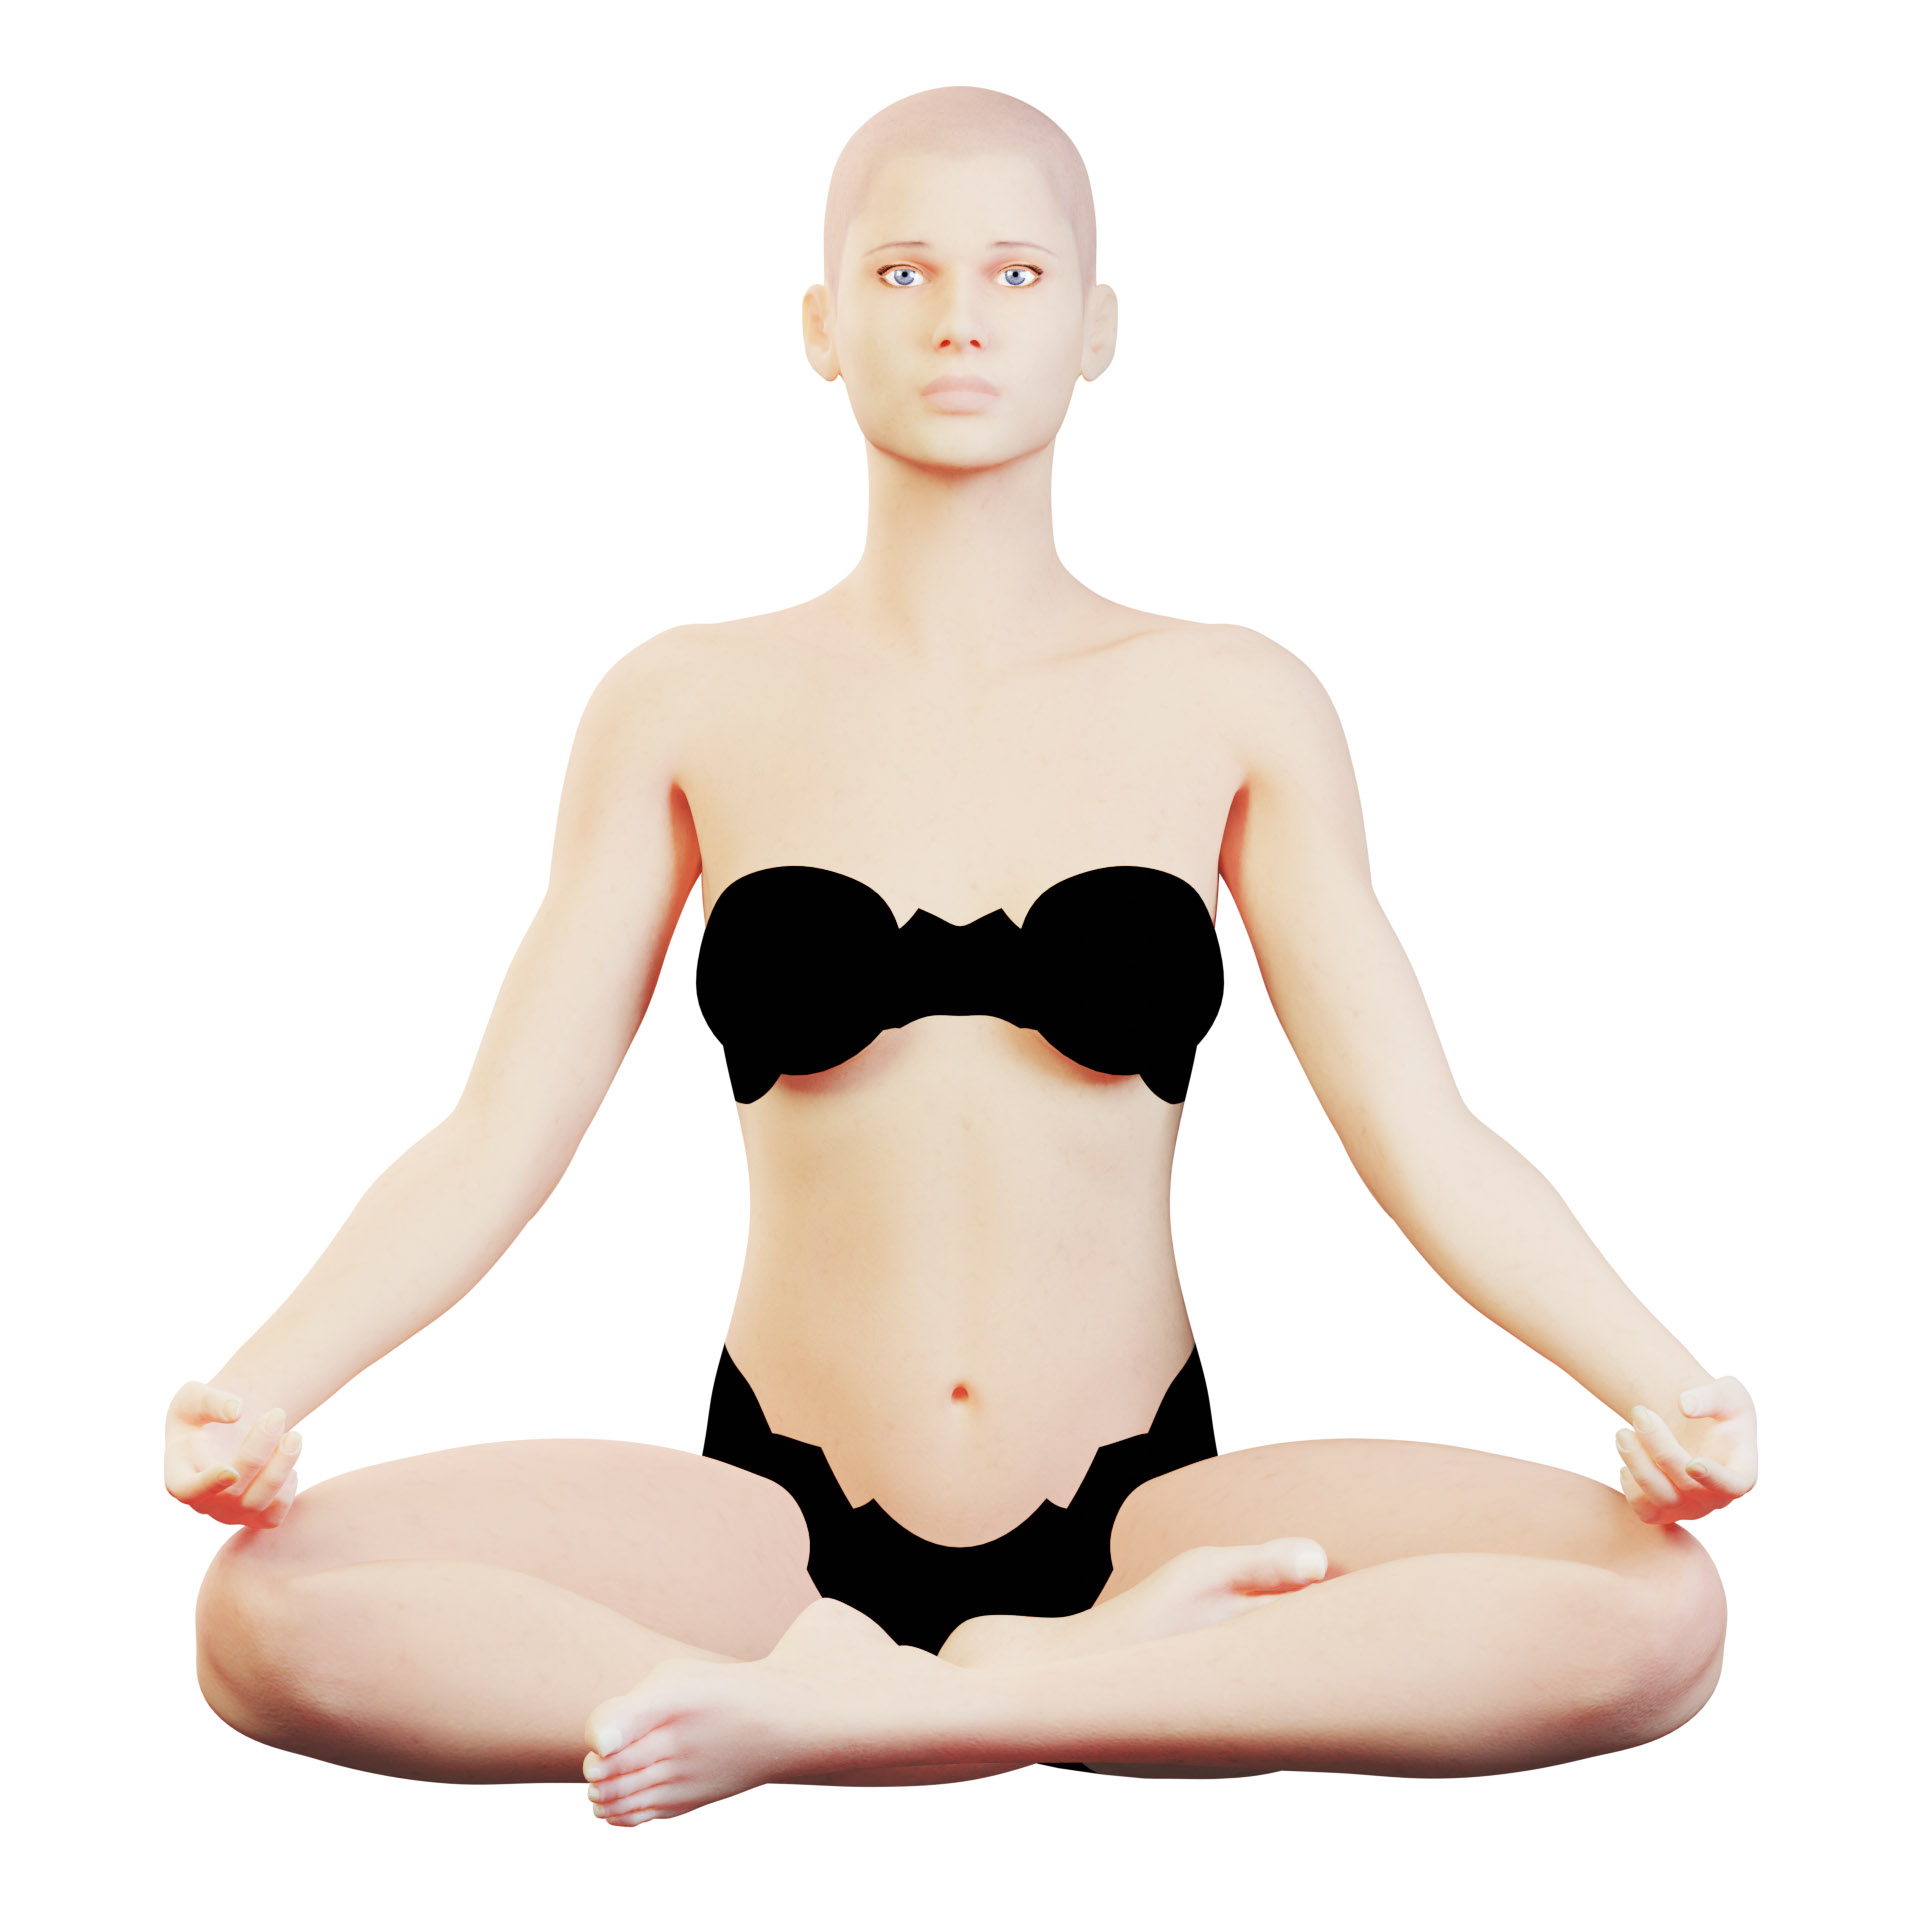
Use Inverse Kinematic and Use basic muscles are advanced features that we will not activate at this time. By clicking Create character, the model is initialized in a few seconds and inserted above the origin of the three axes (so not on the cursor). At this point, the MB-Lab tab changes, showing a series of options under the name of Creation Tools. Here you can adjust the age, mass and muscle tone of your humanoid model. But also the detail and type of skin, as well as the measurements of various anatomical parts.
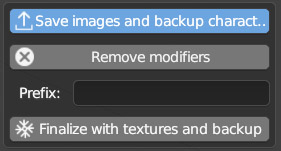
Here, click Finalize with textures and backup. Finally, in the folder you have prepared, you will find all the UV maps of the model; but do not worry because they will be automatically included in the material.
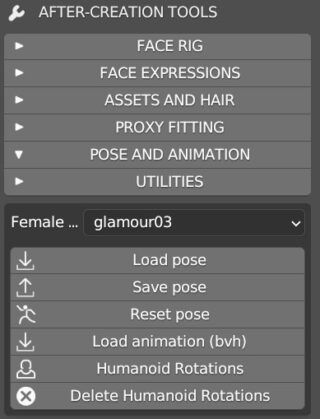
Here is the After-Creation Tools panel. Now you can have fun with the many options related to facial expressions, then use and modify the many poses offered by the add-on, or load a motion capture file (bhv) to animate the model.
Attention: the excellent MB-Lab addon has not been updated since July 2021. It works with the Blender 3.6 LTS (September 2023) but its operation is not guaranteed for future updates.
Next paragraph
Previous paragraph
Back to Index
Wishing you an enjoyable and productive study with Blender, I would like to remind you that you can support this project in two ways: by making a small donation through PayPal or by purchasing the professionally formatted and optimized for tablet viewing PDF version on Lulu.com