In this paragraph we will deal with Blender’s physical model suitable for simulating deformable body structures, starting first from the usual cube with its eight vertices and then dividing it into a sufficient number of faces for a real simulation. Let’s place the usual cube on top of a fixed plane, but this time not rotated. Let’s start by activating Soft Body physics only for the cube.
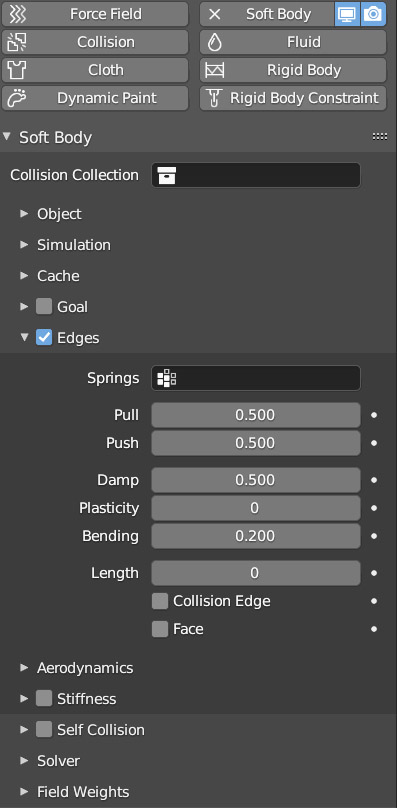
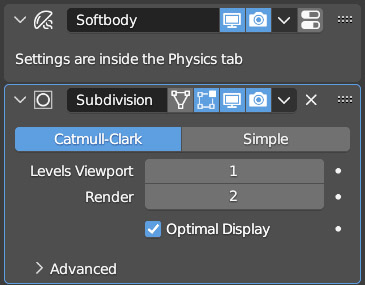
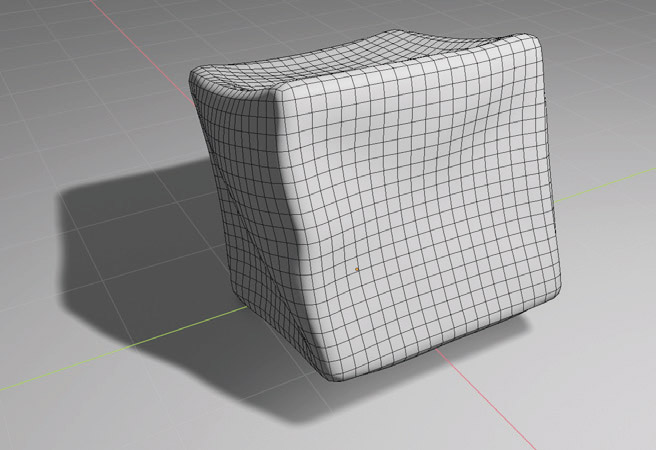
If you start the animation (space bar) you will simply see the cube oscillating up and down. It does not fall down despite the presence of the gravitational force. This is because the Soft Body>Goal panel is activated by default, which constrains our cube to move only based on the use of any keyframes or due to the effect of being parented to an animated object. We deactivate the Goal panel, while for the plane we only activate ![]() physics, without which the Soft Body would not detect its presence. If you start the animation you will see the cube fall due to gravity, impact on the plane, bounce slightly and oscillate in a similar way to a jelly, until the structure (with only 8 vertices) ends up collapsing. To prevent this, something must be changed in the Edges panel. First, you must imagine the edges of the mesh as if they were more or less rigid springs. Increase Bending (bending rigidity) to 0.2, that is, at the beginning of the range 0-10 of the possible values. With these changes, you will see the cube oscillating less and above all not collapsing. But this is still an animation that is not at all interesting, in fact the ideal use of soft body physics is certainly not the case of a cube with 8 vertices, chosen exclusively as a preliminary example, but on meshes with many vertices for a more realistic result that will inevitably involve longer calculation times. Let’s then start dividing the cube N times, keeping it rotated so that it lands along an edge (or vertex) and not on its base. Then we increase Bending to 2 and bring the Pull and Push values to 0.8 (two additional parameters useful in defining the overall rigidity of the mesh). Repeating the falling animation, you will immediately notice that the motion calculation will be more complex, especially in the moments of impact between the soft body and the plane. Going to the context Modifier related to the cube, you will already find the Softbody modifier applied automatically (without any options). Under it we can add the Subdivision Surface modifier and then apply smooth shading for a more aesthetically realistic result.
physics, without which the Soft Body would not detect its presence. If you start the animation you will see the cube fall due to gravity, impact on the plane, bounce slightly and oscillate in a similar way to a jelly, until the structure (with only 8 vertices) ends up collapsing. To prevent this, something must be changed in the Edges panel. First, you must imagine the edges of the mesh as if they were more or less rigid springs. Increase Bending (bending rigidity) to 0.2, that is, at the beginning of the range 0-10 of the possible values. With these changes, you will see the cube oscillating less and above all not collapsing. But this is still an animation that is not at all interesting, in fact the ideal use of soft body physics is certainly not the case of a cube with 8 vertices, chosen exclusively as a preliminary example, but on meshes with many vertices for a more realistic result that will inevitably involve longer calculation times. Let’s then start dividing the cube N times, keeping it rotated so that it lands along an edge (or vertex) and not on its base. Then we increase Bending to 2 and bring the Pull and Push values to 0.8 (two additional parameters useful in defining the overall rigidity of the mesh). Repeating the falling animation, you will immediately notice that the motion calculation will be more complex, especially in the moments of impact between the soft body and the plane. Going to the context Modifier related to the cube, you will already find the Softbody modifier applied automatically (without any options). Under it we can add the Subdivision Surface modifier and then apply smooth shading for a more aesthetically realistic result.
In this case, the SubSurf cannot be placed above the softbody modifier. Parameters of the Edge panel:
- Pull (0 – 0.999) Lower values correspond to lower spring rigidity, therefore a greater elongation of the edges between two vertices.
- Push (0 – 0.999) Resistance to compression proportional to the chosen value.
- Damp (0 – 50,000) To damp the oscillation of the springs in shorter times (higher values).
- Plasticity (0 – 100) Makes mesh deformations more easily permanent.
- Bending (0 – 10,000) Extends mechanical connections to non-immediately adjacent vertices.
- Length ( 0 [disabled] – 100 [no effect] – 200) Changes in percentage (up to double with 200) the variation in the size of elastic edges during their deformation, with 0 (default) it is disabled, from 1 to 99 it reduces the size, 100 leaves everything unchanged, 101 – 200 increases the size.
As mentioned earlier, the cube model (divided) is made up exclusively of square faces that are seen by Blender’s physics engine as if there were four springs between the four vertices of each of them along the edges. Activating the panel

the simulation will take into account additional potential elasticities on the diagonals of each face, whose rigidity is proportional to the Shear value (0-1) all for a more stable and realistic “soft” physical structure. Let’s leave this panel disabled and duplicate the cube, placing one of them just above the plane, so that the other falls and impacts it. To obtain the simulation of a soft body in contact with another, we simply need to activate Collision for both.

When the motion of a soft body is governed by keyframes or by the relationship with another animated object, we must activate the Goal panel:
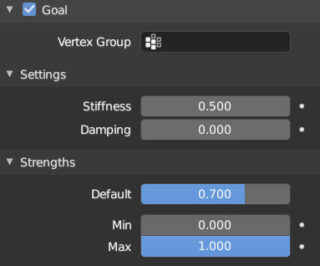
Stiffness is the parameter for adjusting the rigidity of the soft body; at zero we will have the collapse of the mesh, while a value of 1 is not allowed, but slightly lower.
Damping is the important variable parameter from 0 to 50 that accelerates the loss of elastic energy responsible for the vibrations of the soft body, thus reducing the time required for stabilization.
Strenght is a default parameter set to 0.700, variable from zero to one. By setting it to zero you will see the collapse of the mesh, while with the value of one the behavior of the Soft Body will be that of a rigid body. The minimum and maximum values are used in the case where the model has been mapped using Weight Paint to distribute a different weight of the effect to different parts of the mesh. Finally, with Vertex Group we can limit the soft body effect to only part of our mesh.
If any problems in the realism of the soft body animation are not solved through the various parameters discussed so far, we will inevitably have to increase the calculation precision by focusing on the Solver panel.

Generally it will be sufficient to leave the check mark on Auto-Step and decrease the Error Limit value, trying to find a good balance between calculation time and accuracy. A refined simulation, especially if there are many objects interacting with each other, will logically require a longer processing time, which makes it very important to store the animation in one or more caches.
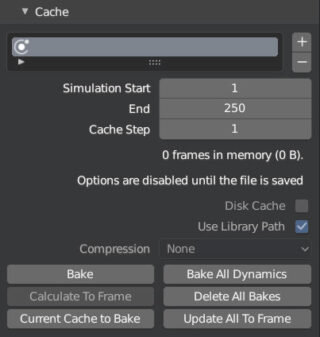
To free up memory, just click Delete All Bakes. Bake calculates the entire animation without being displayed in the 3D View, and a progress bar for the calculation appears at the bottom of the Blender interface ![]() . With the + button we will add new data caches for different tests, which we can delete with the – button. To save the cache to disk, the .blend file of the project must already be saved, so a folder called blendcache will be created in the same directory.
. With the + button we will add new data caches for different tests, which we can delete with the – button. To save the cache to disk, the .blend file of the project must already be saved, so a folder called blendcache will be created in the same directory.
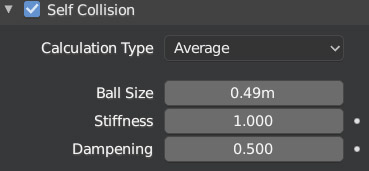
In the case of closed bodies without protrusions or protuberances, the Self Collision option is less useful (which we will see in action in the dynamics of cloths) which processes the collision of parts of the mesh with itself. However, if necessary, simply activate it and find the best method of calculation for this type of collisions.
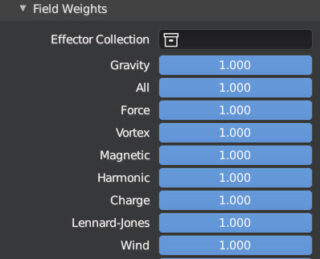
If in addition to the gravitational field there are some forces, such as those listed here:
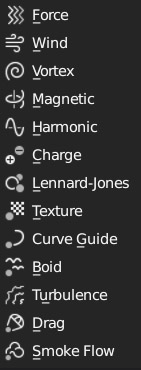
it will be possible to limit the effect of each of them by using the Field Weights panel. We will see some examples of force when talking about Cloth and Particle Systems, for which we will find the same Field Weights options.
Finally, it is possible to transform the mesh from its original structure to the one visible in any frame of the dynamics processed via Soft Body (this also applies to Cloth bodies that we will examine shortly) simply by positioning ourselves in the desired frame and applying the modifier that we will find in the Modifiers context of the properties. It is also possible to apply the modifier as a Shape Key (par. 6.3).

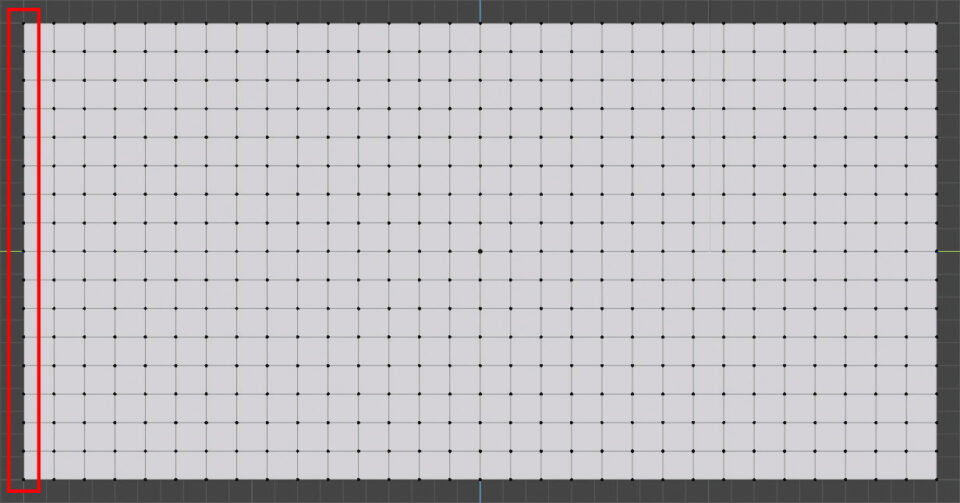
To examine the physical properties of Cloth objects, we will use the practical example of creating a flag. Create a plane divided into a discrete number of faces as in the image below, perhaps using the Loop Cut and Slide tool (Ctrl R) to get square faces.
Therefore, activate the cloth dynamics for it.
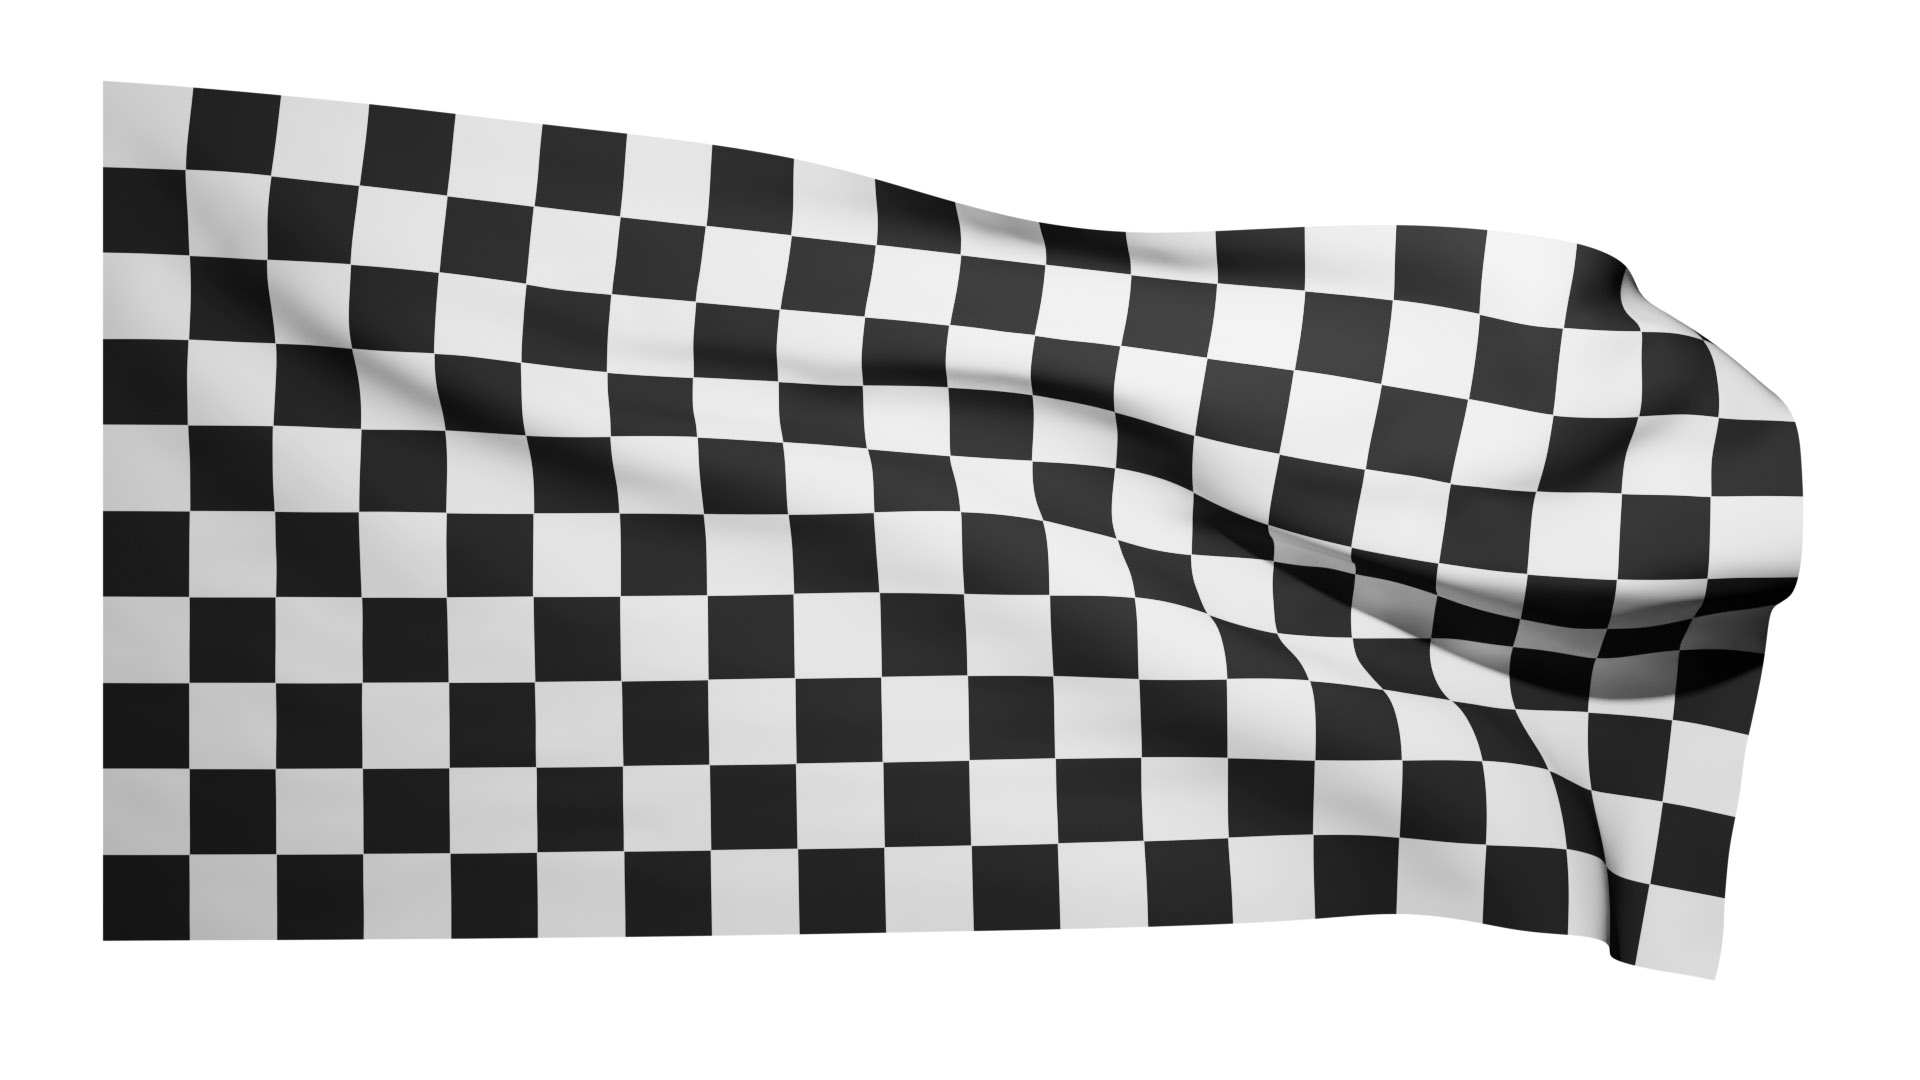
Create a Vertex Group for the first row of vertices (as highlighted in red in the figure) and arrange the mesh vertically, with its shorter sides parallel to the z axis. Activate the Cloth physics for the plane and in the Shape panel, specify the vertex group created earlier in the Pin Group field (pinning = fixing). When you start the animation, you will see the flag fall down while staying fixed at the edge whose vertices were used for Pinning. In this first example, we can observe that the object does not collide with itself, which would happen in reality, resulting in a more complex motion of the fabric. Let’s immediately remedy this by activating the Self Collision panel in the Cloth Collison panel. You will immediately notice a much more complex and realistic dynamics as visible in the image (smooth shading and subsurf modifier)
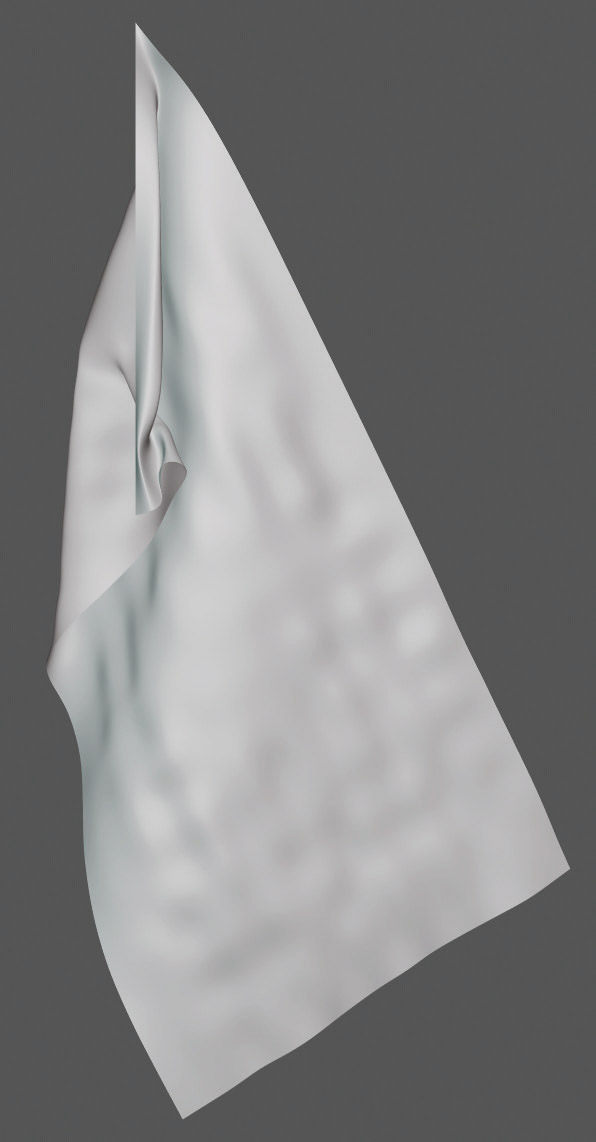
In the absence of any forces other than gravity (such as wind), the flag tends to become tangled on itself before hanging down.
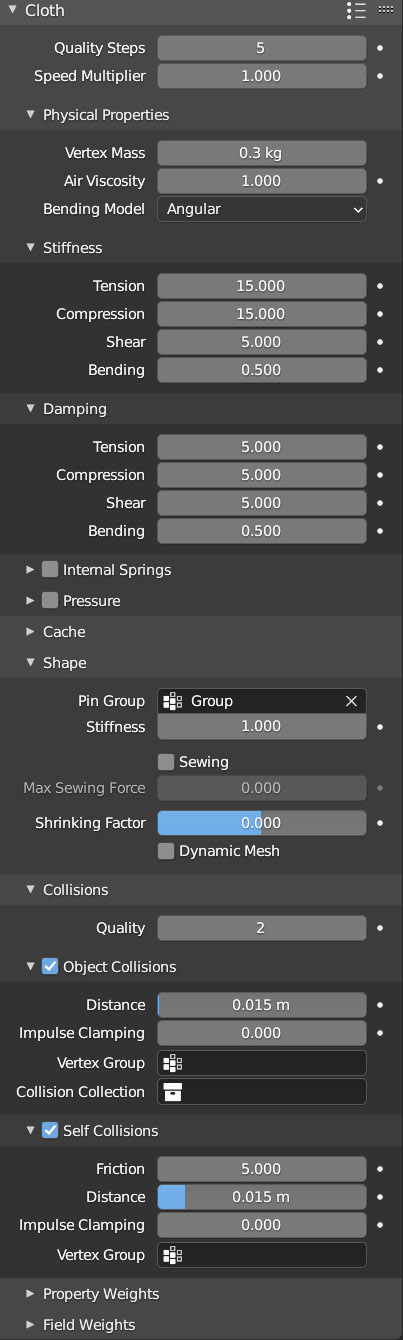
In the Cloth panel, icon ![]() you will also find presets to simulate the behavior of the following materials: Cotton, Denim, Leather, Rubber, Silk; and you can add others. Also in the cloth panel, you can set the quality of the simulation with Quality Steps 1 – 80. In the Physical Properties panel, we find:
you will also find presets to simulate the behavior of the following materials: Cotton, Denim, Leather, Rubber, Silk; and you can add others. Also in the cloth panel, you can set the quality of the simulation with Quality Steps 1 – 80. In the Physical Properties panel, we find:
- Mass
- Air Viscosity, resistance of the atmosphere (the motion of this type of object will be significantly influenced by aerodynamic effects).
In the Stiffness panel:
- Tension, regulates the resistance of the cloth to stretching
- Compression, regulates the resistance to compression
- Shear, general stiffness
- Bending, parameter related to the number of folds the fabric will form in movement.
The four parameters just seen will also appear in the Damping panel related to the damping of the elastic motion of the cloth. In the Collision panel, we will set the quality of the collisions with a value ranging from 1 to 20, to be raised in the case that some imperfections of the motion cannot be eliminated. In the Object Collision panel, we have the Distance parameter, which indicates the minimum distance required to consider the surfaces of different objects colliding. We will also find a Distance parameter in the Self Collision panel, which obviously concerns collisions between different parts of the same surface. Here we can also increase or decrease friction. The Cache and Field Weights panels are analogous to those encountered for Soft Bodies. Also, everything regarding the interaction and collision between different cloths and/or between cloth and rigid body works exactly the same way as soft bodies.
Let’s complete the example of the flag by inserting two other elements into the scene. The first is the flagpole: a simple cylinder to which we will parent the cloth as a child.
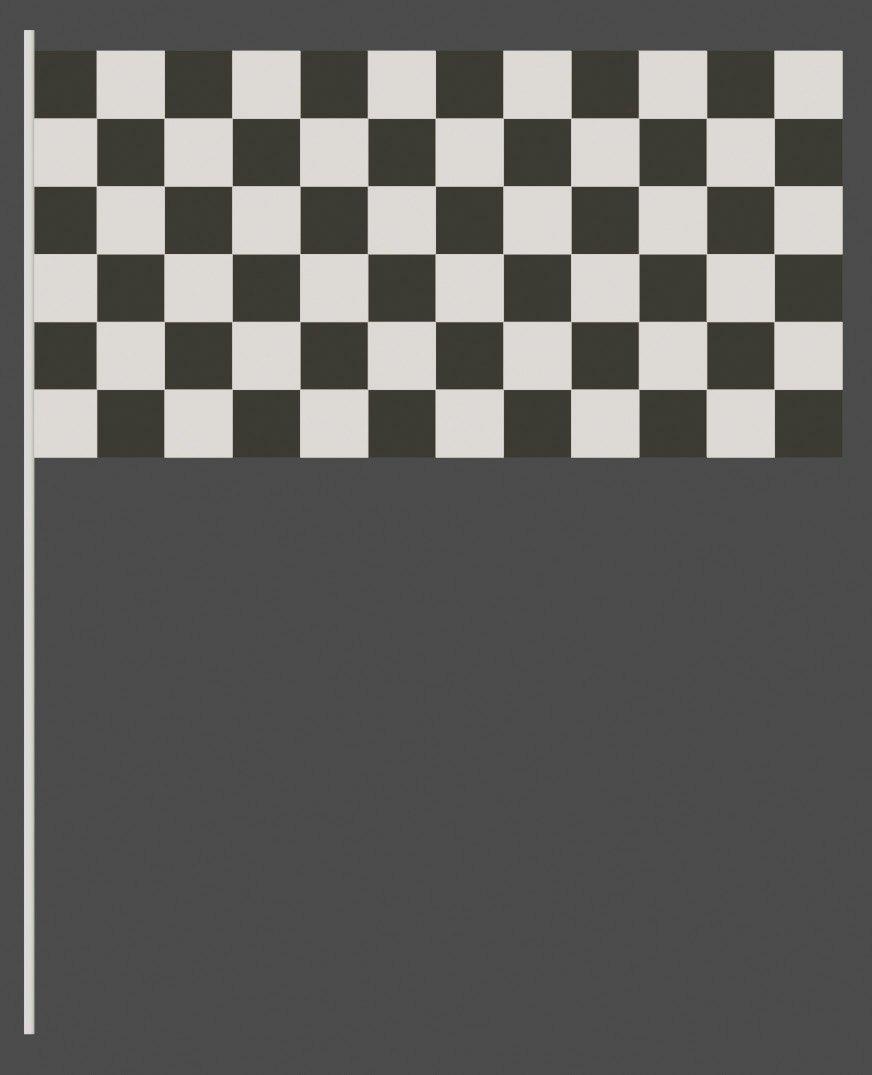
You will see that when you start the animation and move the cylinder, the cloth parented to it will move according to the parent > child relationship, exhibiting in real-time the physical effects on the flag of this movement. Clearly, you can give the cylinder a rigid body physics and activate Collision so that the cloth can interact with it, or if the animation does not require contacts, leave the cylinder without any physics or animate it using keyframes. Let’s leave the cylinder fixed and without physics, then insert a Wind force into the scene (from the Add > Force Field menu in the 3D View header). The wind element is represented by 3 circles and an arrow, respectively the flow and direction of this force, whose intensity will vary randomly, simulating the behavior of a wind current. Position the wind as shown in the figure using the normal manipulators.
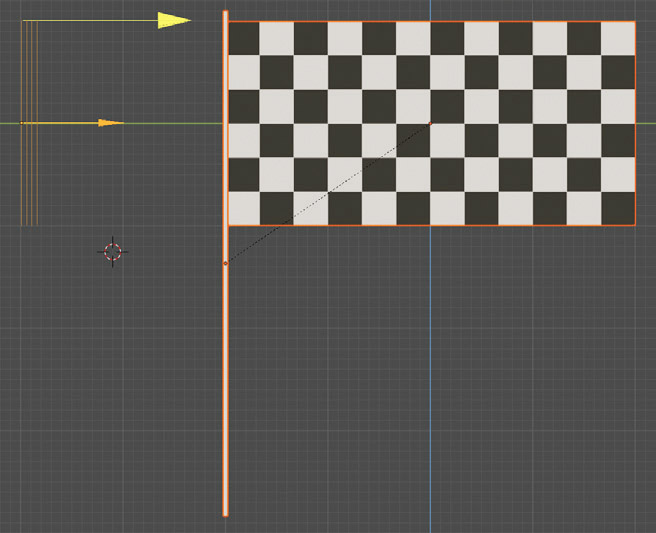
The narrow dimensions of the Wind Force object already indicate that the effect will not be able to influence the movement of the flag (which also depends on the mass, number of faces, and the parameters adopted for the cloth).
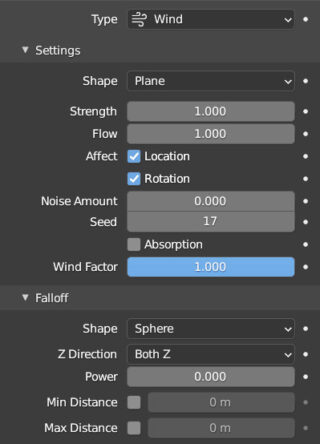
At this point, you can start the animation and increase (even significantly) the Strenght value (force) in the Physics context related to the Wind object, observing the effect in real-time.
Next paragraph
Previous paragraph
Back to Index
Wishing you an enjoyable and productive study with Blender, I would like to remind you that you can support this project in two ways: by making a small donation through PayPal or by purchasing the professionally formatted and optimized for tablet viewing PDF version on Lulu.com