Let’s see how to apply modifiers to the interpolation curves (F-Curves) in order to create more complex animations. Suppose we want to make an object vibrate randomly for which we have set a single keyframe location at any given moment. The x-y-z location interpolation curves will clearly be straight lines. In the Graph Editor, select one of the three curves and in the sidebar (N key), go to the Modifier tab, click Add Modifier to add the Noise modifier.
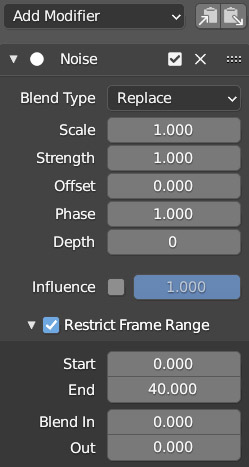
As time passes, the value of the chosen coordinate (zero if the object is centered: 0,0,0) will vary randomly within the range +0.5 – 0.5, as the Strength (strength) parameter is set to one. If the value is set to two, the oscillation would occur between +1 and -1

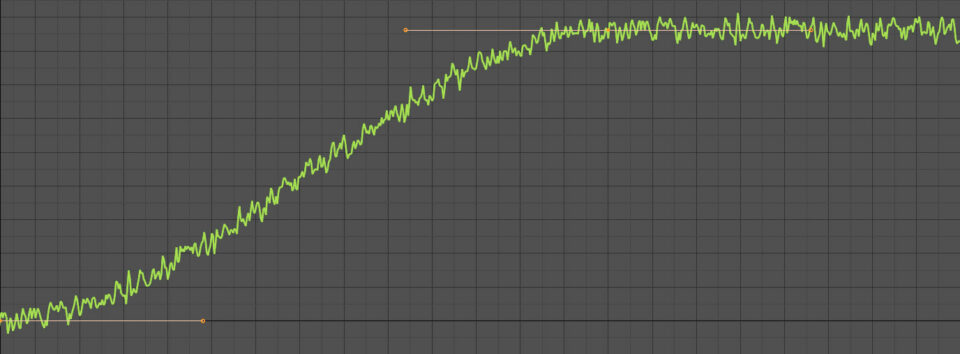
The second thing we notice is that the random movement extends throughout the timeline, unless we Restrict the Frame Range. With Scale you can change the noise frequency, which will be higher for values tending to zero; it will decrease for positive and increasing values, or for negative and decreasing values. Phase varies the causal factor, and with Depth you can make the shape of the random variations more detailed. In the following image you can see an example of a Noise modifier applied to a Bézier F-curve (the object will move vibrating at the same time)
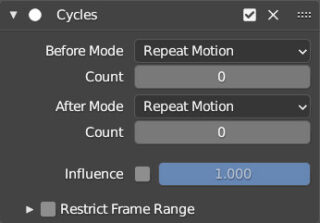
Another modifier that might be very useful is Cycles, which makes an animation cyclic in both directions of time, either indefinitely or within a range of frames of your choice. Take, for example, the animation based on 3 keyframes in which an object moves in one direction and then returns to the starting point.

To reiterate the movement and make it permanent independently of the duration of the animation (with the possibility of restricting it to a certain range of frames) you just need to apply the Cycles modifier.

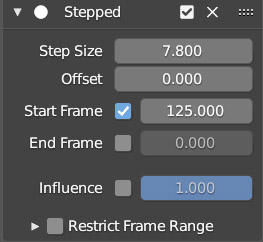
Obviously, it is possible to apply multiple modifiers, keeping in mind that the overall effect may depend on the order of them. An additional modifier is Stepped, which will have the effect of making the animation discontinuous

Finally, there are other modifiers that use mathematical and/or scripting principles (Python language).
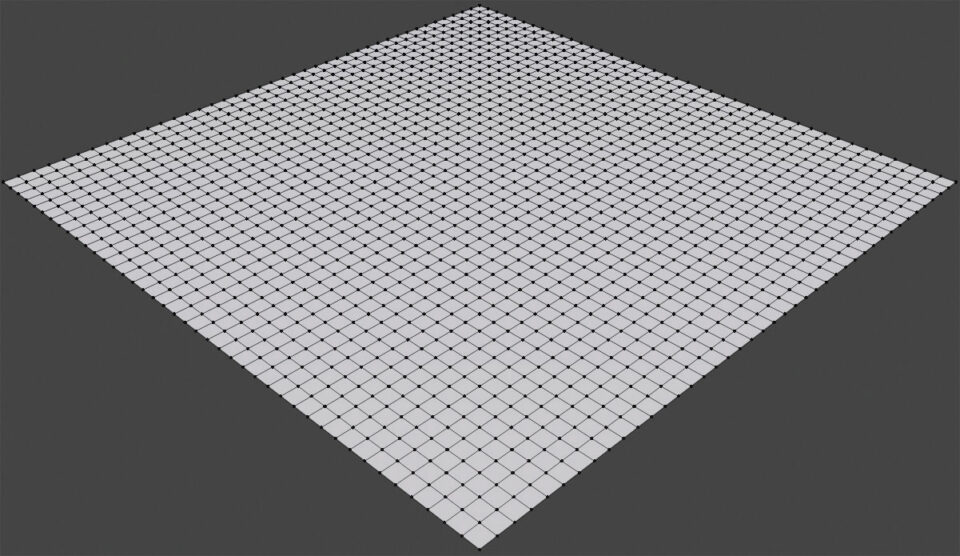
The animations so far have concerned meshes subjected entirely to transformations, or to parameters that can be fixed at a certain frame through keyframes. Since meshes are made up of a certain number of vertices, edges, and faces, we might want to animate these elements individually, creating an animated model that will evolve its polygonal structure over time, changing from a predetermined shape to another (Morphing). To do this, Blender provides Shape Keys. Let’s add a divided plane to the scene
In the Object Data context, the Shape Keys icon ![]() we will find the Shape Keys panel.
we will find the Shape Keys panel.

The + and – buttons are disabled in edit mode, in fact we can assign a shape key to our model exclusively in Object Mode. The first shape key we will create will be considered the base shape, or at rest, of our mesh ![]() so let’s create a second shape key automatically named Key 1
so let’s create a second shape key automatically named Key 1 ![]() .
.
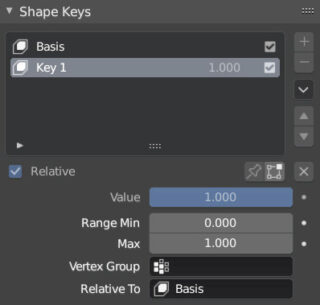
Leave the check on Relative (active by default) and notice the appearance of new fields including the zeroed Value bar. Select the Shape Key “key 1” and enter edit mode where we will make any modification to our mesh, for example using proportional editing.
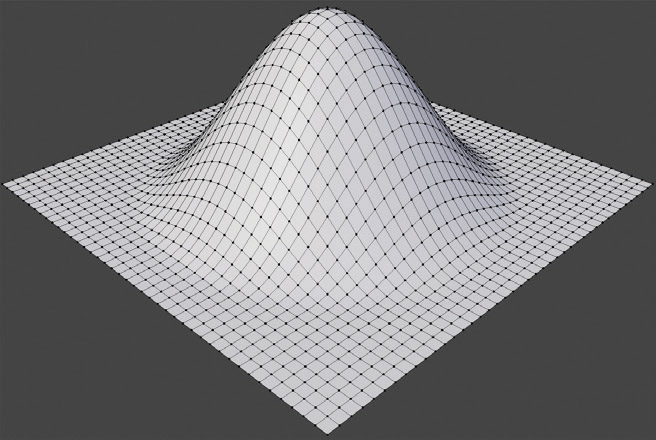
Going into Object Mode we will see that the mesh returns to its original flat form, that is, Basis. At this point, we can vary the Value in the Shape Keys panel (always with key 1 selected) to see the mesh transform in real time from the Basis shape to the one set in edit mode for key 1. Finally, you just need to assign a keyframe with Value=0 (basis shape) at one frame and Value=1 (Key 1 shape) at a subsequent frame. As always, you can decide the interpolation using the usual Graph Editor:

Next paragraph
Previous paragraph
Back to Index
Wishing you an enjoyable and productive study with Blender, I would like to remind you that you can support this project in two ways: by making a small donation through PayPal or by purchasing the professionally formatted and optimized for tablet viewing PDF version on Lulu.com
