The World context in Blender Cycles has a few additional panels compared to the one seen in paragraph 3.4

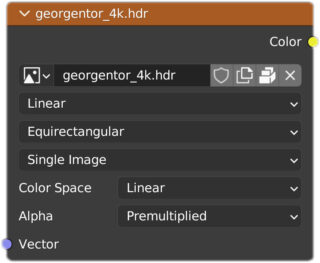
By disabling the Diffuse checkbox in the Ray Visibility panel, the world will appear as a background but will not diffuse its color on the surfaces. We can also prevent the background from being reflected by disabling Glossy, or from being transmitted by disabling Transmission. Finally, without the checkmark on Volume Scatter, the background will not be diffused by objects to which we have assigned the corresponding volumetric shader. Otherwise, we will continue to define the world using the Shader Editor in a completely analogous way to what we saw in the chapter dedicated to Eevee, with the important difference that in the Cycles graphics engine, HDR lighting is diffused through diffuse, glossy, and transmission bounces. HDR (High Dynamic Range) is a type of ambient lighting that uses special images encoded in a format that, instead of dealing with pixel color data like common jpeg and png, stores the physical values of brightness and radiance, that is, the same parameters treated by modern rendering engines. HDR is a photography technique that involves taking multiple photos of the same subject at different exposures, from under-exposed to over-exposed, in order to get a greater set of information about both shadow and light areas. This technique is now very popular among photography enthusiasts due to the incredible quality of some images that, if developed wisely, accurately reproduce the human perception of color in different lighting conditions, thanks also to the power of modern computers that can handle a large amount of high definition HDR data. HDR has quickly found use in 3D rendering as well, where it is useful for achieving photorealistic results in a relatively simple and quick way. The format of the images is Radiance HDR (.hdr) which uses more bits per pixel than the classic 24-bit formats. These images also have a special “form” that allows 3D observation of the photo as if we were in the exact location where the camera was placed. We are talking about the equirectangular projection (or geographic) of a 360° horizontal and 180° vertical view, obtained by composing different photographs or using special lenses. By selecting an HDR background as seen in paragraph 3.4, in the Shader Editor we will find the Environment Texture node already set with Equirectangular coordinates.
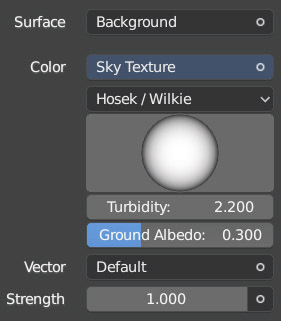
Blender also provides models for sky simulation, including a sun that will only become visible (in the form of a halo of light) by increasing the atmospheric turbidity parameter, making sunrises and sunsets more realistic. To do this, you can click on the yellow circle in the Color selector in the Surface panel and then choose Sky Texture from the menu that appears on the screen, which will bring you to the context of the world:
and this node in the Shader Editor
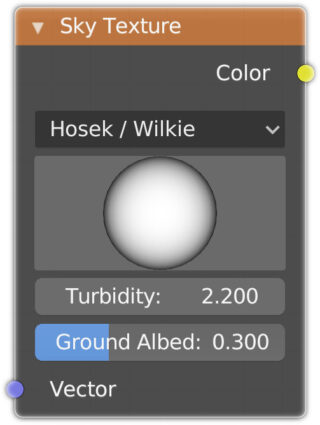
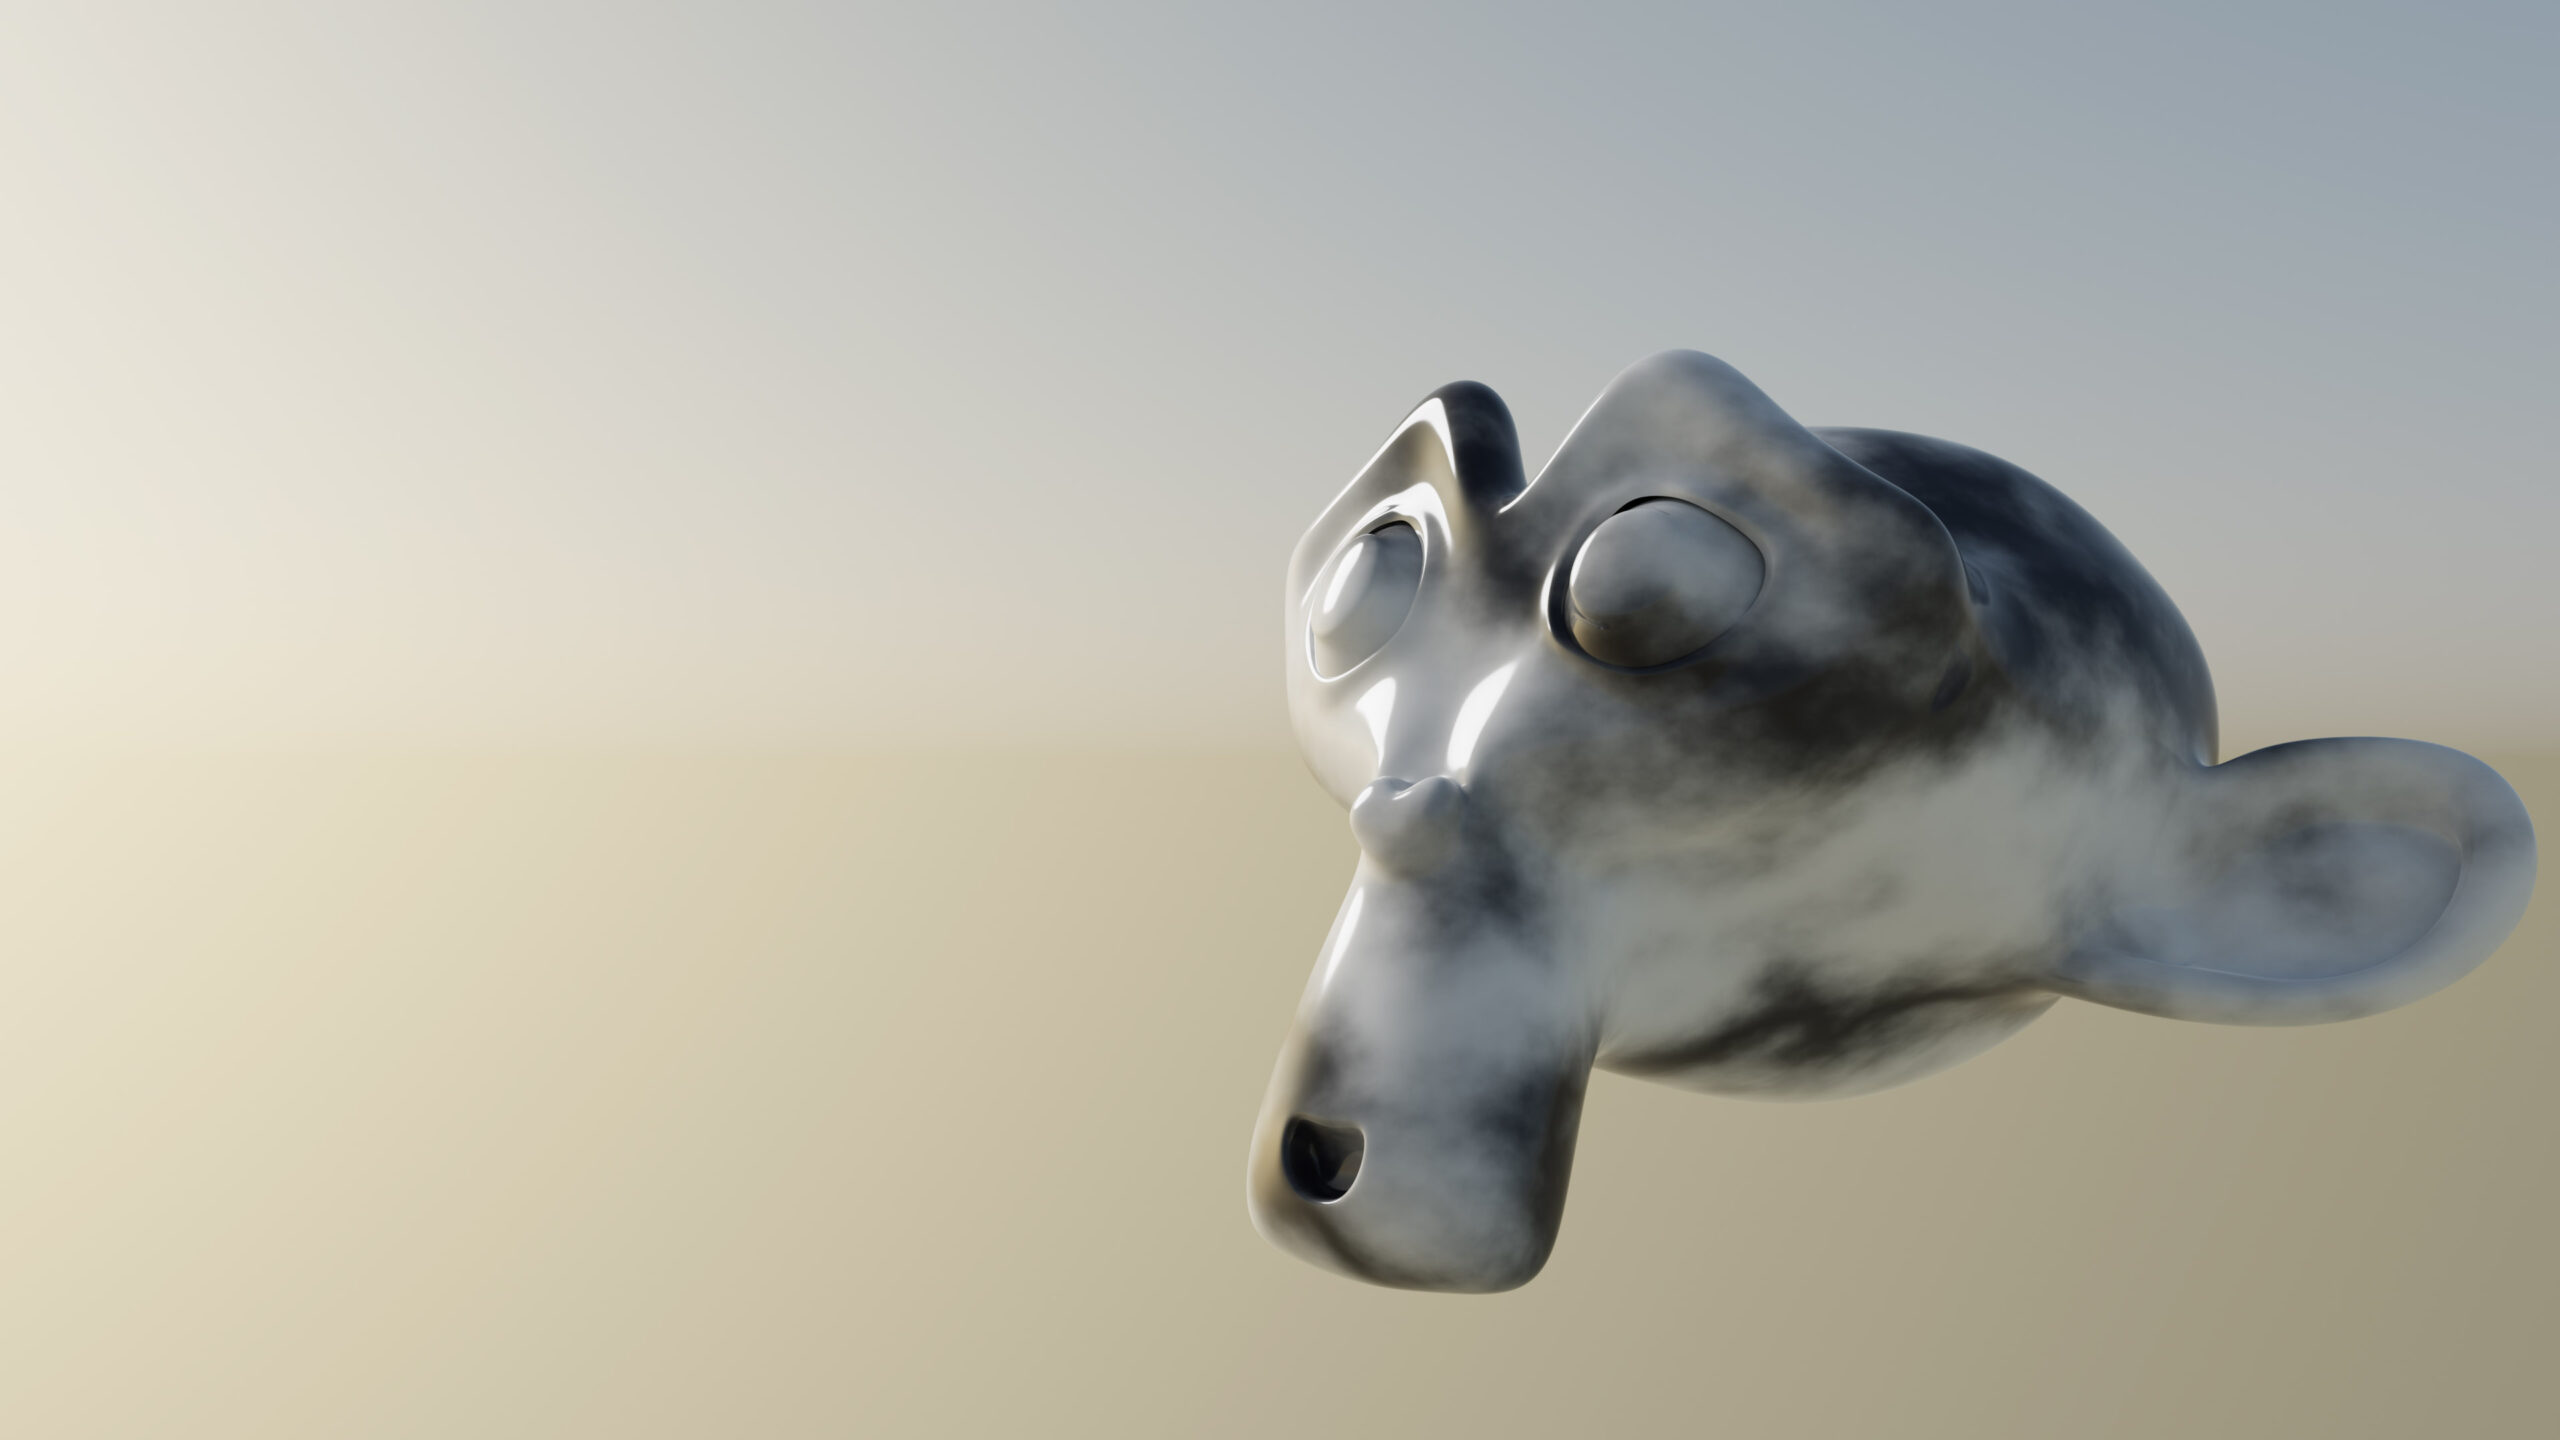
The Hosek/Wilkie and Preetham lighting models work with both eevee and Cycles. Through the gray sphere we can vary the position of the sun. In H.Wilkie, in addition to the turbidity value (1-10), there is also the Ground Albedo to extend the height of the brightness horizon (realism can be improved by inserting a Sun lamp in the scene, consistently with the orientation of the sun chosen in sky texture). Following is an example of Sky Texture + Sun rendering.
The Nishita model, in addition to being more advanced, is dedicated only to Cycles.
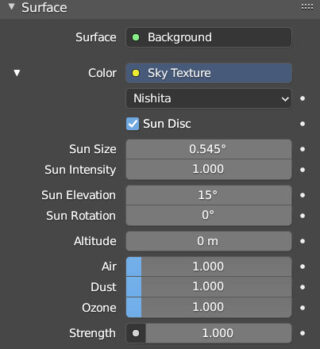
The orientation of the sun (included in the model) in this case is managed with the rotation and elevation parameters. In addition, we find Air, Dust, and Ozone to adjust the chemical-physical composition of the atmosphere which will greatly affect the colors and lighting.
In Cycles, the camera object is completely analogous to the one seen in Eevee (paragraph 3.10) also in terms of depth of field. The only difference is found in panoramic mode. For a wide-angle view, we will simply use the Perspective mode with focal lengths smaller than 35mm. With Panoramic, on the other hand, we will activate the interesting ultra-wide-angle modes: Fisheye and Equirectangular, the latter useful for generating 360°x180° HDR backgrounds directly from our Cycles scenes.
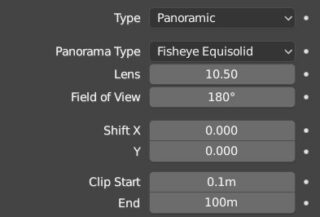
In fisheye mode (literally fish eye) we have a circular rendering of a field of view that is 180° by default. In the Object Data context of the camera, we can select (Lens panel) two fisheye modes: Equidistant and Equisolid. With Equidistant, the rendering area will automatically adapt to the proportions of the camera (becoming an ellipse for non-square resolutions).

Here we can also change the field of view by acting on Field of View (10° – 360°), narrowing the visible area. In Equisolid mode, we can also act on the focal length Lens (0.01-15.0). Decreasing this value will make the image move away. In the next Camera panel, we find the value Sensor Fit (1.0 – 100.0) expressed in millimeters; decreasing it will enlarge the visible area. The scene used in these examples is the one shown below, where the camera is surrounded by eight differently colored Suzanne meshes and a floor mesh with perimeter walls; then an ambient light sky texture for the world, and finally a direct light source of the Sun type.
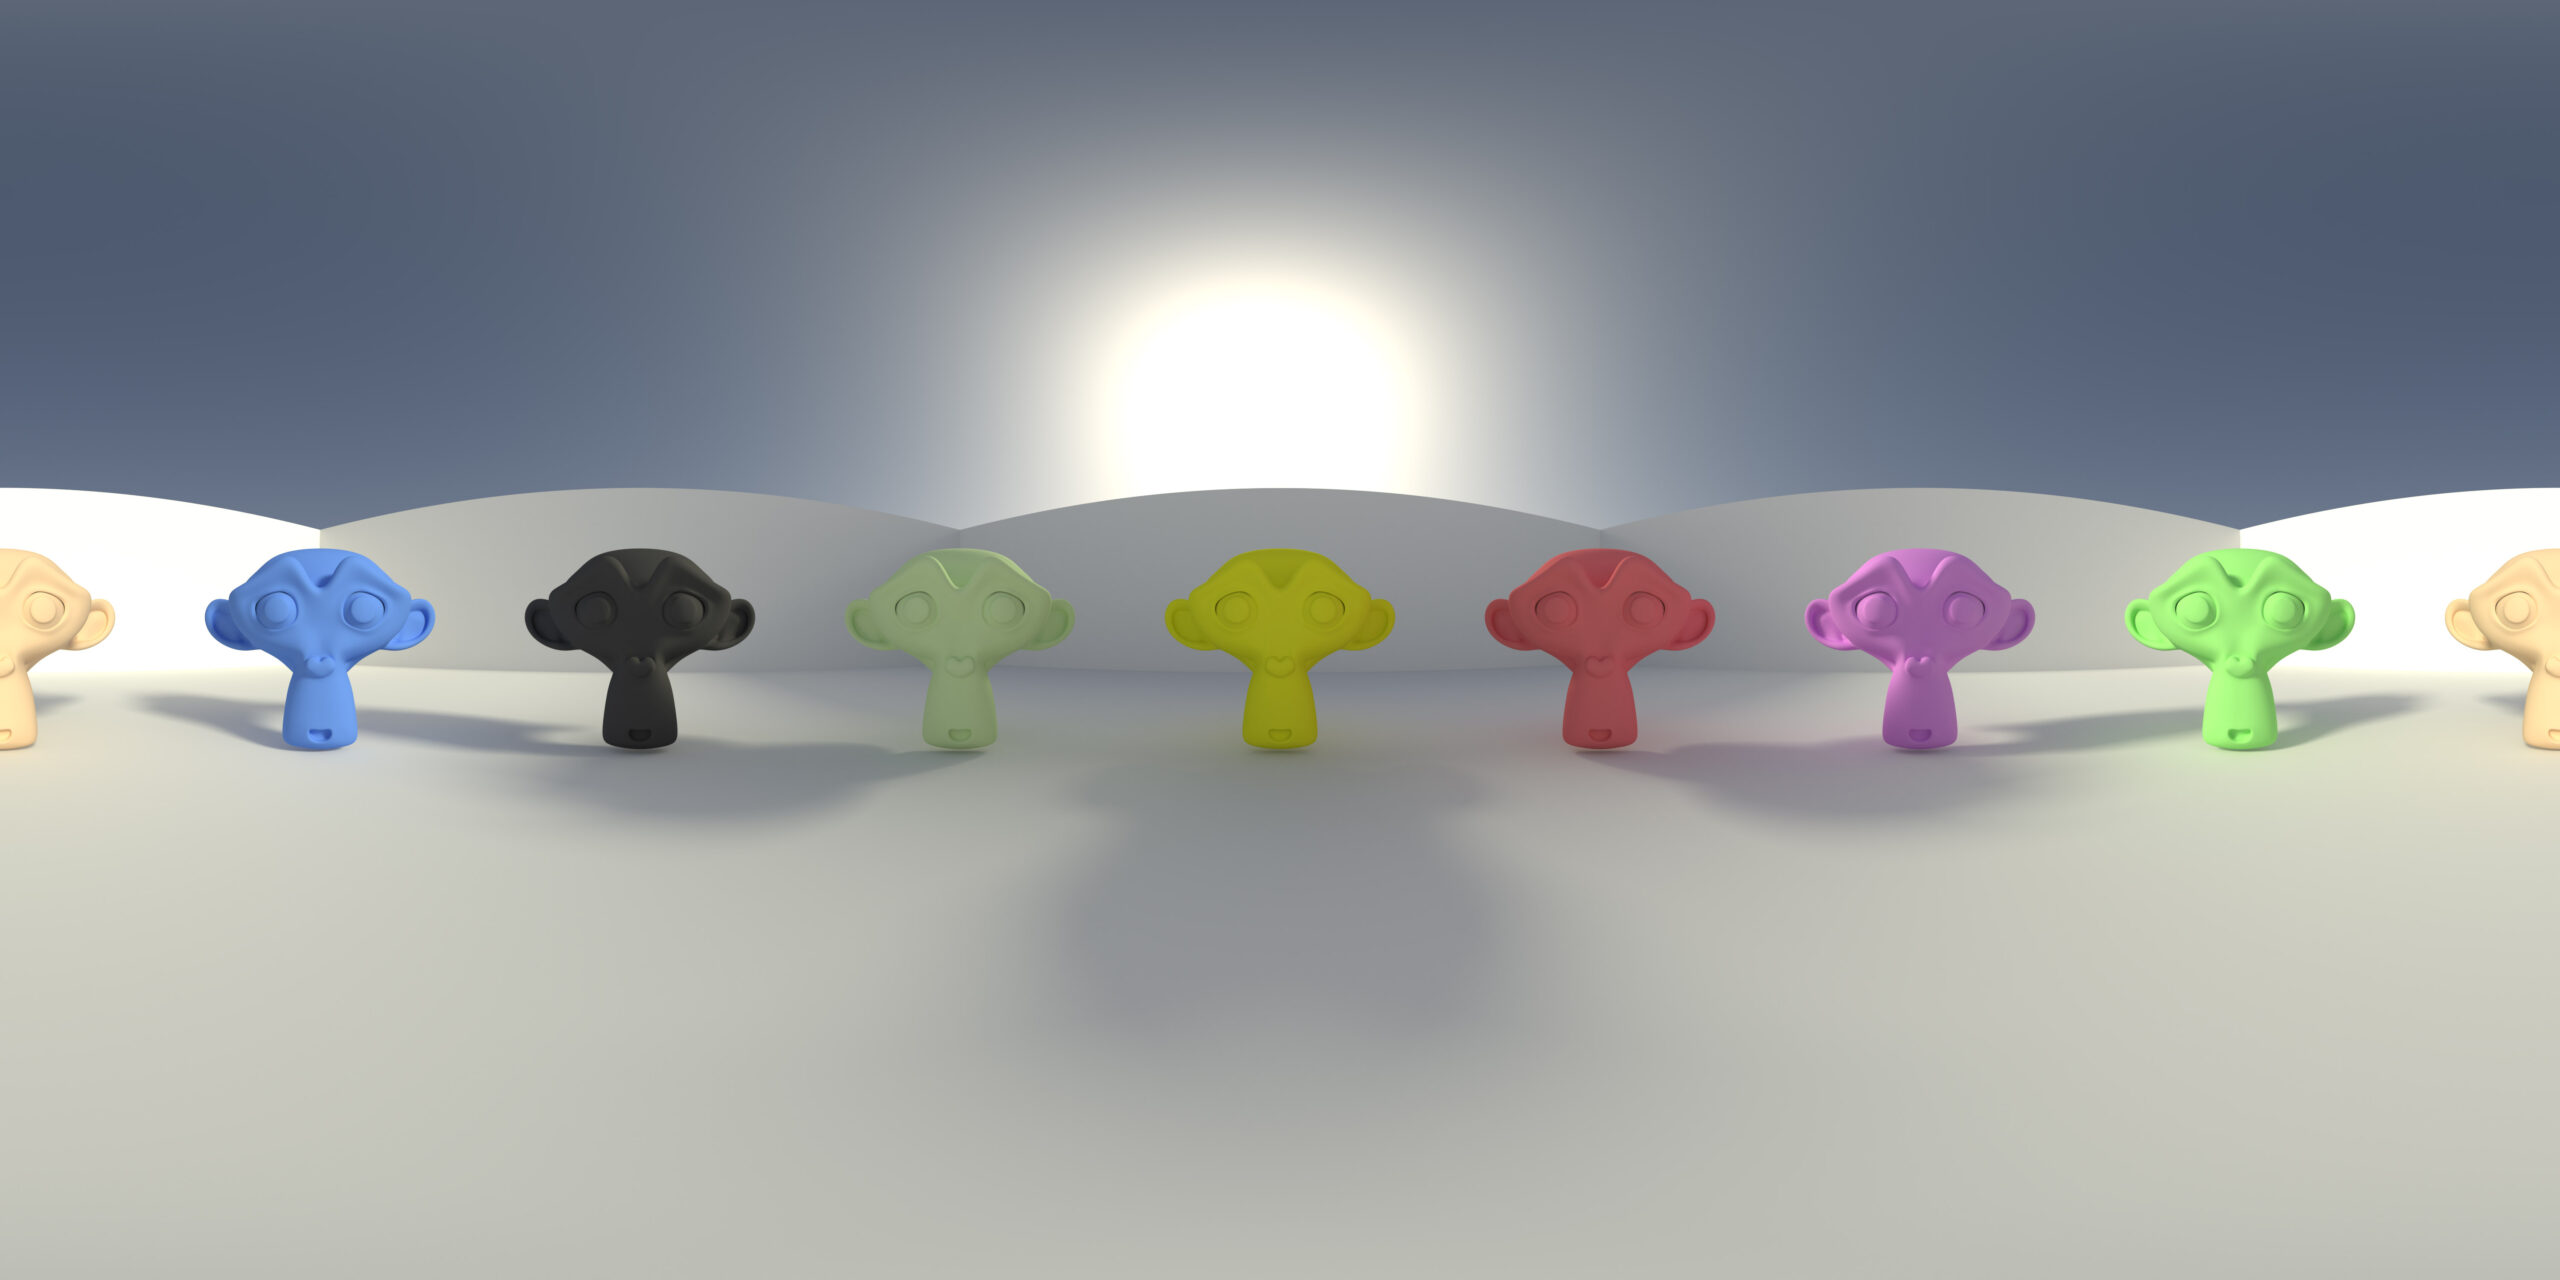
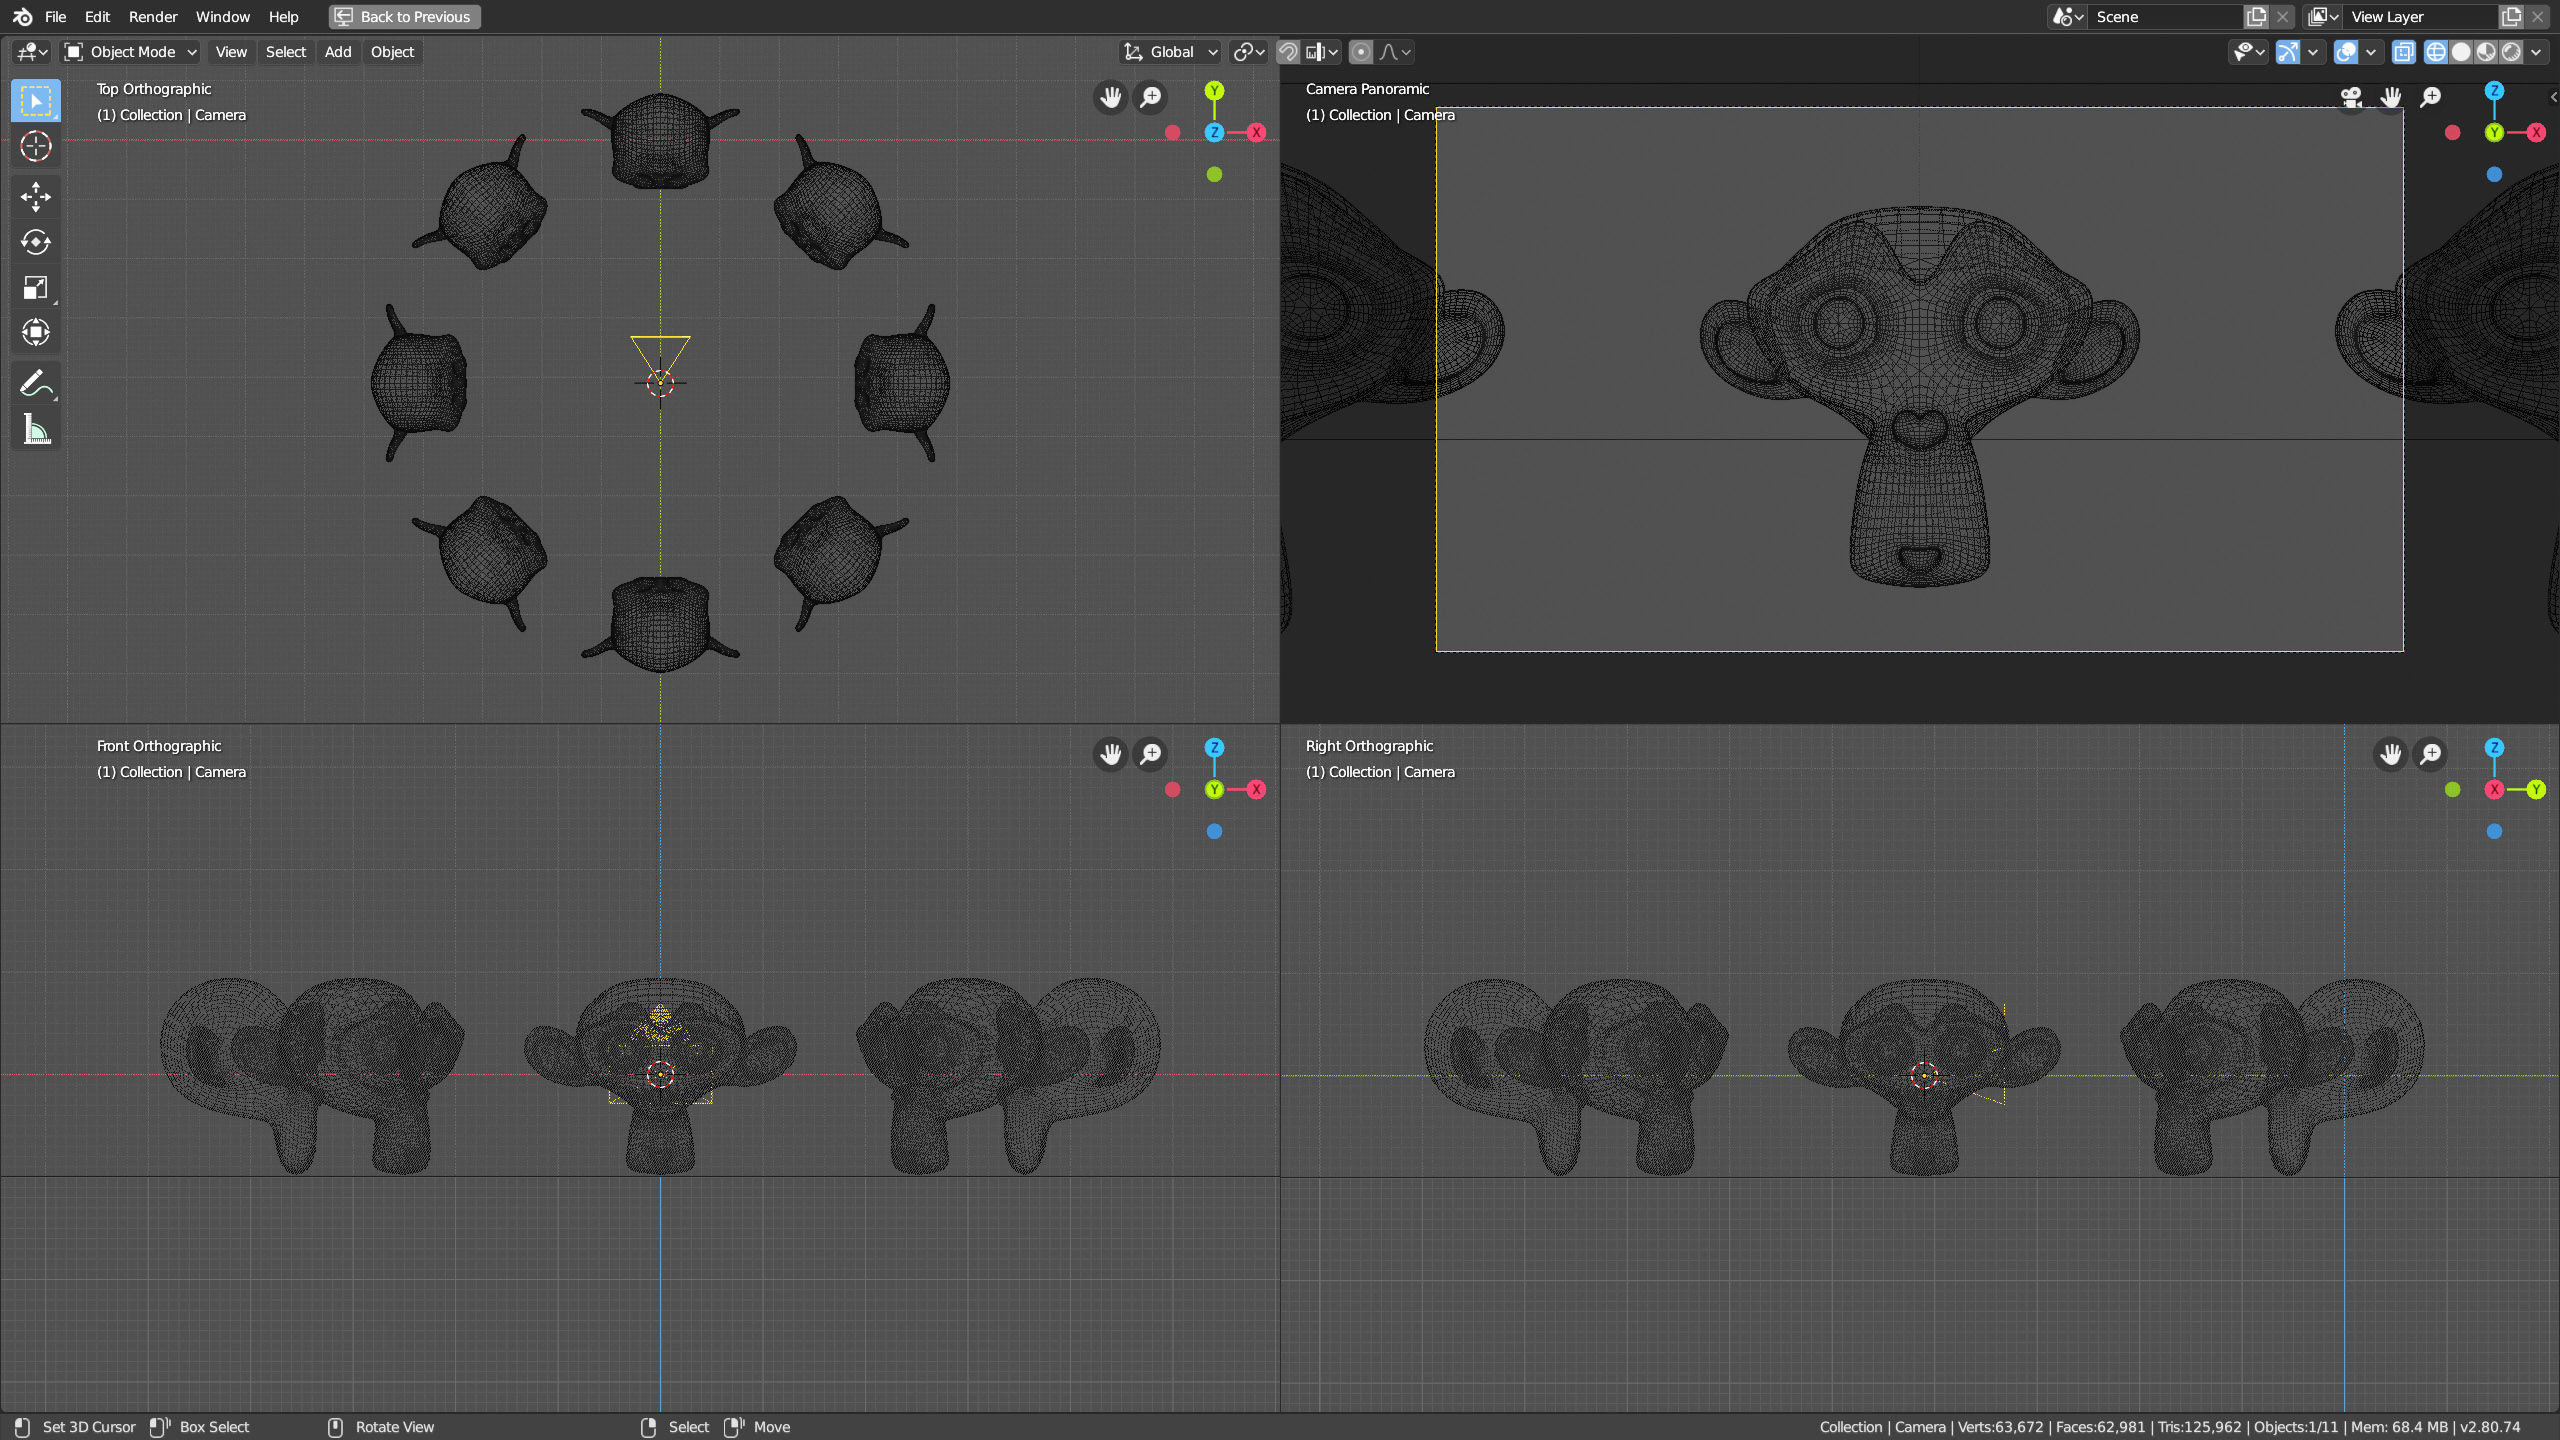
This scene was specifically designed to examine the Equirectangular panoramic mode, with which it is very simple to produce 360° HDR backgrounds that can then be used as ambient lighting maps for the same Cycles and Eevee (or other software). In the Output context of the properties, we must set a relatively high resolution, with the number of horizontal pixels double that of the vertical pixels (e.g., 6000 x 3000), and then we just have to select the graphic format (including Radiance HDR) before proceeding with the rendering.
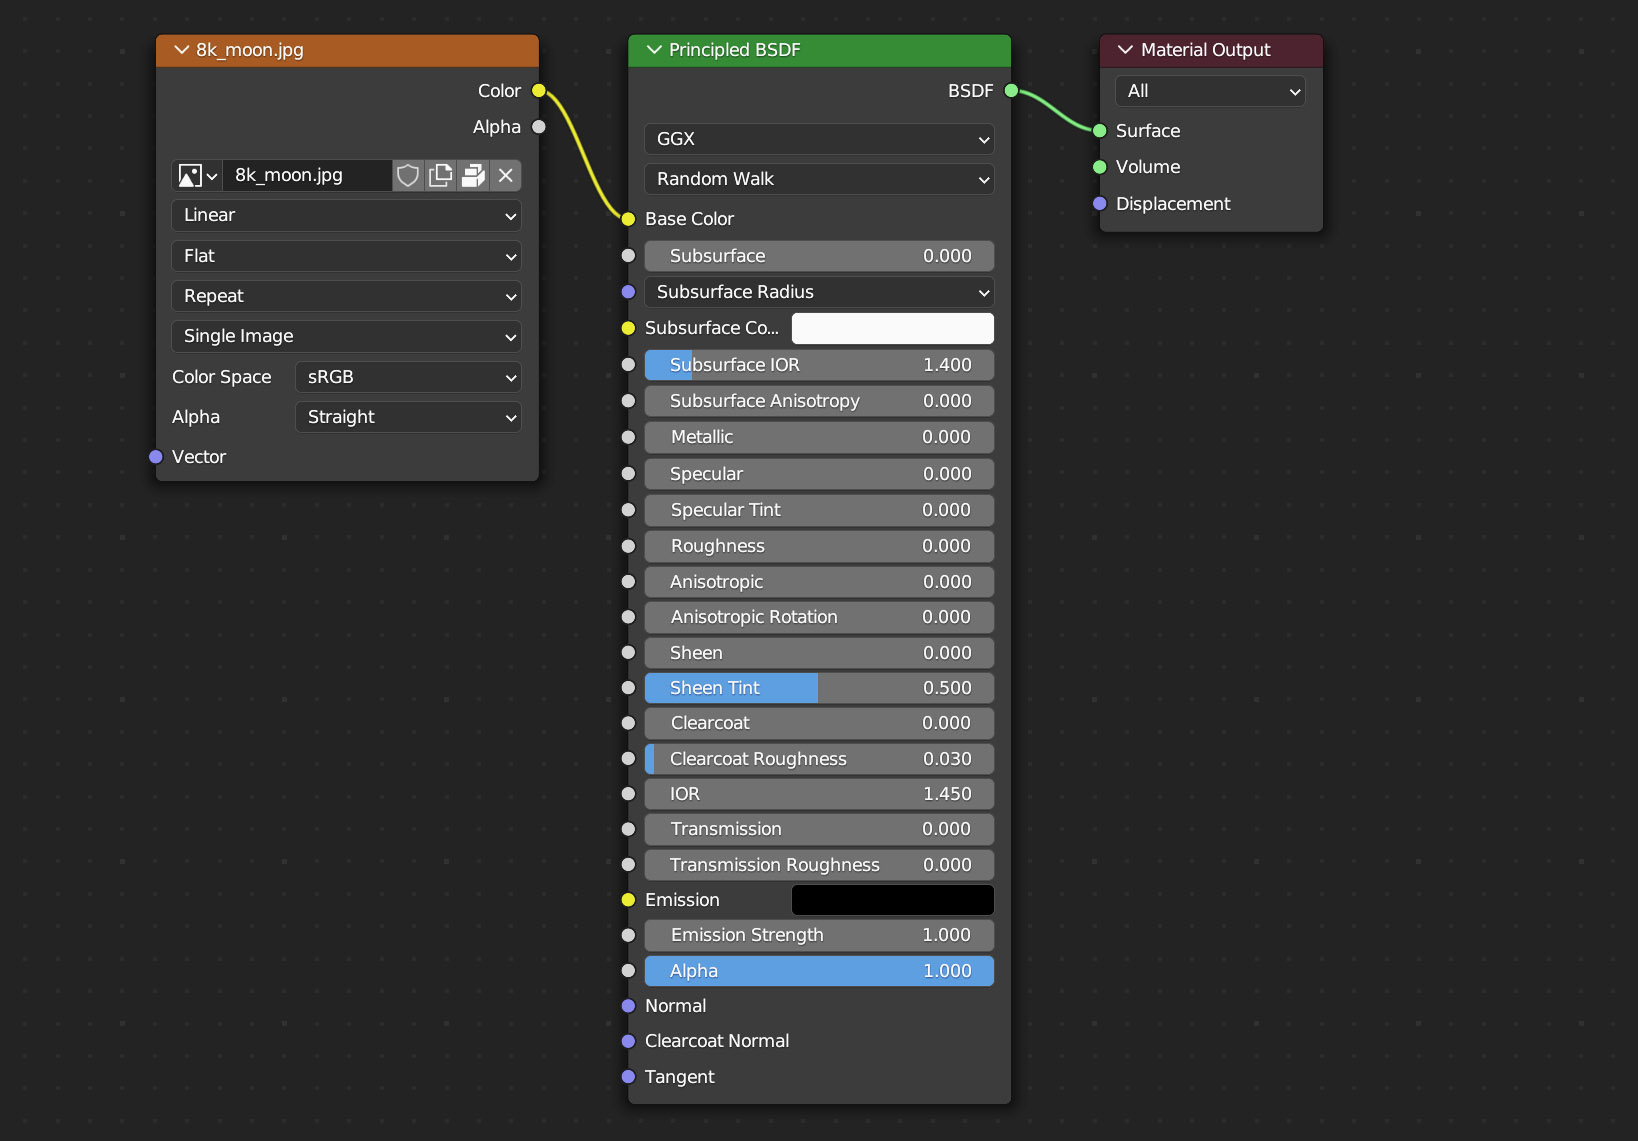
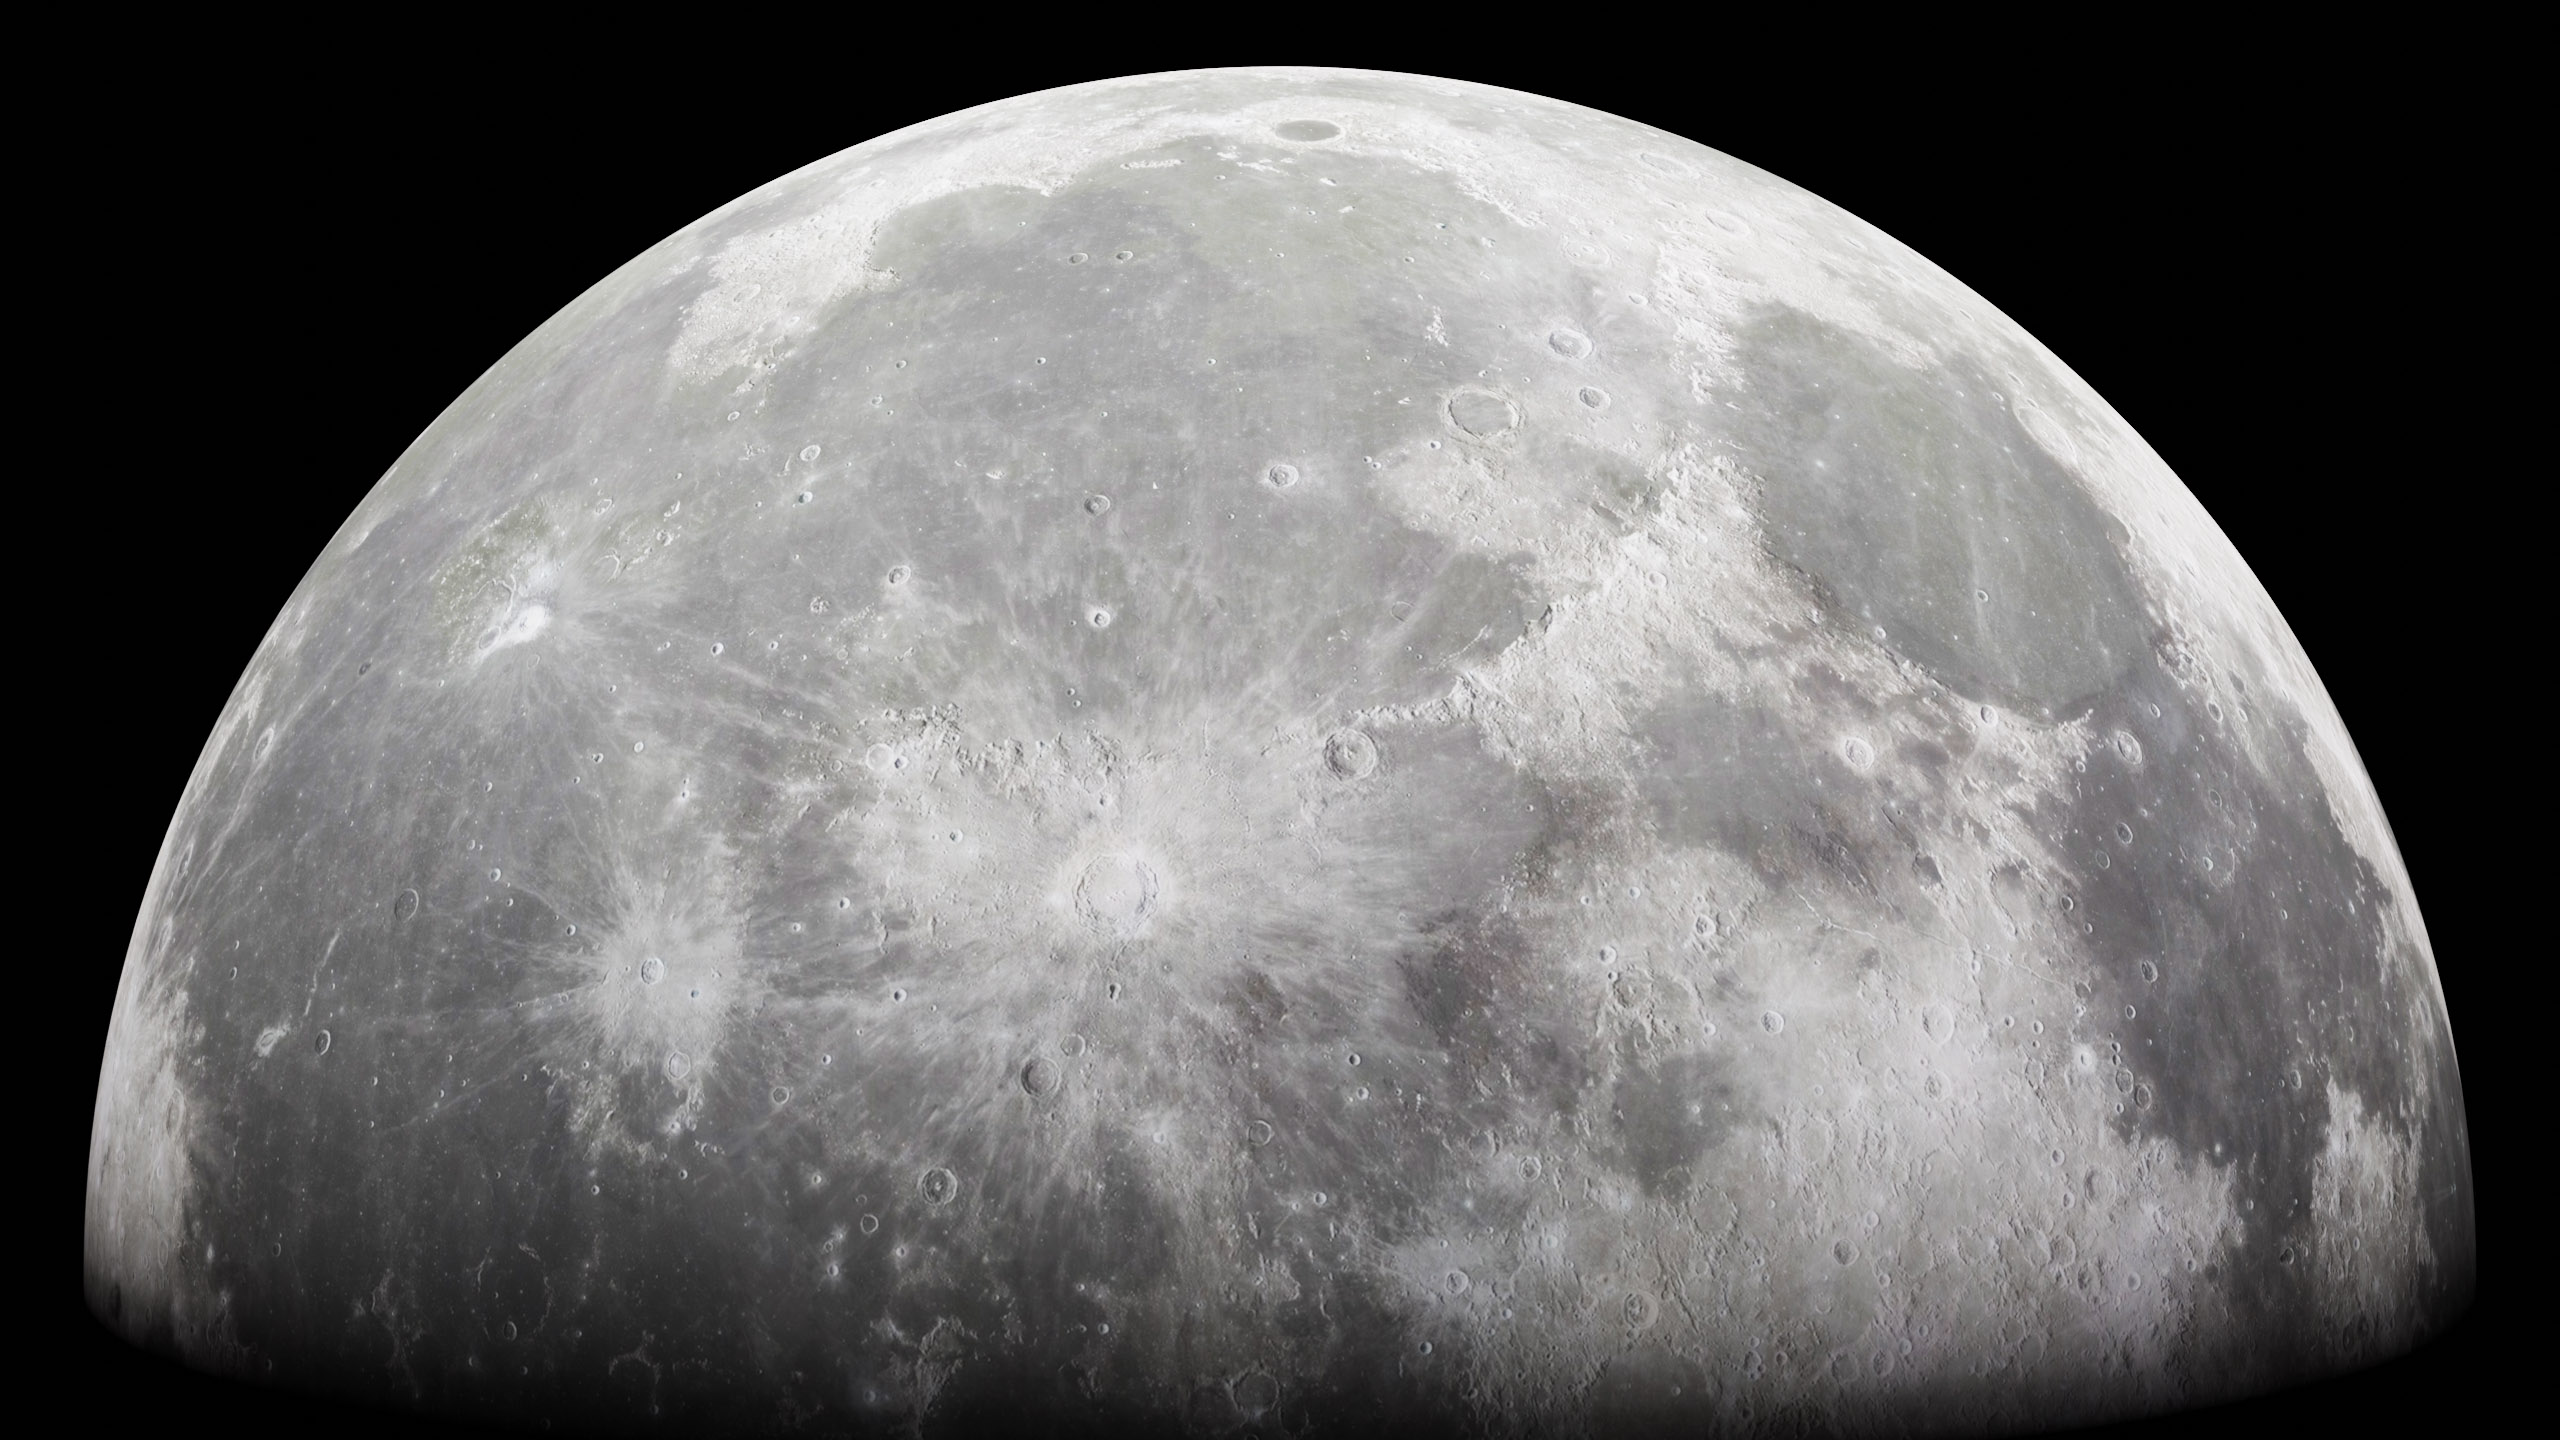
The equirectangular projection is typical of textures applied to entire spherical meshes, such as a ball, the moon, or planets. In this case, we can simply use the image texture node with its default settings. (8k_moon.jpg from solarsystemscope.com – CC 4.0)
Similarly to what was seen in Eevee, we can assign a volumetric shader to the entire world.
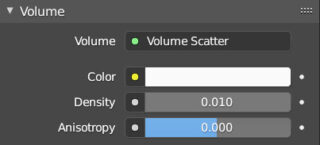
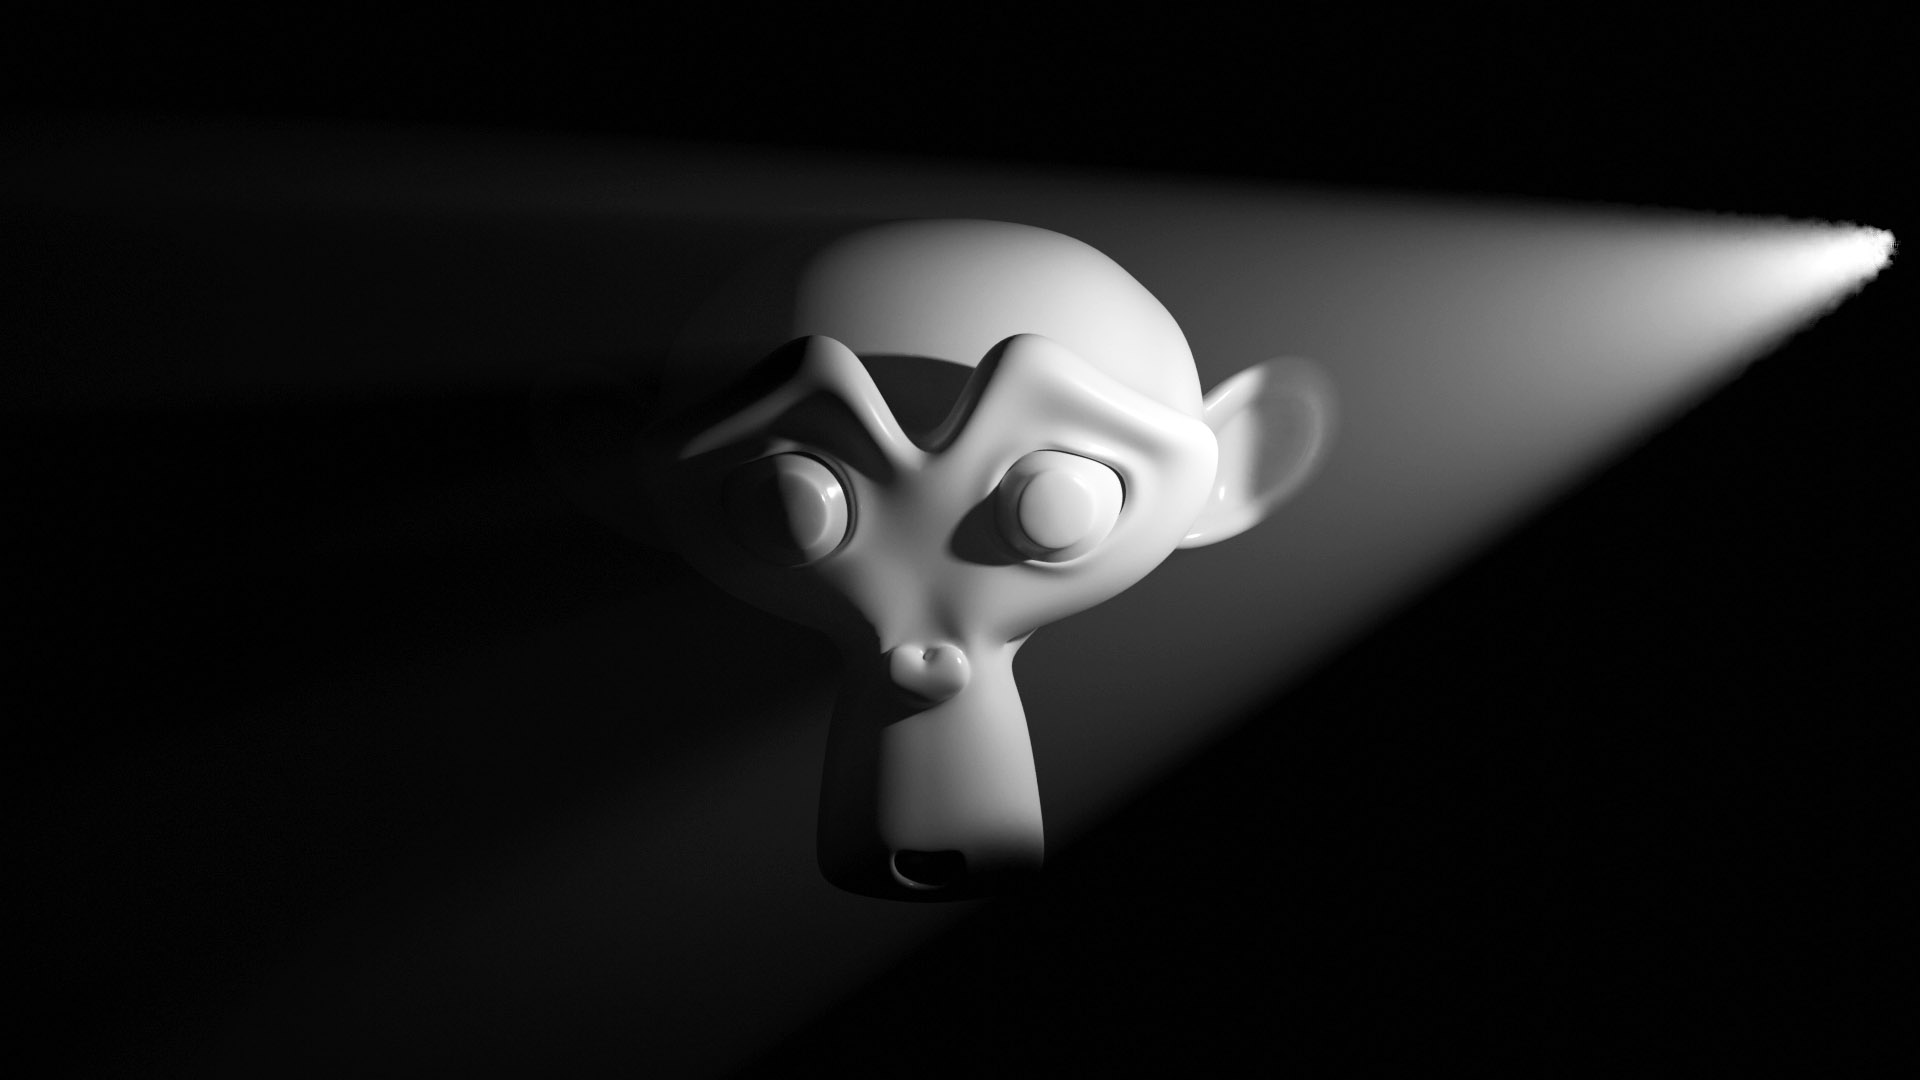
Using, for example, the volume scatter shader with a density greater than zero (just a small decimal value) we will notice that both the effect of the ambient lighting defined by the possible surface shader, and the lighting given by any sun (directional) lamp present in the scene, will disappear, and the background will become completely dark. In other words, it will be possible to see only the presence of point, spot and area lamps, as well as the meshes that are illuminated by them. This happens because ambient lighting from the background or from sun lamps depends on direction and not distance (mathematically infinite) where the volumetric shader causes the dispersion of brightness until it is canceled depending on the distance. Volumetric shaders will inevitably make the scene quite heavy to render, which is why I recommend setting a low number of volume bounces (not more than 4) in the light paths panel of the render context, and possibly increasing as needed.

Next paragraph
Previous paragraph
Back to Index
Wishing you an enjoyable and productive study with Blender, I would like to remind you that you can support this project in two ways: by making a small donation through PayPal or by purchasing the professionally formatted and optimized for tablet viewing PDF version on Lulu.com