So far we have mainly discussed the Principled Shader (which is also recommended for use in Cycles), but it is time to take a look at other shader nodes that Blender makes available.
You may have noticed the presence of BSDF in the name of many shaders, including the principled shader. BSDF stands for Bidirectional Scattering Distribution Function, which is the mathematical function behind the probabilistic calculation that Cycles performs to determine the reflection of rays at various angles. This is a type of algorithm that does not concern Eevee, which is why I did not mention the meaning of BSDF in the previous chapter. However, we are not interested in the theoretical (very complex) side, but rather the practical side. So let’s start with the Diffuse shader.
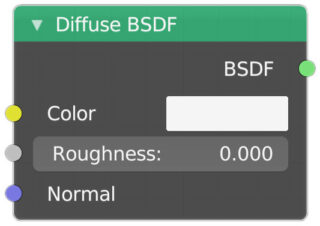
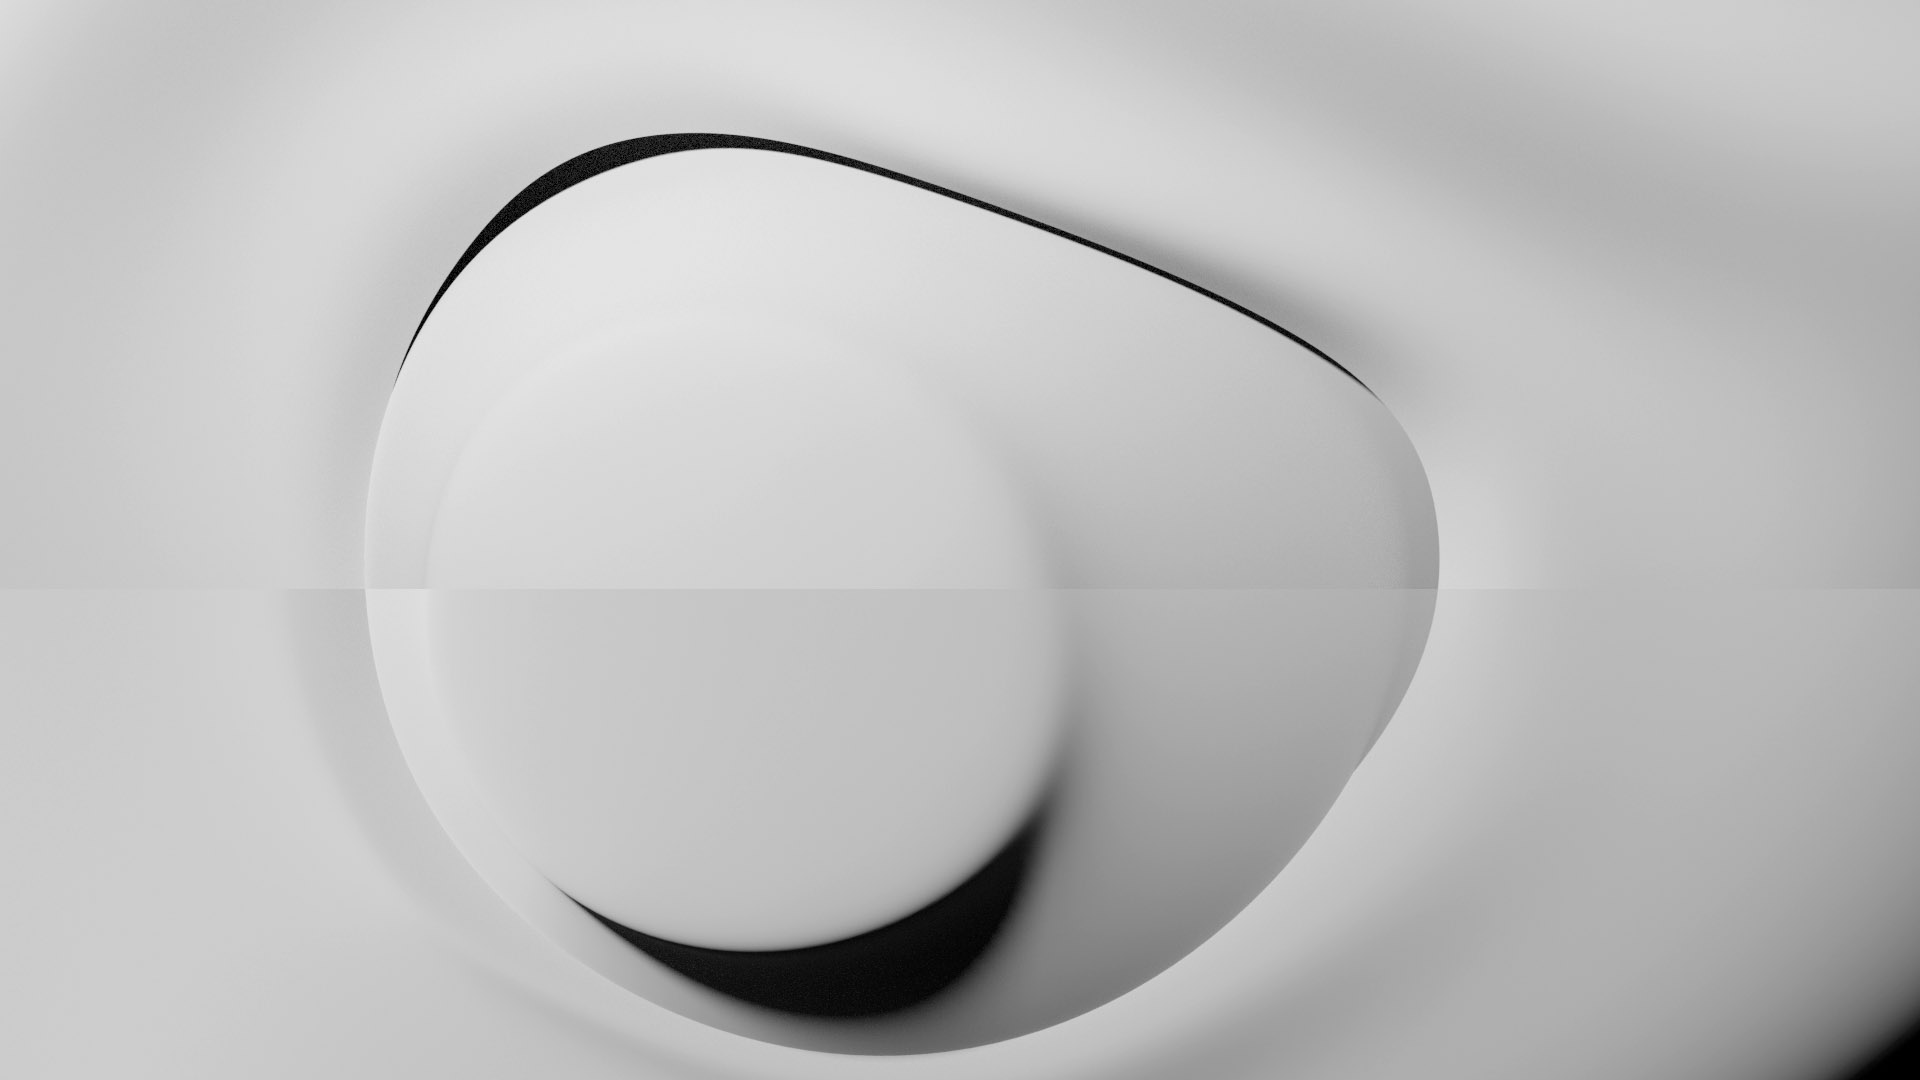
This shader reflects only the diffuse color without any reflections of any kind (as is the case with the Principled Shader with metallic and specular parameters set to zero). In Eevee, Diffuse does not show any difference between different roughness values. But in Cycles, where everything is governed by more precise algorithms, roughness will have a quite noticeable effect, because a rough surface diffuses light differently than a smooth surface. In the following image you can see a comparison between roughness zero (top half) and one (bottom half).
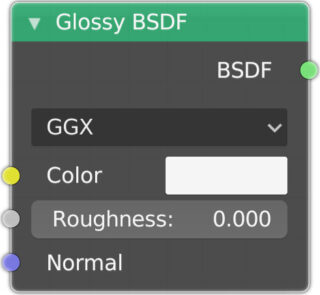
The Glossy BSDF shader has a very pronounced effect of Roughness. As you increase roughness, the reflected image becomes increasingly blurry (like a blur effect) and the areas where brightness is concentrated (specular) tend to expand.
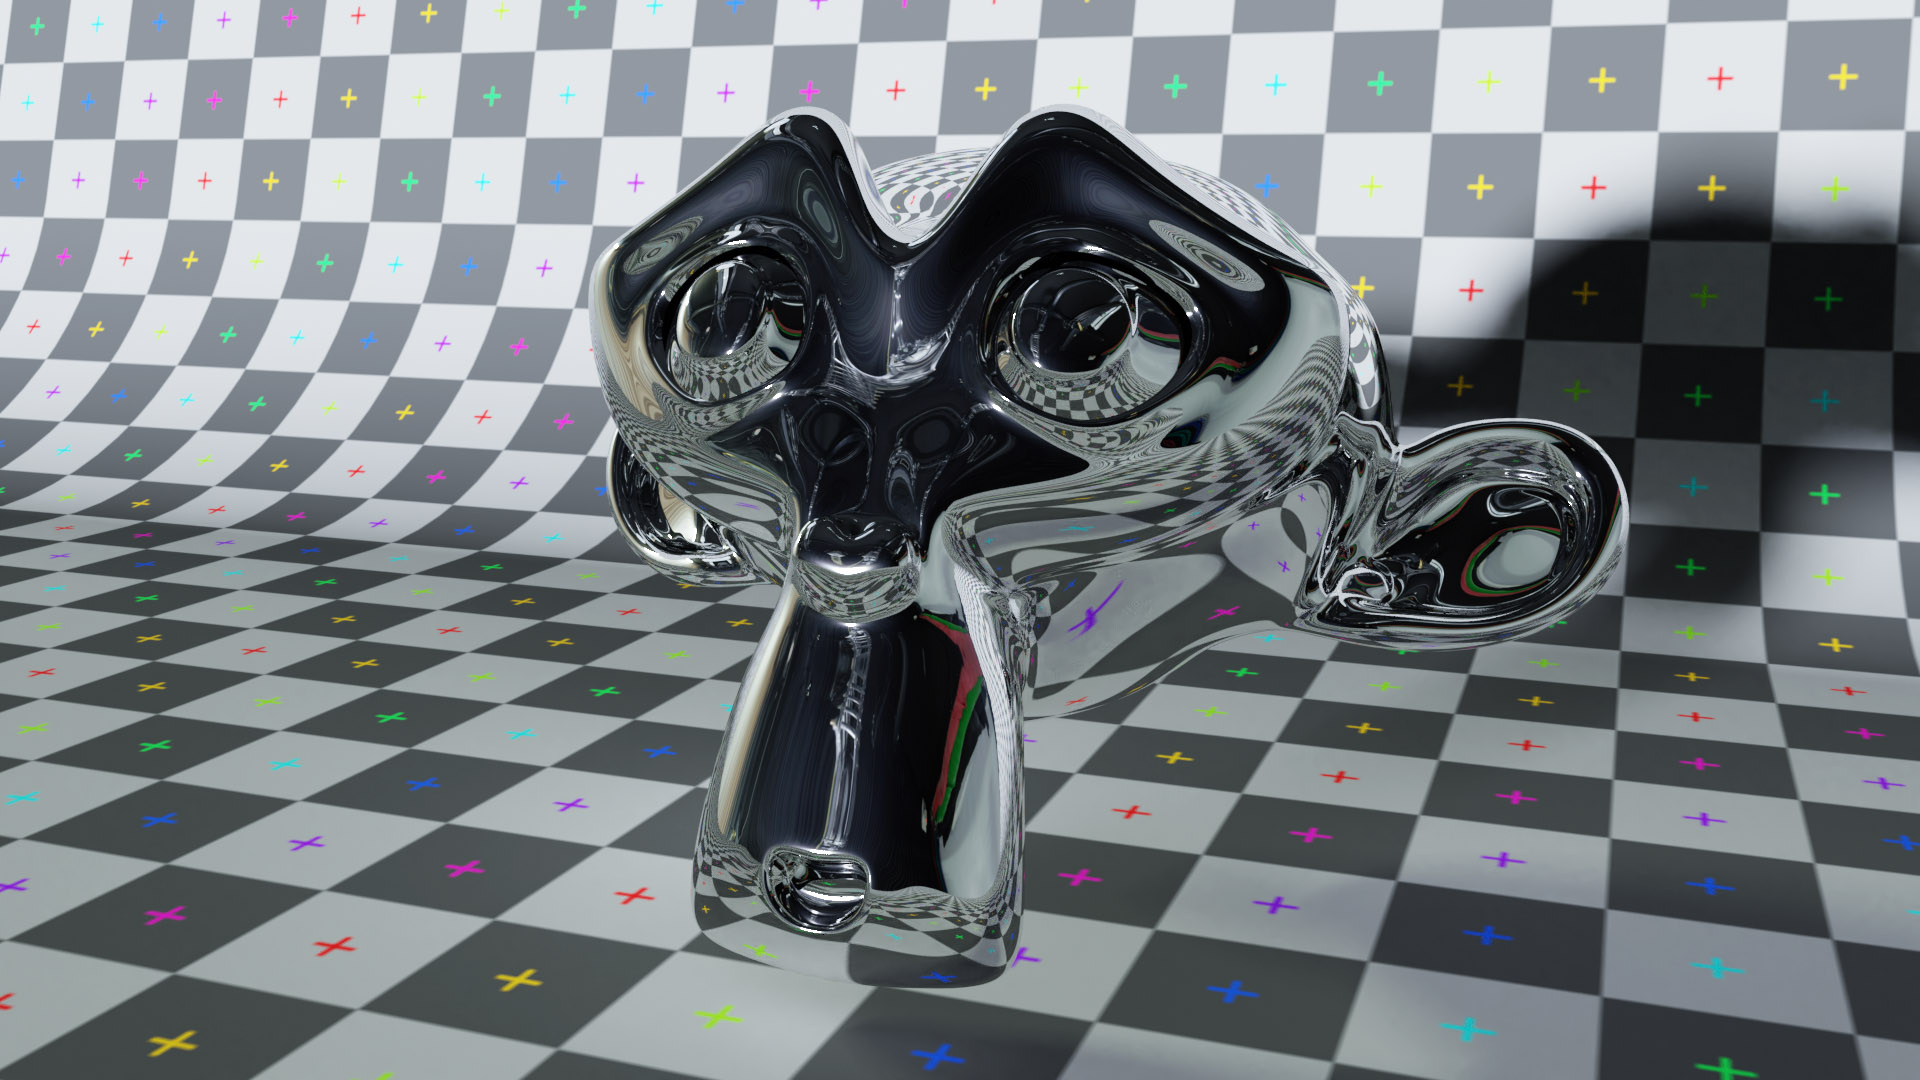
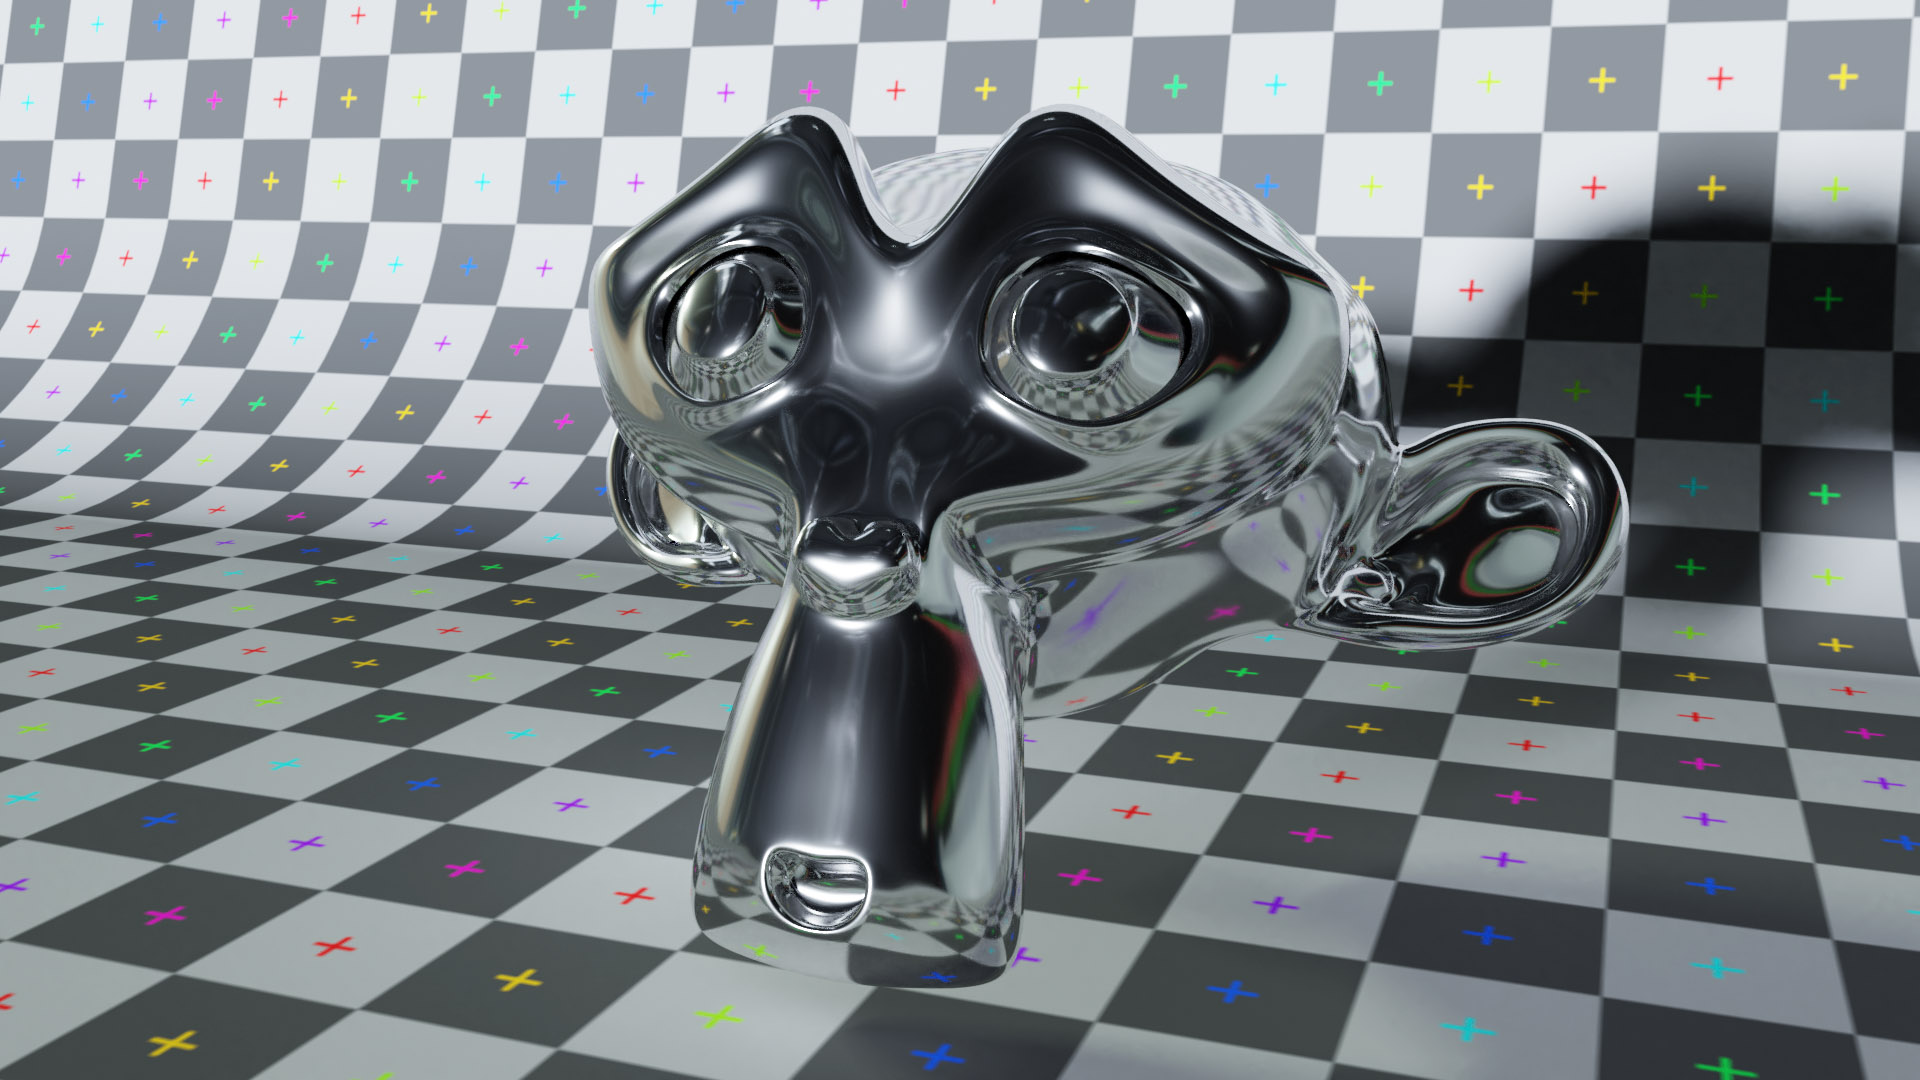
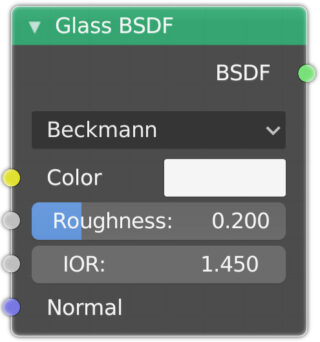
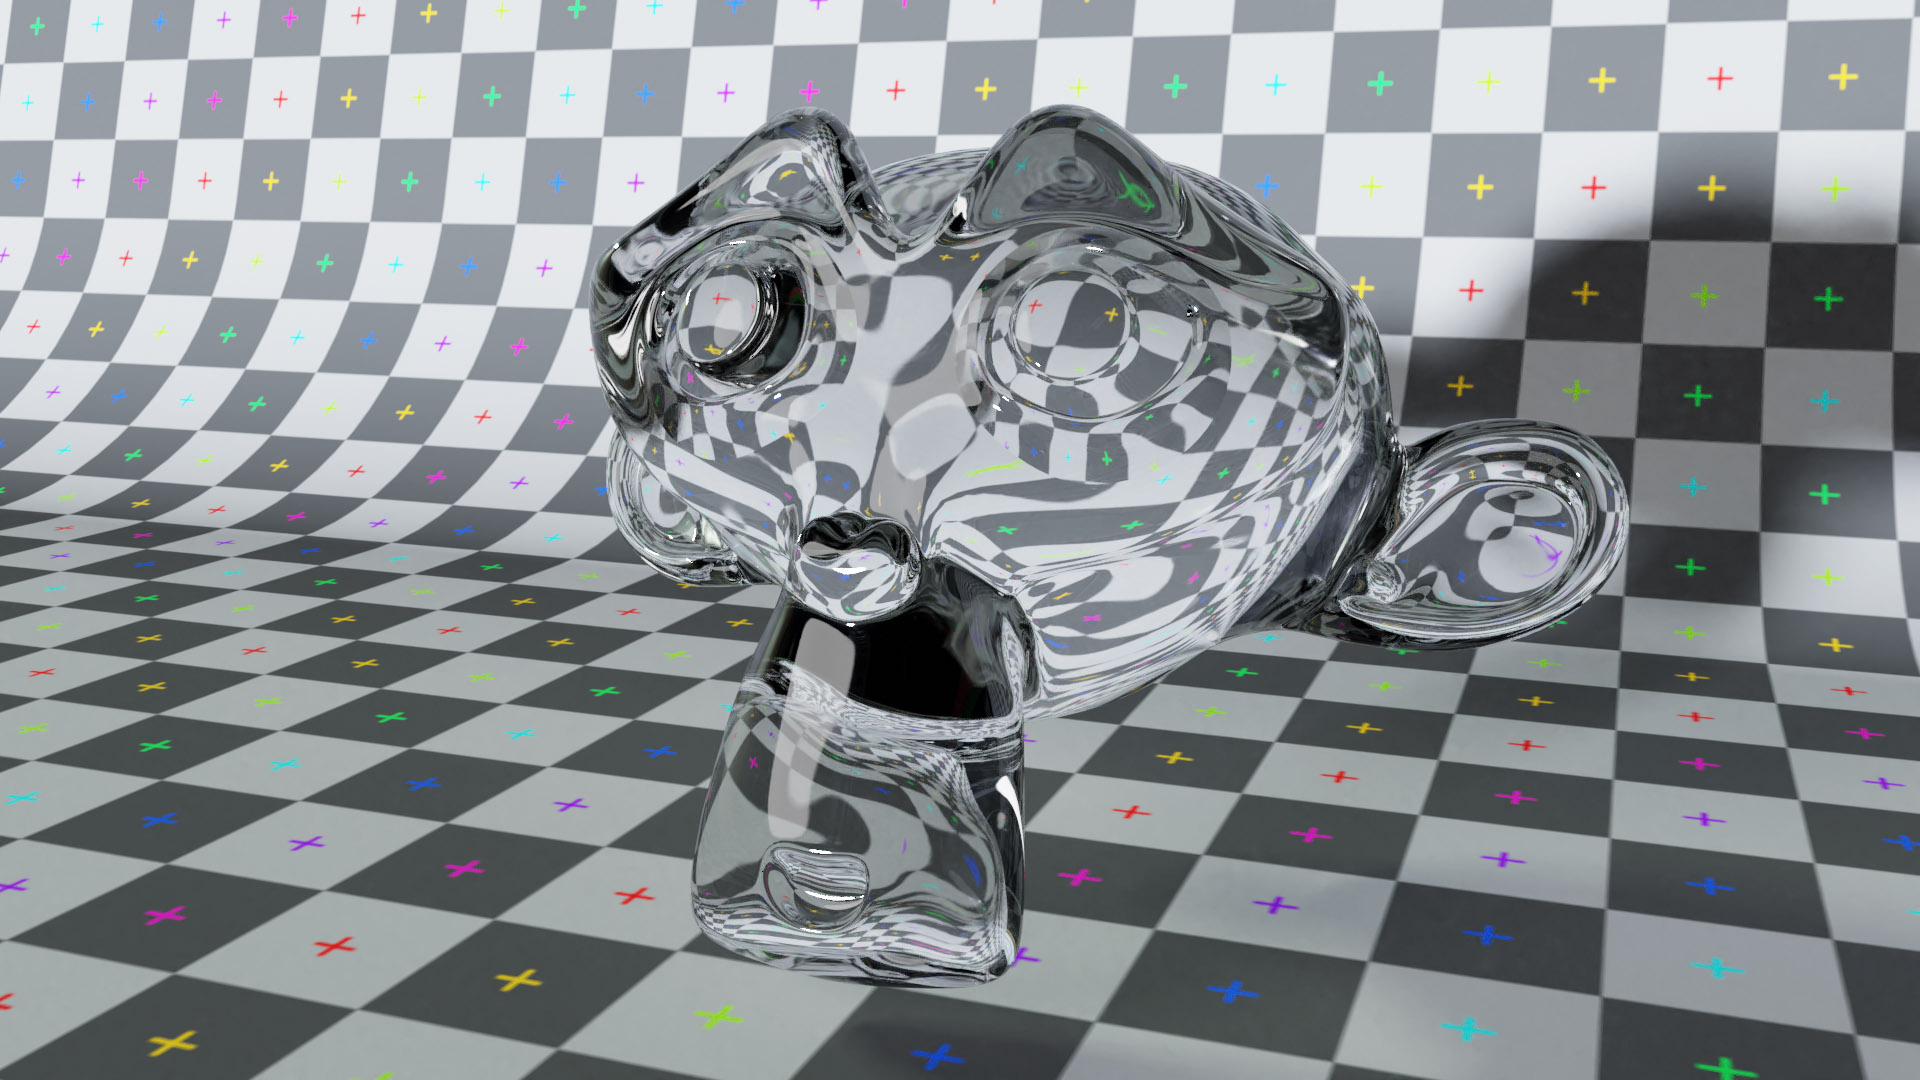
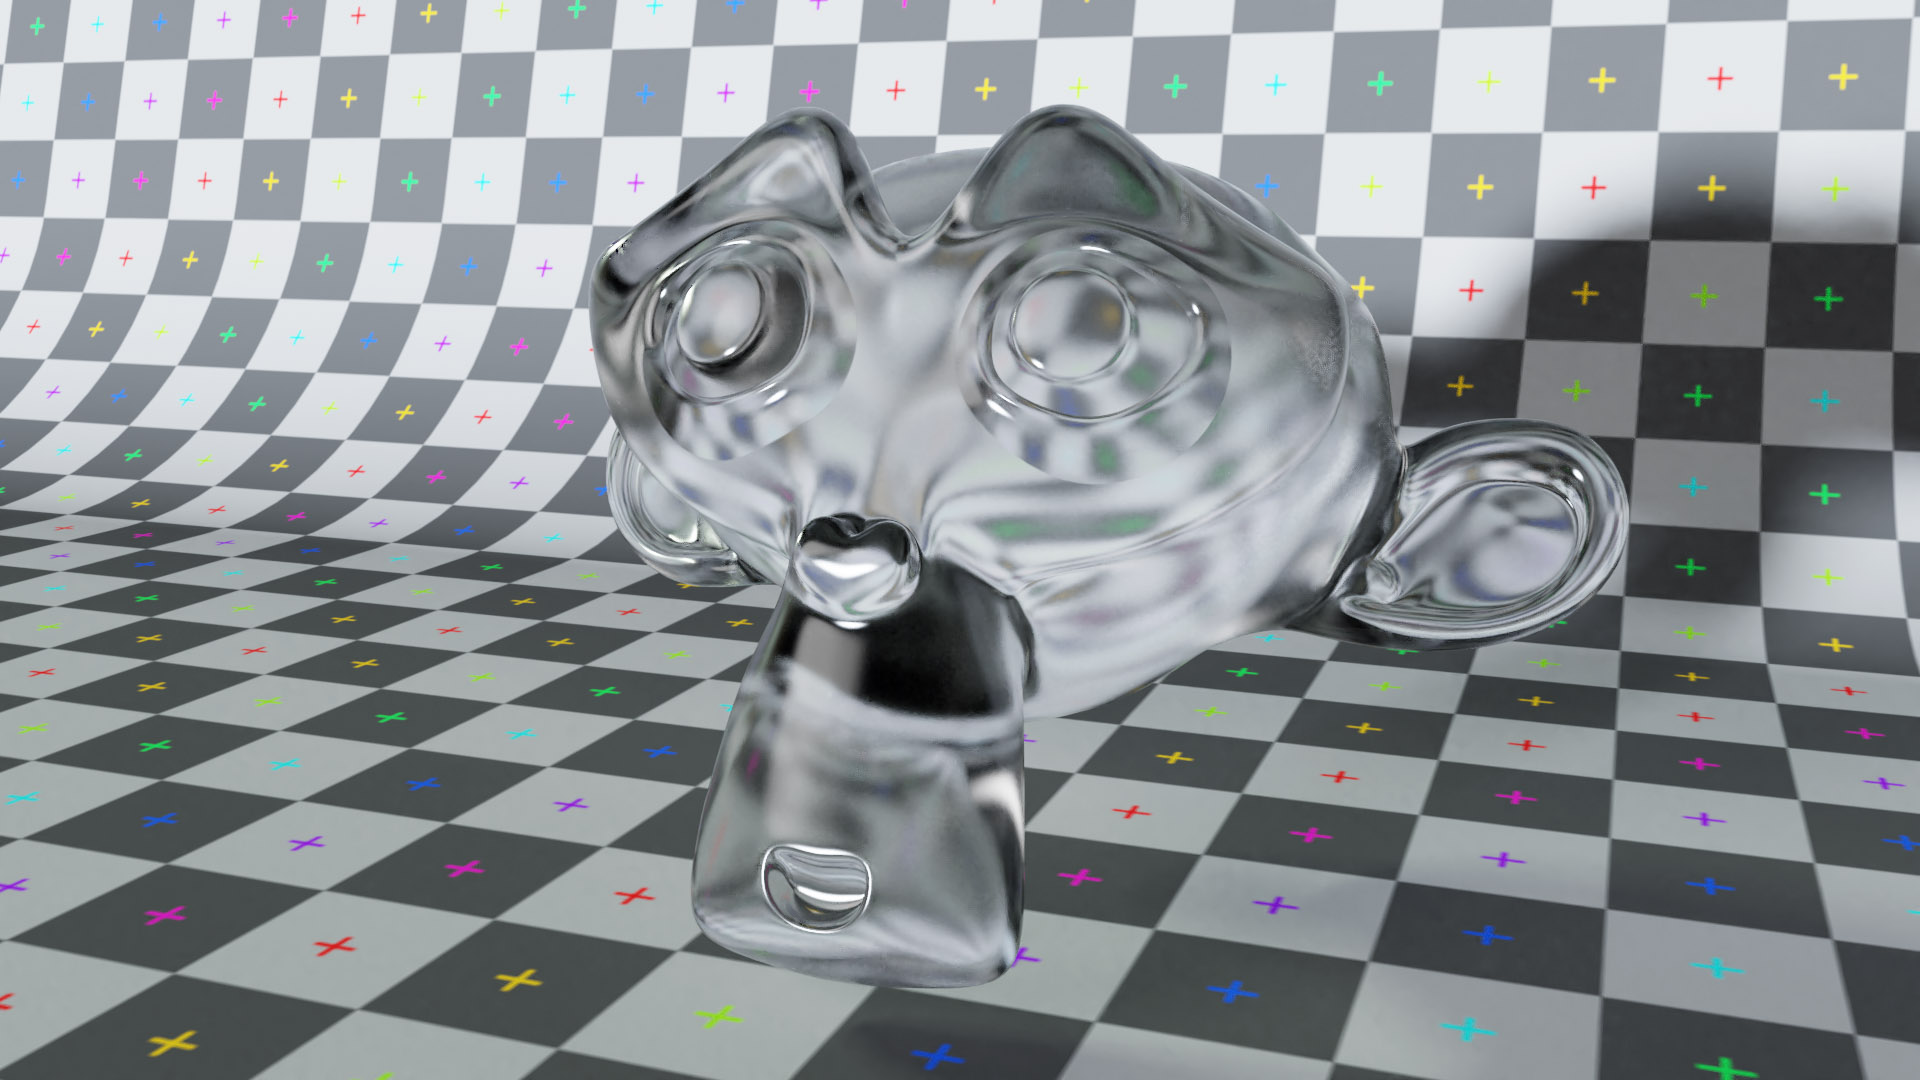
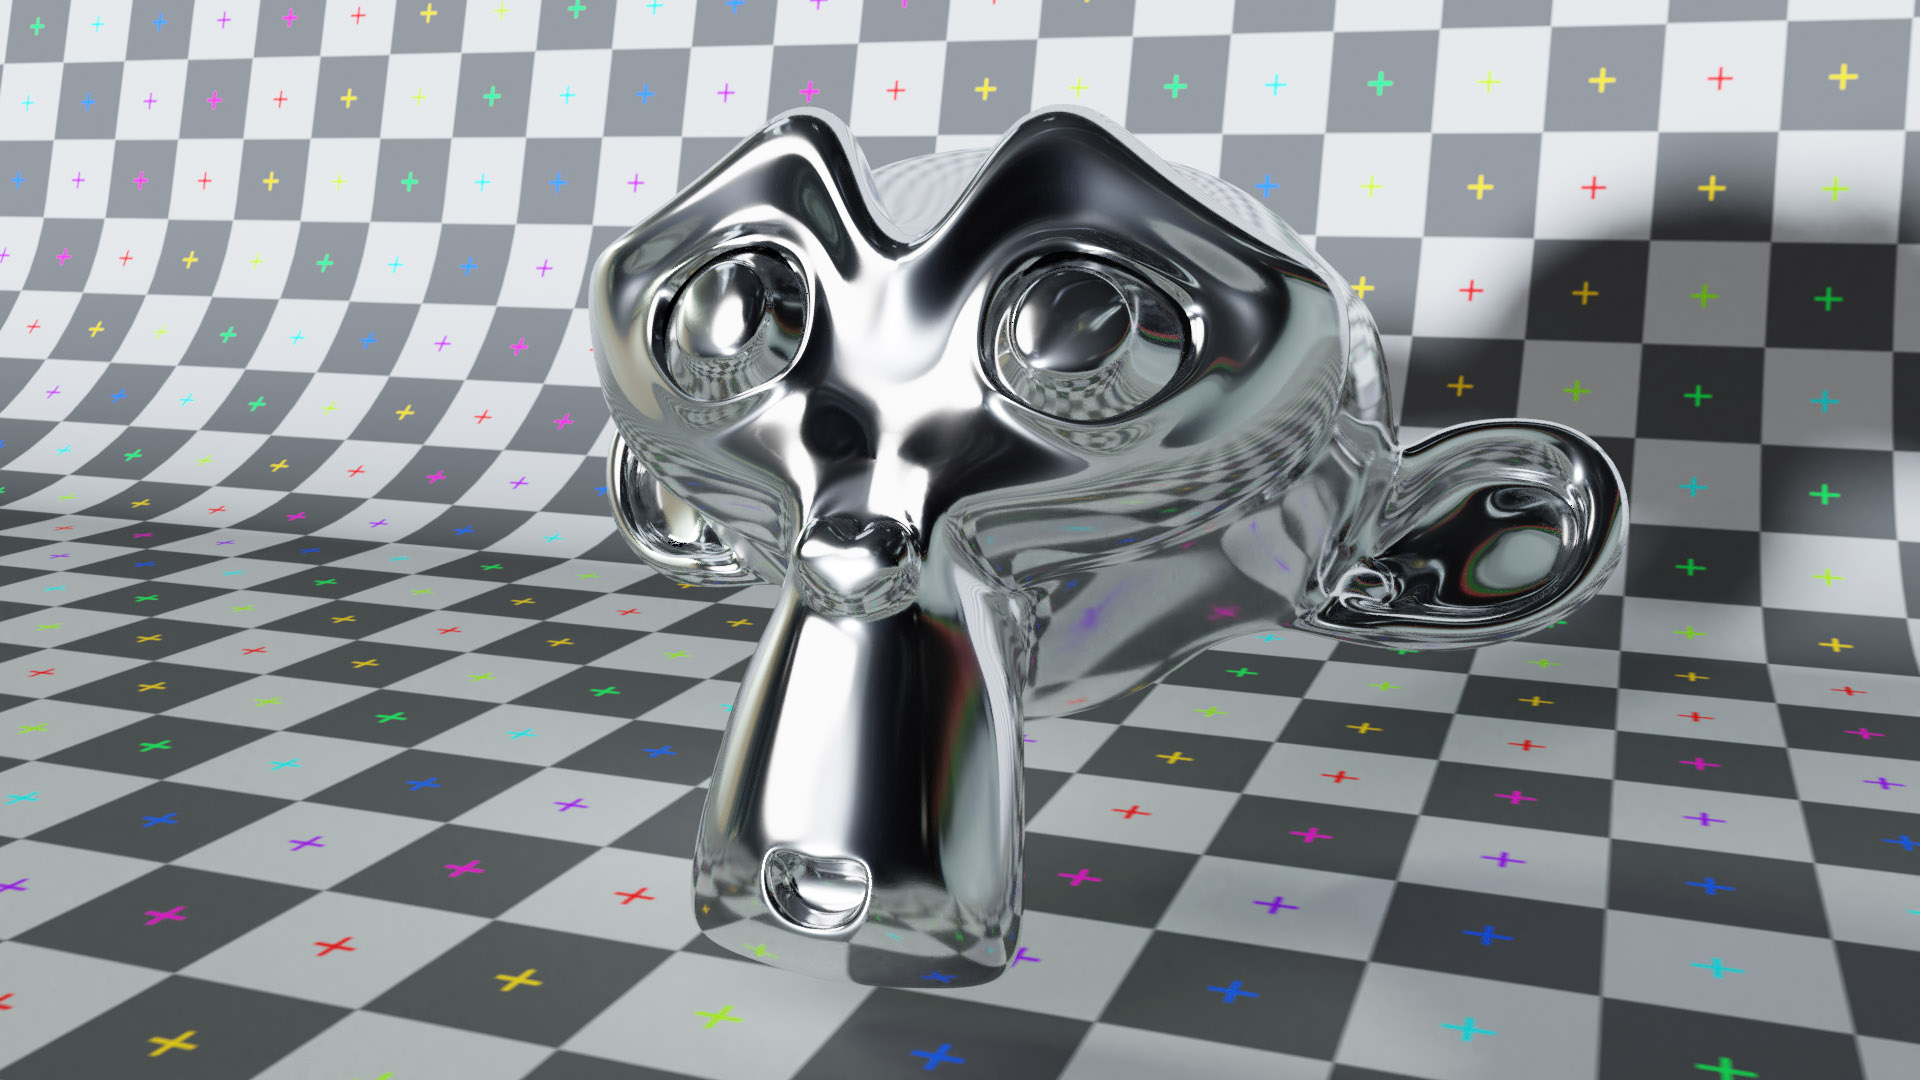
Glass BSDF (glass with specular areas: higher transparency and refraction index). A minimum level of Roughness is also necessary for this shader to create specular reflection areas. The same shader with Roughness set to 0.2 appears much more opaque, with the transmitted image appearing less defined.
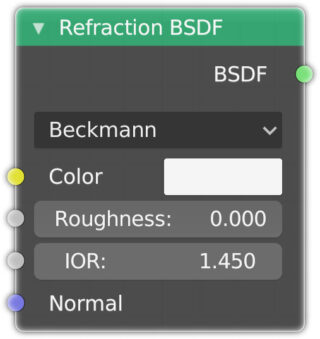
Refraction BSDF refraction with IOR and Roughness (no specular)
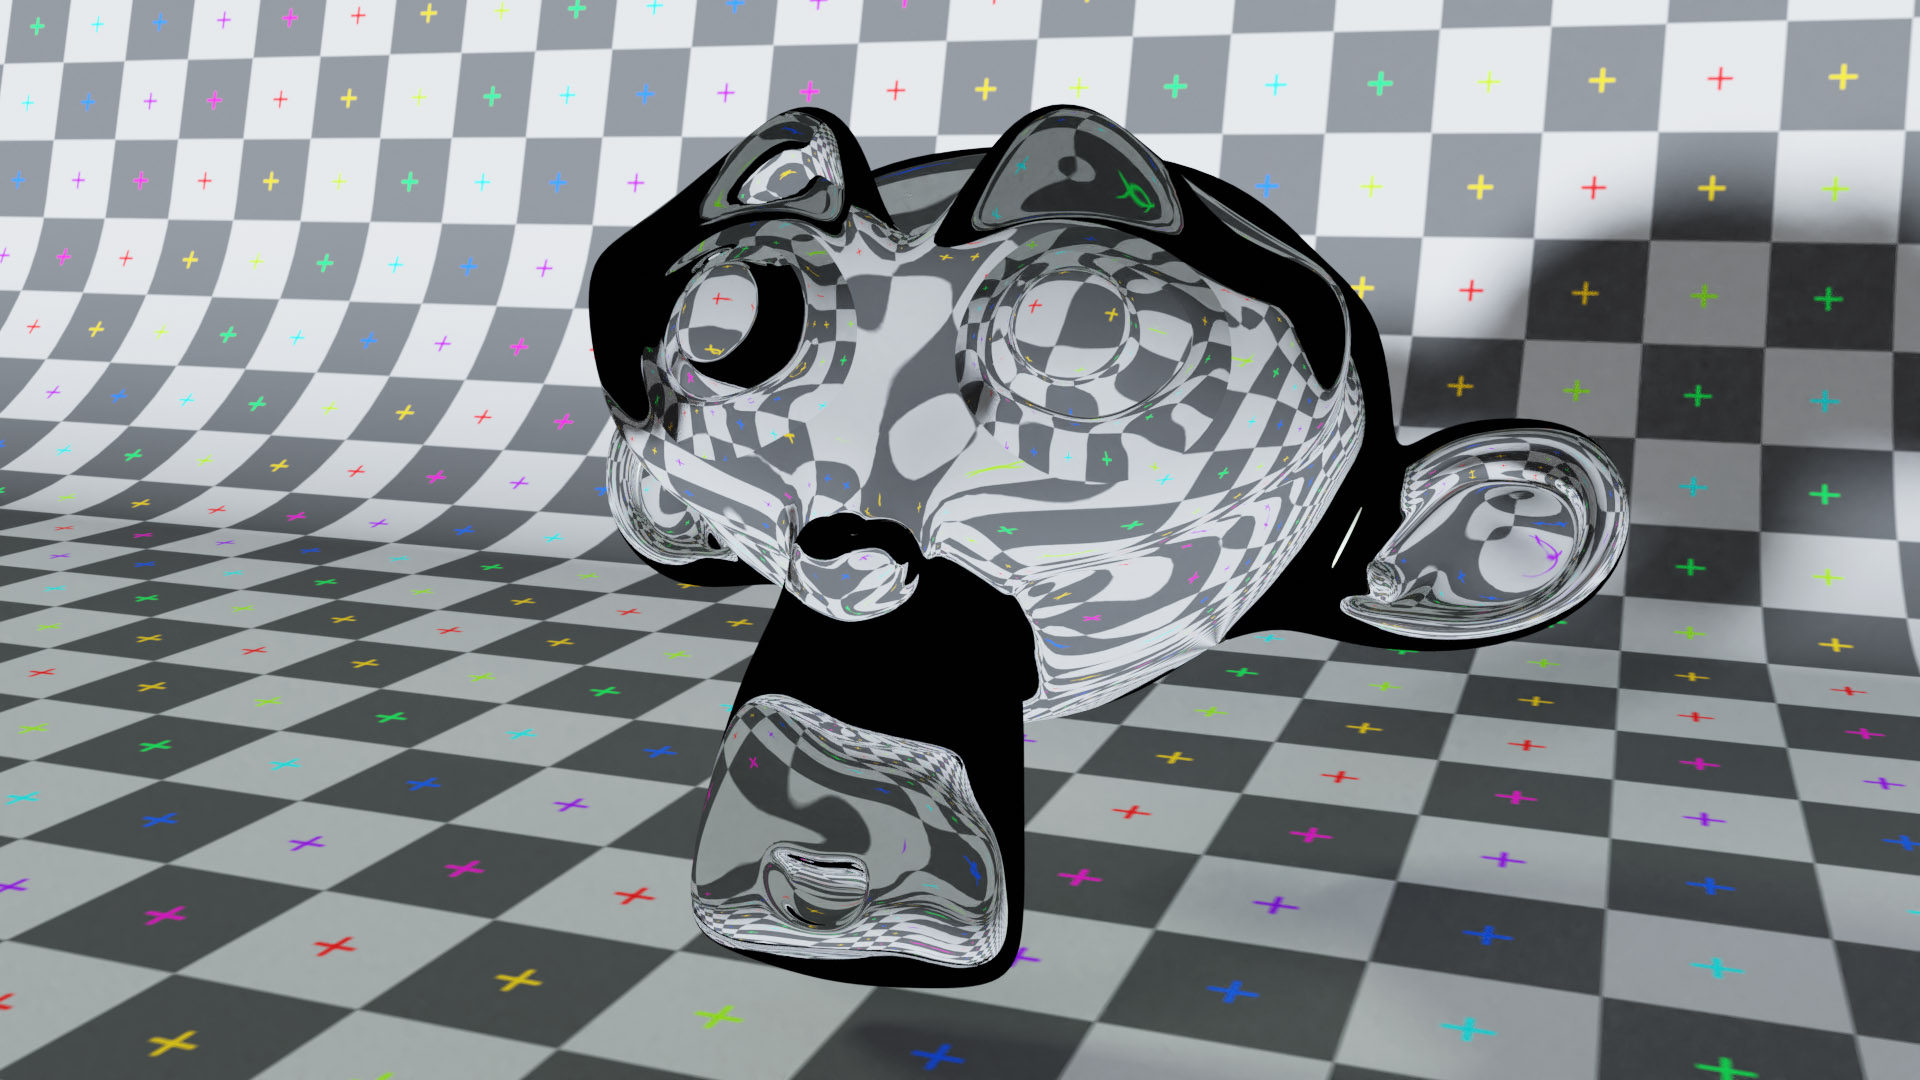
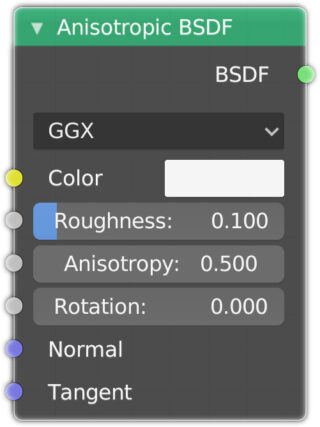
Anisotropic BSDF (Bidirectional Scattering Distribution Function), a shader suitable for rendering brushed metal (steel, aluminum). When the roughness parameter is non-zero, the reflection varies depending on the direction in which the surface is exposed to the light source or the point of view.
Emission, a shader that illuminates surrounding surfaces and turns the mesh into a light object; this does not happen in Eevee. Emission is also included in the Principled Shader, with the difference that in that case it is possible to set the color and not the strength, which will depend on the Value parameter of the chosen color (in the HSV base).
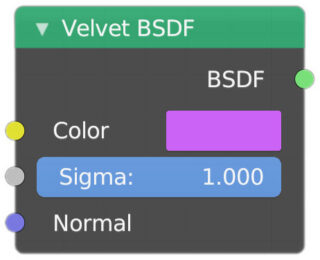
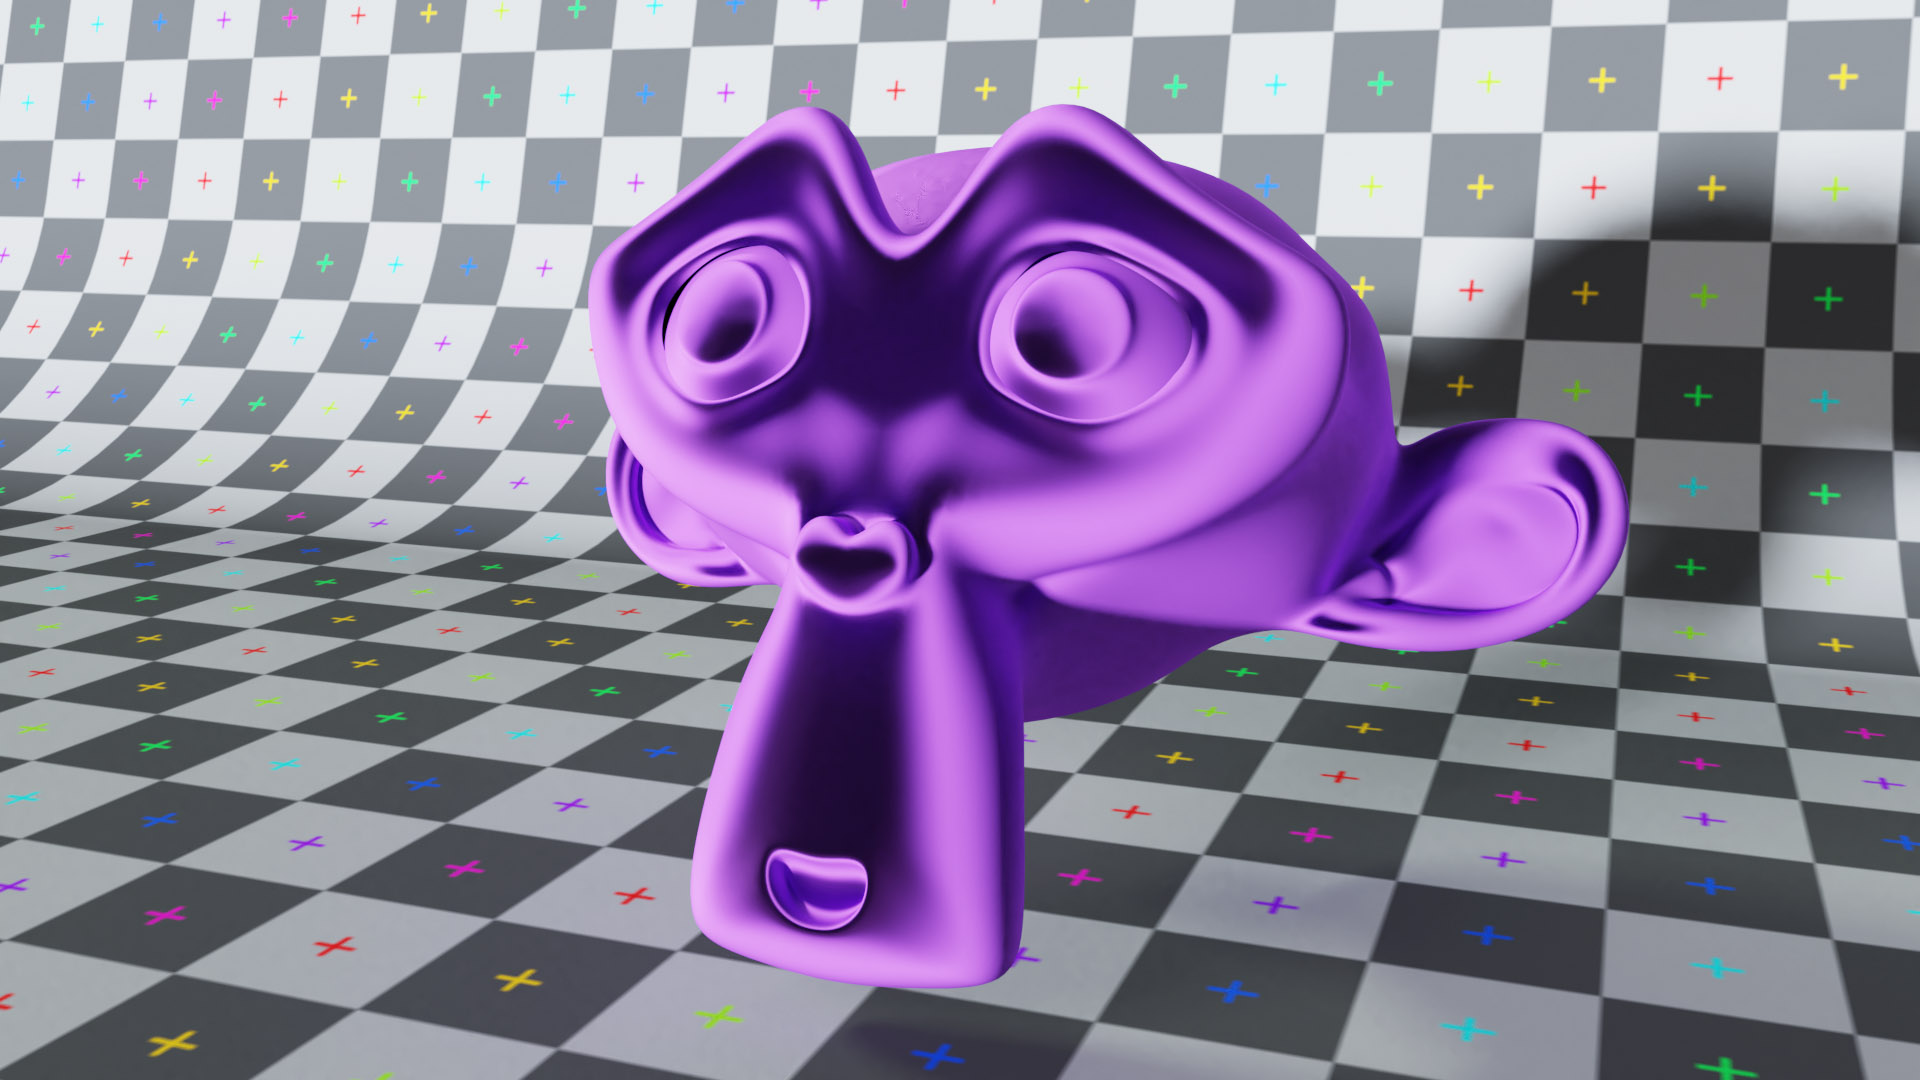
Velvet BSDF, a shader suitable for simulating fabrics, silk, velvet.
Sub Surface Scattering (SSS) where we find the choice of the default decay function set to Random Walk. Scale is a scale factor for the spread of light. We can also choose the color (wavelength) with the highest probability of reflection, which will be the dominant color of the illuminated surface, plus the scattering radius for each RGB channel and the IOR

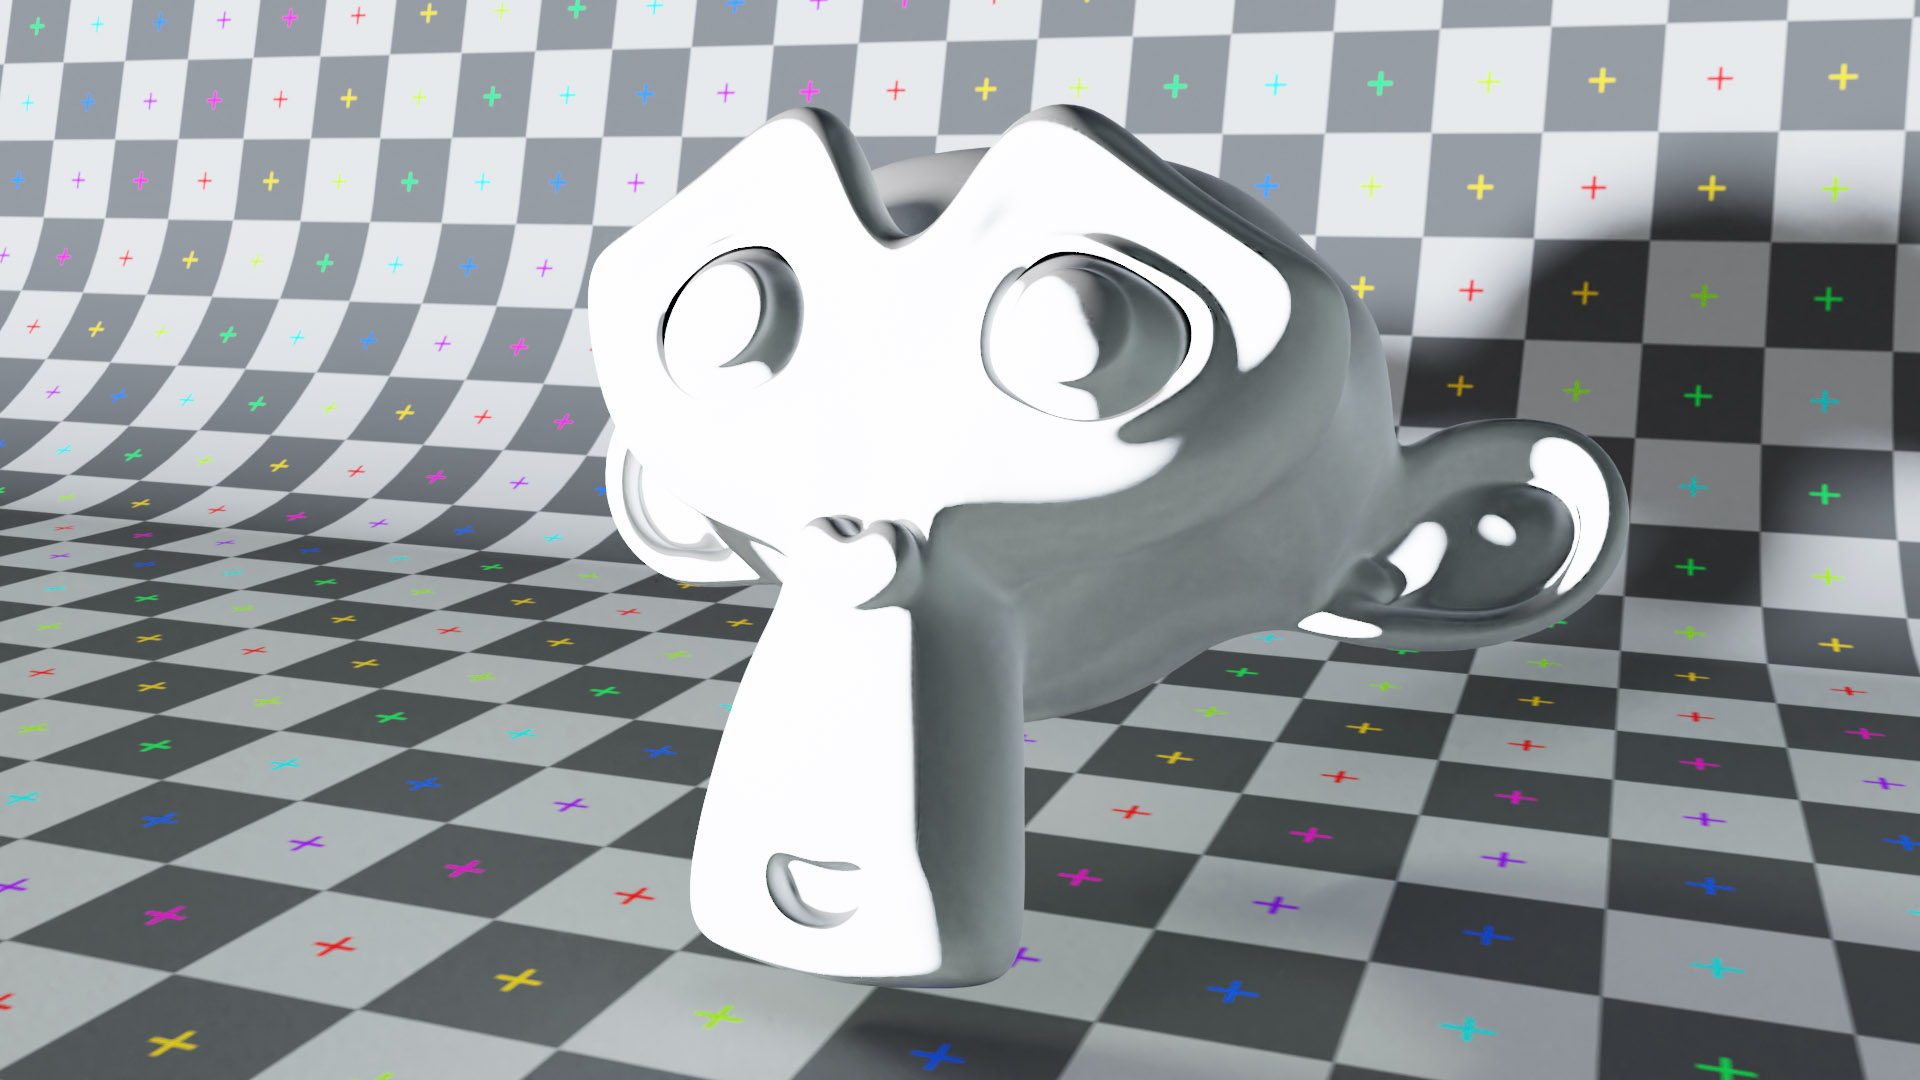
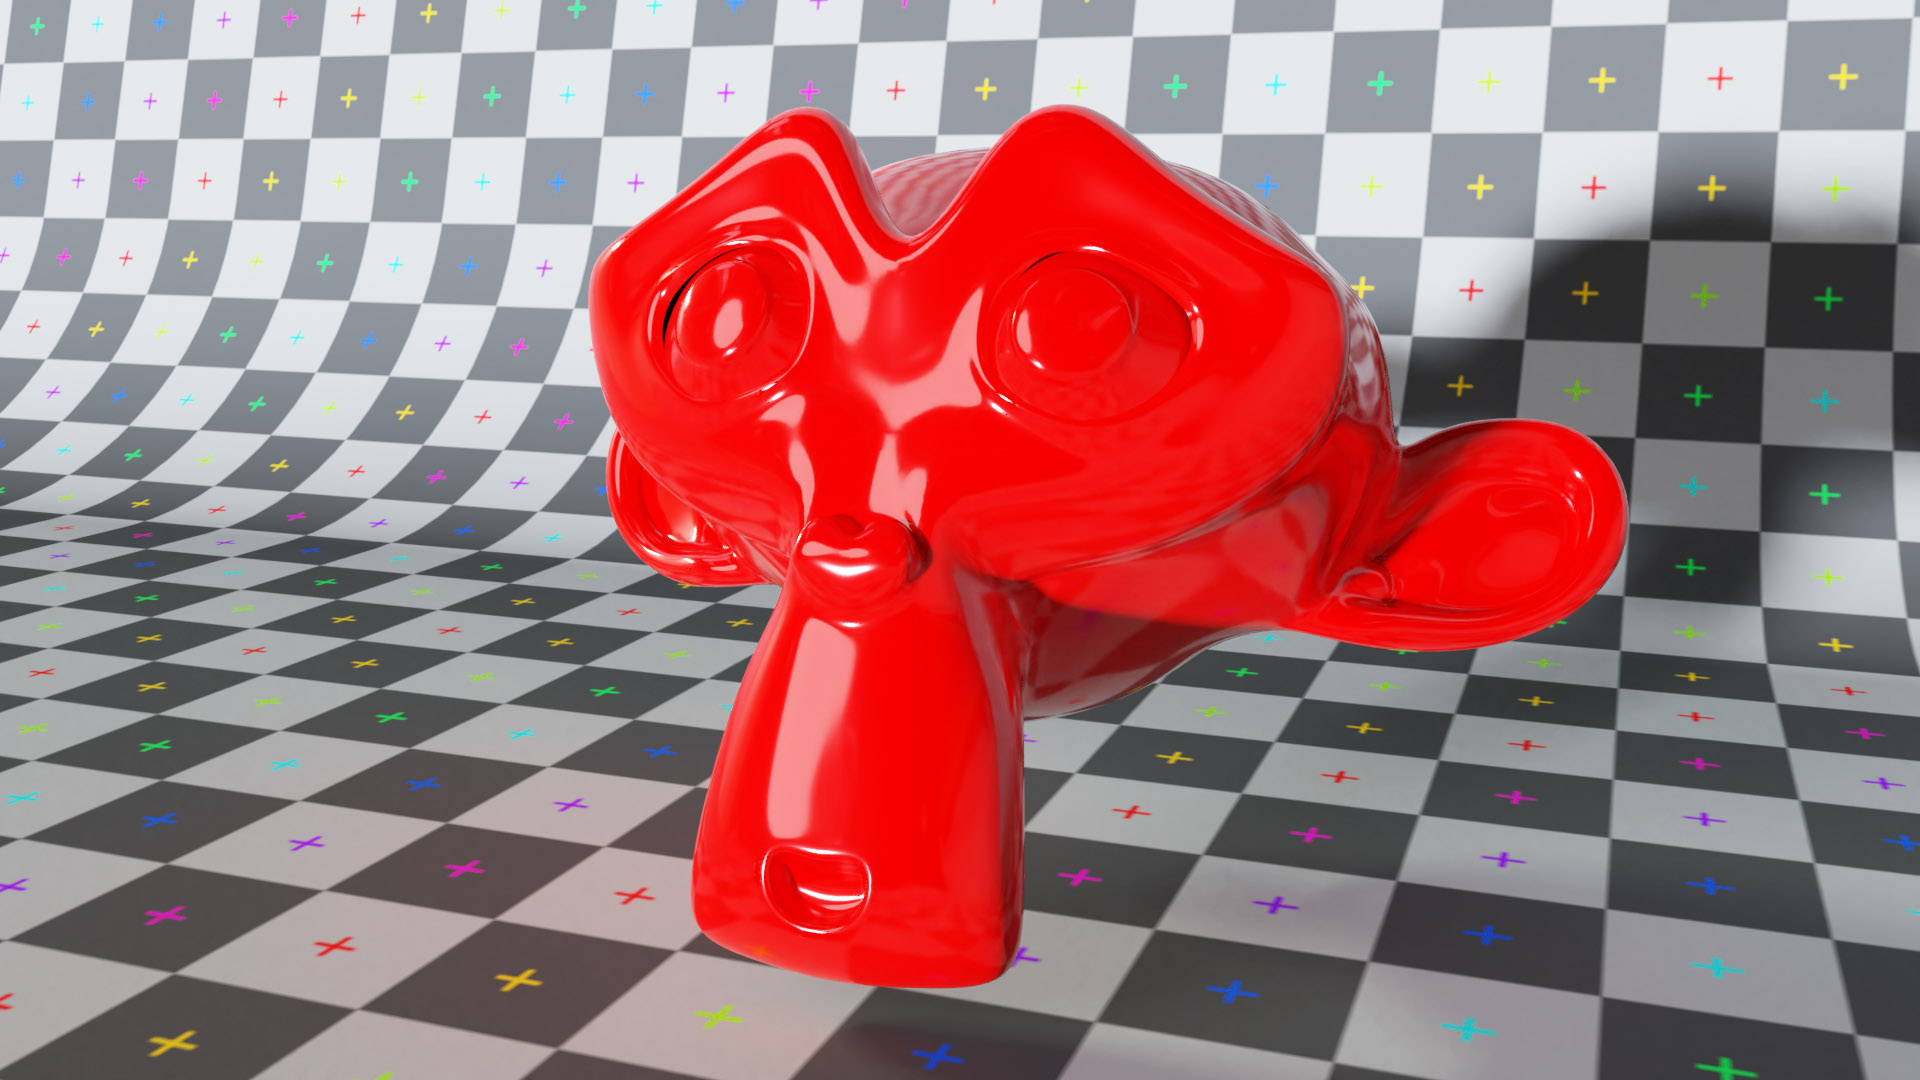
Toon BSDF recreates lighting similar to that of cartoons for both diffuse and reflective materials.
Translucent BSDF, the probability that light rays will pass through the surface is given by the color (White = 100%).
![]()
![]()
In the definition of materials in Cycles, the use of two particular nodes that serve to sum or mix different shaders through a Fac value variable from zero to one is fundamental. We are talking about Mix Shader and Add Shader, two nodes with which it is possible to create quite elaborate materials from the start. Let’s see a very simple example right away: how to add a slight specular reflection to the diffuse shader. In reality, any surface that is shiny or smooth enough will end up reflecting a fair amount of light rays coming from the surrounding environment, although not in such a way as to form a clear or perceivable reflected image on its surface; that is why a typical area of maximum brightness is created on the surface, caused by the reflection of direct light sources (as simulated by the specular factor of the principled shader). On the other hand, a totally mirror-like surface will not form these areas, unless it has a slight roughness value as seen for the Glossy shader. So we will only have to mix a small amount of blurry reflection to the diffuse shader, using the Glossy shader with a little roughness. All regulated by the fresnel node for greater realism.

By mixing and adding different shaders together, we can obtain even very complex materials, with the risk of excessively weighing down the rendering of the scene, and obtaining materials that are not physically consistent with what they represent. This is why you can always use the principled shader, especially if you have adequate PBR textures.
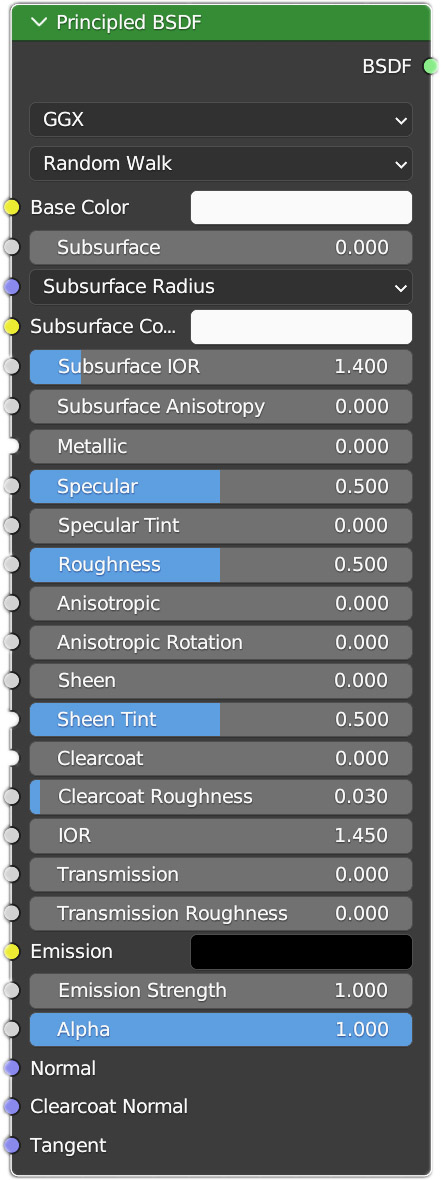
We already know everything about the Principled Shader. In Cycles we can use the anisotropic effect (absent in Eevee) for metal and specular reflections, provided that the roughness is greater than zero. The effect of the Sheen, Sheen Tint and Clearcoat (very similar to specular reflection) parameters is really minimal. Compared to Eevee, the Transmission Roughness is active, which will only affect the rays that pass through the surface and not those reflected specularly.
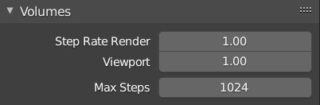
Let’s now come to the volumetric shaders made available by Blender and useful for simulating gaseous systems such as smoke, vapor, clouds, fog, etc. In 3D graphics, when you hear about volumetric effects, be prepared for something that can easily turn into a huge amount of calculations for our tireless CPUs and GPUs. Volumetric shaders are no exception to this rule, and greater precision values will correspond to significant rendering times. These shaders make any model with an internal volume visible (we can exclude all open surfaces and those without thickness) because they diffuse or absorb part of the light passing through the mesh as if it were filled with numerous particles similar to the molecules of a gas. The precision for this type of material is regulated in the Volume properties render context, where you will find the Step Rate Render/Viewport and Max Steps parameters. The first makes the calculation increasingly precise for values less than 0.1 (it is possible to differentiate the precision of the viewport rendering) while the latter can be increased to your liking.
It is important to remember that everything also depends on the maximum number of volume bounces (Max Bounces) set in the Light Paths panel (keep it low, just 1 or 2). The volumetric shader nodes have a green output socket called Volume to be connected to the corresponding input node of the Material Output (nothing prevents the simultaneous use of surface and volume shaders).
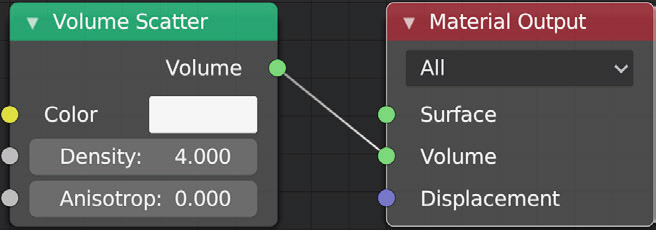
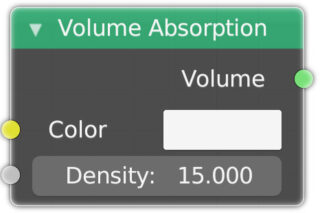
Volume Scatter simulates gaseous masses by diffusing the light passing through it; here the values of density and anisotropy should be set, as well as the color. Volume Absorption simply absorbs the received brightness according to a density value that will make it progressively darker in color than the one chosen.
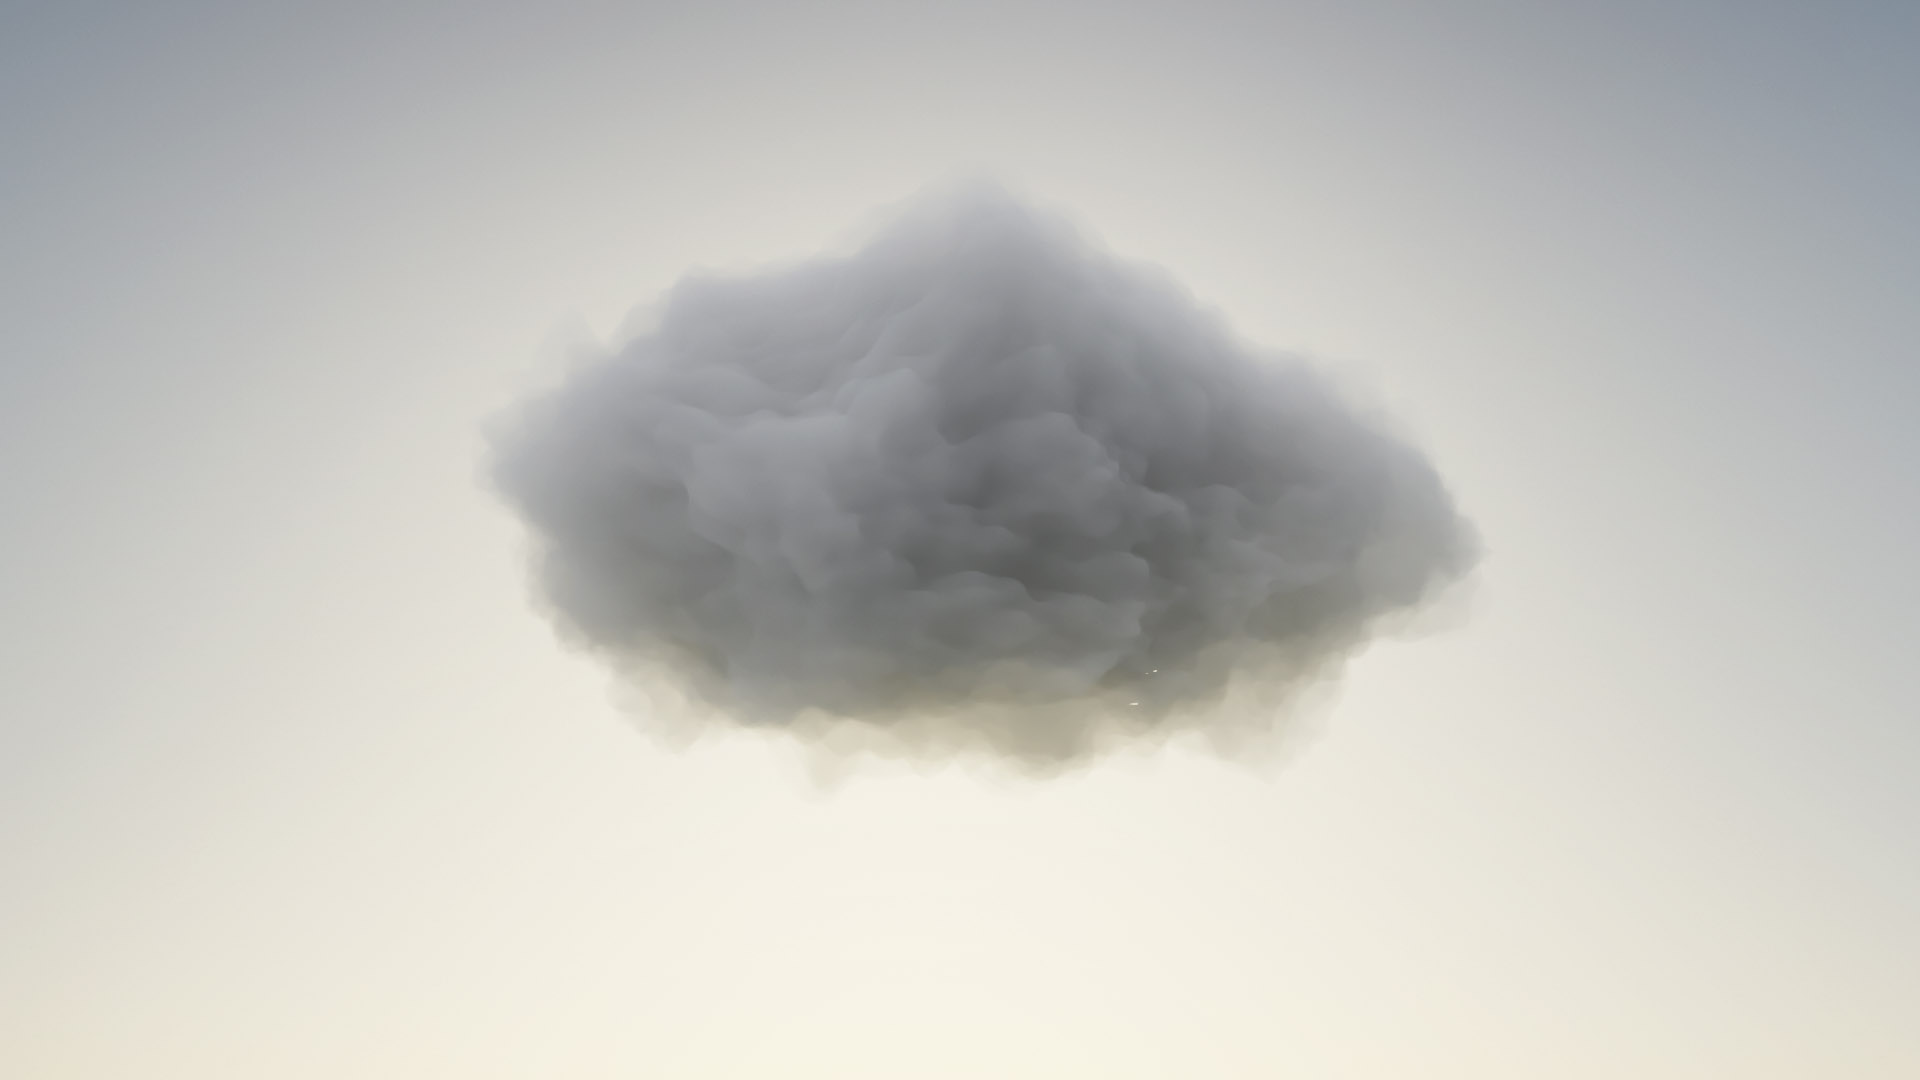

Obviously it is possible to merge and combine multiple volumetric shaders using the mix and add nodes seen earlier. However, this approach could easily lead to creating physically inconsistent materials, outside the PBR paradigm (a bit like what happens with surface shaders). For this reason, we can use the third and final volumetric shader offered by Blender: the Principled Volume, with which to create more complex and realistic gaseous masses.
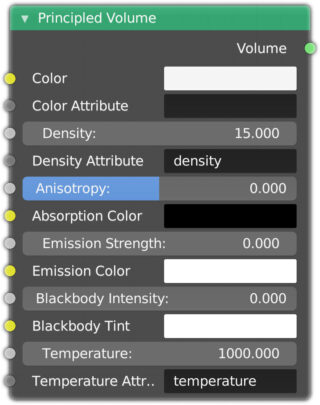
Here we find the parameters seen earlier: Color, Anisotropy and Absorption Color, with additional settings such as Emission Strength and Color that will allow the volume to emit light (we omit the remaining input nodes).
Now that we have seen all the shaders of Cycles, let’s analyze in the Object context, icon ![]() the Visibility panel
the Visibility panel
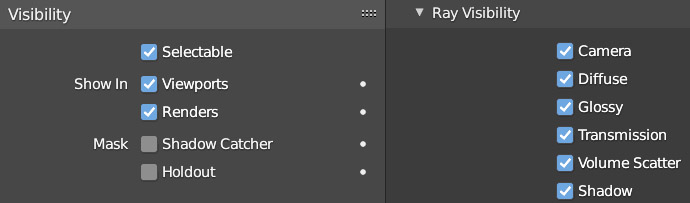
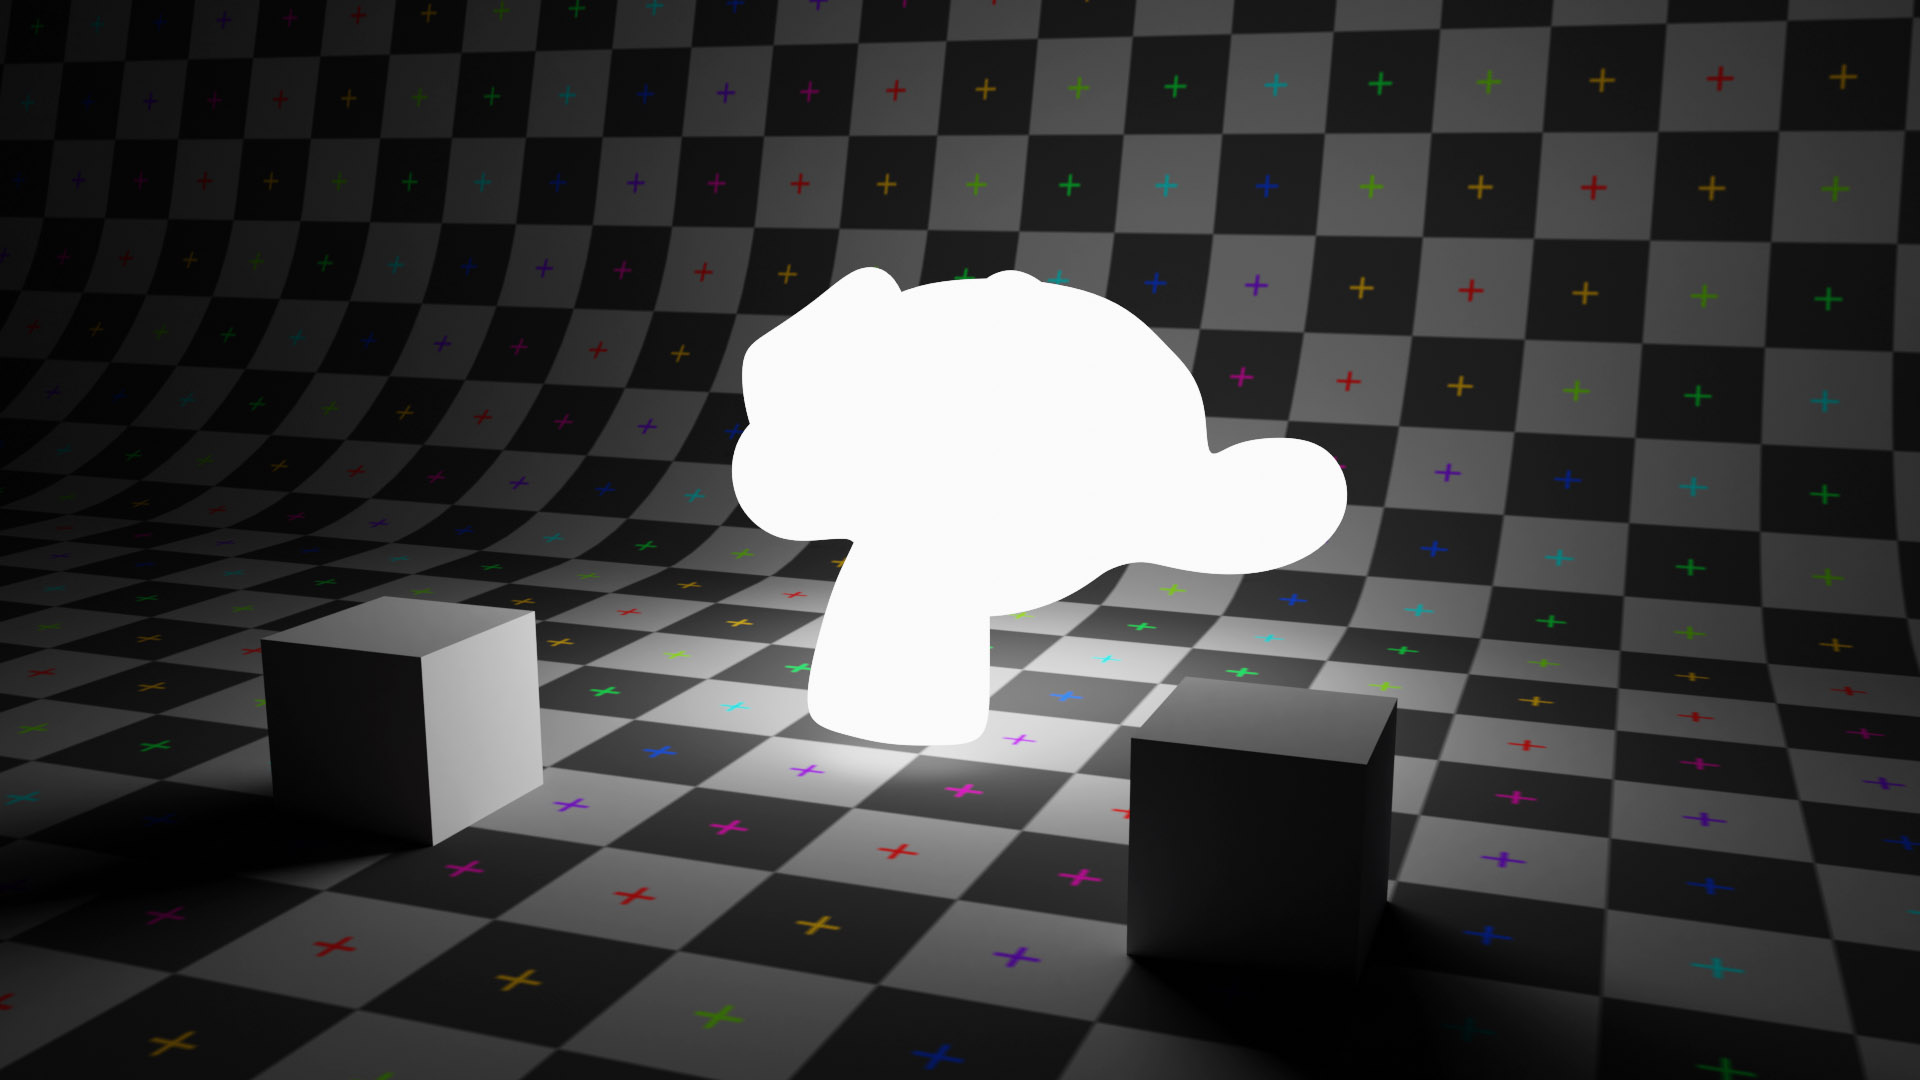
where we find the important Shadow Catcher checkbox; by activating this option, the material of the object will be completely ignored by the rendering and will only show the shadows cast on it by other meshes (with a certain level of transparency). This option is necessary to render scenes consistently with 3D HDR backgrounds.
In the Ray Visibility sub-panel, we can choose:
- with Camera if the object will be visible or not
(when invisible to camera rays it will continue to cast shadows, diffuse its own color and be reflected or refracted). - with Diffuse if the object will diffuse or not its own color
(invisibility to diffuse rays) - with Glossy if the object will be visible or not in reflections
(invisibility to glossy rays) - with Transmission if the object will be visible in the refraction of semi-transparent materials
(invisibility to transmission rays) - with Shadow if the object will cast shadows
(invisibility to shadow rays) - with Volume Scatter if it will be diffused by the Scatter volumetric shader
(invisibility to volume scatter rays)
Next paragraph
Previous paragraph
Back to Index
Wishing you an enjoyable and productive study with Blender, I would like to remind you that you can support this project in two ways: by making a small donation through PayPal or by purchasing the professionally formatted and optimized for tablet viewing PDF version on Lulu.com