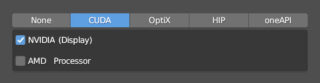
Cycles is an unbiased rendering engine that uses a path tracing integrator that is free from systematic errors (bias). The purpose of Cycles is to achieve results that tend towards photorealism, which involves a huge amount of calculations, with longer waiting times and therefore less opportunity for the user to experiment. Fortunately, Cycles takes advantage of the power of modern graphics cards, even those that are not professional and are dedicated to gaming, thanks to the so-called GPU rendering. The advantages are indeed numerous because, as we will see, Cycles natively integrates the bouncing of light rays, resulting in the context of global lighting (direct + indirect) much more efficient and precise than Eevee. And it doesn’t end here, because Cycles can also use both the GPU and the CPU simultaneously to try to further accelerate rendering. So we come to the disadvantages: the first is that the amount of memory on a GPU is limited compared to that of the system; for example, you already know that with a low expenditure it is possible to install up to 32 gigabytes of ram on your computer, with which you can manage very complex projects. On the other hand, GPUs have fixed, non-expandable ram that ranges from one to four gigabytes in the cheaper and/or older models, up to over 8 gigabytes for high-end graphics cards. At the current stage of its development, Cycles requires the GPU to manage all the data related to models and textures in its own ram, without being able to use system memory when the video memory is exhausted, with consequences ranging from the inability to continue working on the GPU (but you can switch to the CPU at any time) to episodes of instability and software lock-up (in fact, very rare cases). The best supported GPUs are those from the manufacturer Nvidia due to the CUDA parallel processing architecture that has taken hold in the field of GPU rendering. In addition, modern Nvidia RTX cards can be fully exploited through the OptiX framework. Fortunately, Cycles uses the HIP APIs to also support AMD GPUs (Vega, Rdna). In the System tab of Preferences, you will find the Cycles Render Devices (CUD, OPTIX, HIP) panel where you can decide which cards will be responsible for the render, with or without the aid of the CPU.
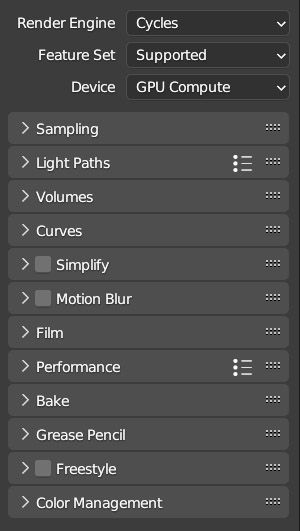
Using a single GPU for both rendering and displaying the operating system’s desktop environment, and therefore the Blender interface itself, could cause slowdowns that make the computer unusable during rendering phases (especially when approaching the limit of the GPU’s dedicated ram). If you don’t have the hardware requirements to use Cycles Render via GPU, don’t despair, because it works without limitation using only the CPU and system ram. Starting from Blender release 2.8x, significant code optimizations for CPU rendering have been introduced. A high-end central processor will make you quite productive. Anyone who owns an Nvidia GTX/RTX 10xx/20xx/30xx series GPU, or equivalent AMD, can download the official bench from the website: opendata.blender.org and run it both with the CPU and the GPU, in order to immediately realize the greater efficiency and speed of Cycles in GPU rendering. The greater power and precision of Cycles does not mean that it is more complex than Eevee. On the contrary, everything becomes simpler as demonstrated by the fewer panels and options in the render context.
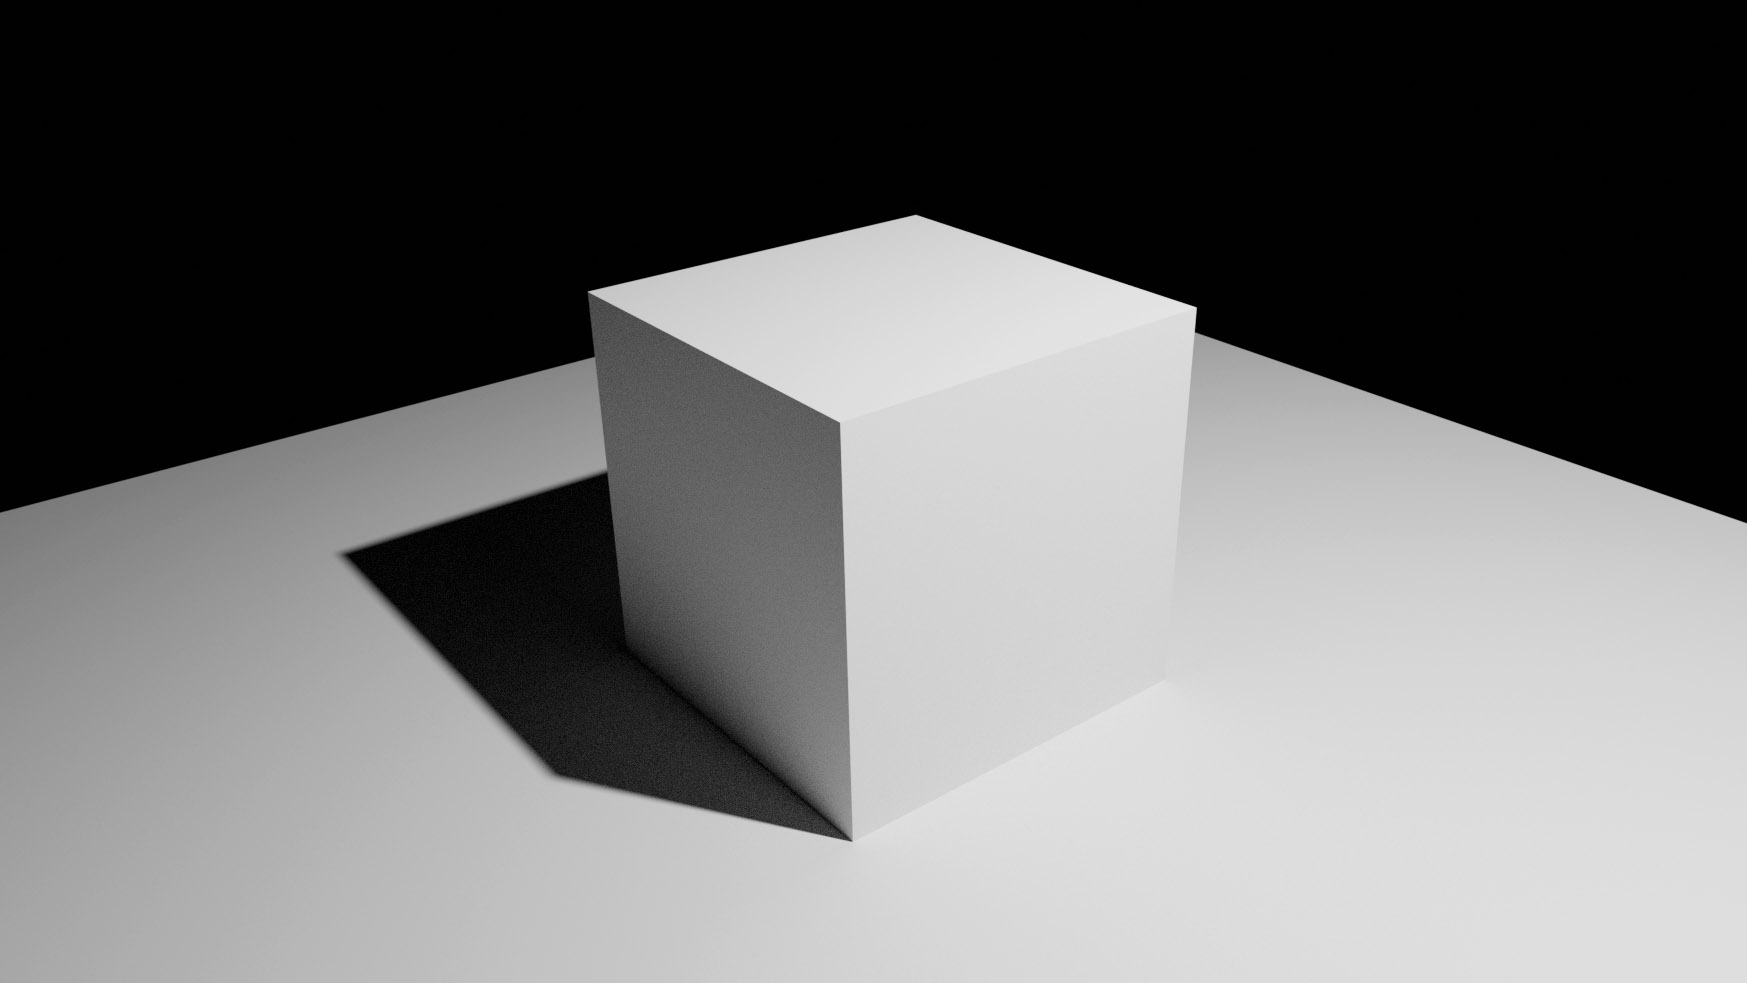
So why, if Cycles is so precise and simple, has Eevee been given priority and even more space until now? The instantaneous (or almost) rendering in Eevee allows beginners to learn the fundamental rules of 3D graphics much faster. Only after reaching a certain level of knowledge, and refining their eye, will the advantage of having a wonderful engine like Cycles become evident. In the usual default scene, we add a plane immediately below the base of the cube. From the result in the Viewport in Rendered mode, we can see two main peculiarities.
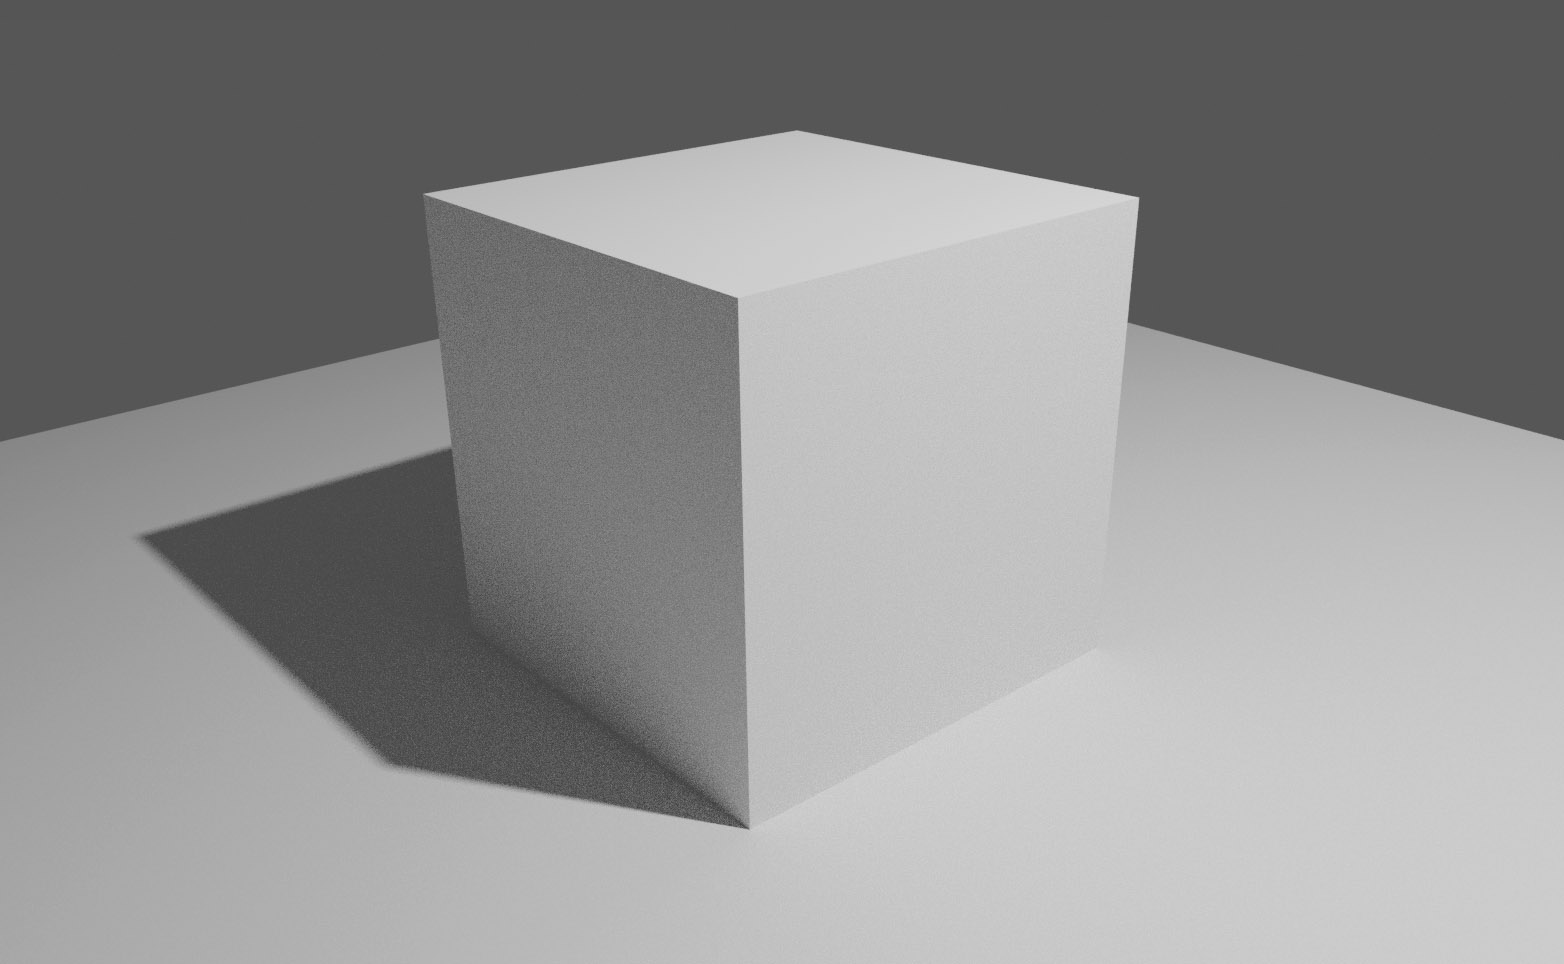
The first is that the rendering shows a much more complex shading than that obtained by default with Eevee, which only reaches this level of detail by activating various functions (such as ambient occlusion). The second is the presence of quite pronounced noise in the shadow areas. Using a high-end GPU, rendering the preview of this very basic scene takes a few seconds, you may not even have noticed that the final result was not reached instantly, but in a quick sequence of steps. In fact, in the top left of the Viewport, the Path Tracing Sample appears first ![]() .
.
Once the maximum value of samples is reached, the message will be replaced with ‘Rendering Done’. Cycles belong to a type of rendering that does not complete its work upon reaching 100%, but we need to truncate the process by previously setting a maximum number of iterations (or a time limit). In the render context, we find the Sampling panel where we can differentiate the number of samples by setting a minimum and maximum limit both for the Viewport and for rendering (F12). By default, the Noise Threshold checkbox is active with a value of 0.01. This will cause the engine not to reach the number entered in Max Samples, stopping earlier. By deactivating the checkbox, or entering zero, cycles will stop upon reaching the Max Samples value.
You will soon understand that depending on the scene to be rendered, it would be useless to exceed a certain number of samples (identifiable through a series of tests) as the final result would remain substantially unchanged. I advise leaving the Min Samples value at 0 and reducing the Max Samples from the default setting of 1024 for the Viewport and 4096 for the render, to 64/128, as these are too high for the initial tests we are going to do (although everything depends on the GPU). By setting zero in Max Sample (preview), Cycles will never stop rendering. For now, we leave the Denoise inactive.

Samples are the samples that Cycles uses in the rasterization process of each pixel of the image. In Cycles, you will notice that for any variation of the scene parameters, Blender will render it again. Try then to activate the Walk/Fly mode or to make some transformations on the meshes and/or light sources in the scene, you might find it exciting, especially if you have a reasonably powerful GPU, this approximation of photorealistic rendering in pseudo real-time. Although it is not strictly necessary to understand in detail the workings of this engine, as we will acquire the necessary experience in the field to master it, broadly speaking we can say that in Cycles the light rays are divided into four categories: those coming from the camera, those reflected by surfaces, those transmitted through surfaces (and volumes), and finally the rays used to determine transparent shadows. In the Light Paths panel, render context, we can vary the maximum number of bounces of such light rays.
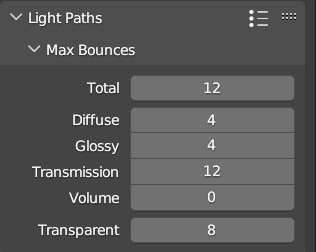
Reflected light in turn generates:
- a maximum number of diffuse bounces (diffuse reflection)
- a maximum number of glossy bounces (specular reflection)
- a maximum number of transmission bounces.
Integrators Preset to simplify our lives that you will find by clicking the ![]() icon
icon
- Direct Light limits the effects of indirect lighting and bounces to the maximum.
- Fast Global Illumination
- Full Global Illumination
- Limited Global Illumination allows for good implementation of indirect lighting.
(some Bounces values may be reduced depending on the type of materials we will have in the scene). I recommend keeping the default setting, later we will see some variations aimed at reducing noise and artifacts in the final render. Among the remaining options in the Render context, the Film panel (film) is interesting
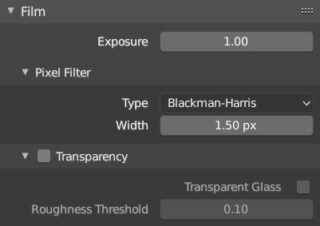
where you can increase the brightness of the rendering without having to force the energy of the lamps (which could lead to the appearance of aliasing in high contrast areas, or excessive video noise in shadow areas) simply by increasing the Exposure parameter. By checking Transparent, the background will not be rendered and it will be possible to save an image of an object, such as a PNG, directly “cut out”. From a first look, the World context (which will be explored later) also appears very similar to that seen in Eevee. The default dark grey background is actually not a simple background color, but a minimum ambient lighting that will prevent surfaces that are not directly illuminated or hit by light ray bounces from appearing completely black.

Here above the default scene with the World color changed from grey to black, so that it cannot act as ambient lighting. By inserting a plane below the cube, we immediately notice the behavior of light in Cycles, which really spreads with bounces, bringing the previously black side to have a more realistic shading.
Let’s go to the Material context to give the cube a different color from the default (you can use the principled shader by zeroing specular and roughness). We immediately notice an effect that will again highlight the physically consistent nature of the Cycles engine.

Near the cube, the plane takes on a reddish hue in both shadow and directly illuminated areas; in addition, the perimeter of the shadow will vary from a sharp to a progressively soft outline.
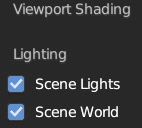
Everything that has been said in the previous chapter about materials and texturing continues to be valid in Cycles, with the advantage that we will no longer have to activate additional rendering functions on demand, because: ambient occlusion, reflections, and refractions are all natively processed. The Material Preview preview is still managed by Eevee, so if you choose to display the lights and the world of the scene in it, you will get a direct and immediate comparison between the two engines. In addition, in cycles’ rendered mode, it is possible to deactivate the world and the lights in use and use the same convenient HDRI background set in material preview.
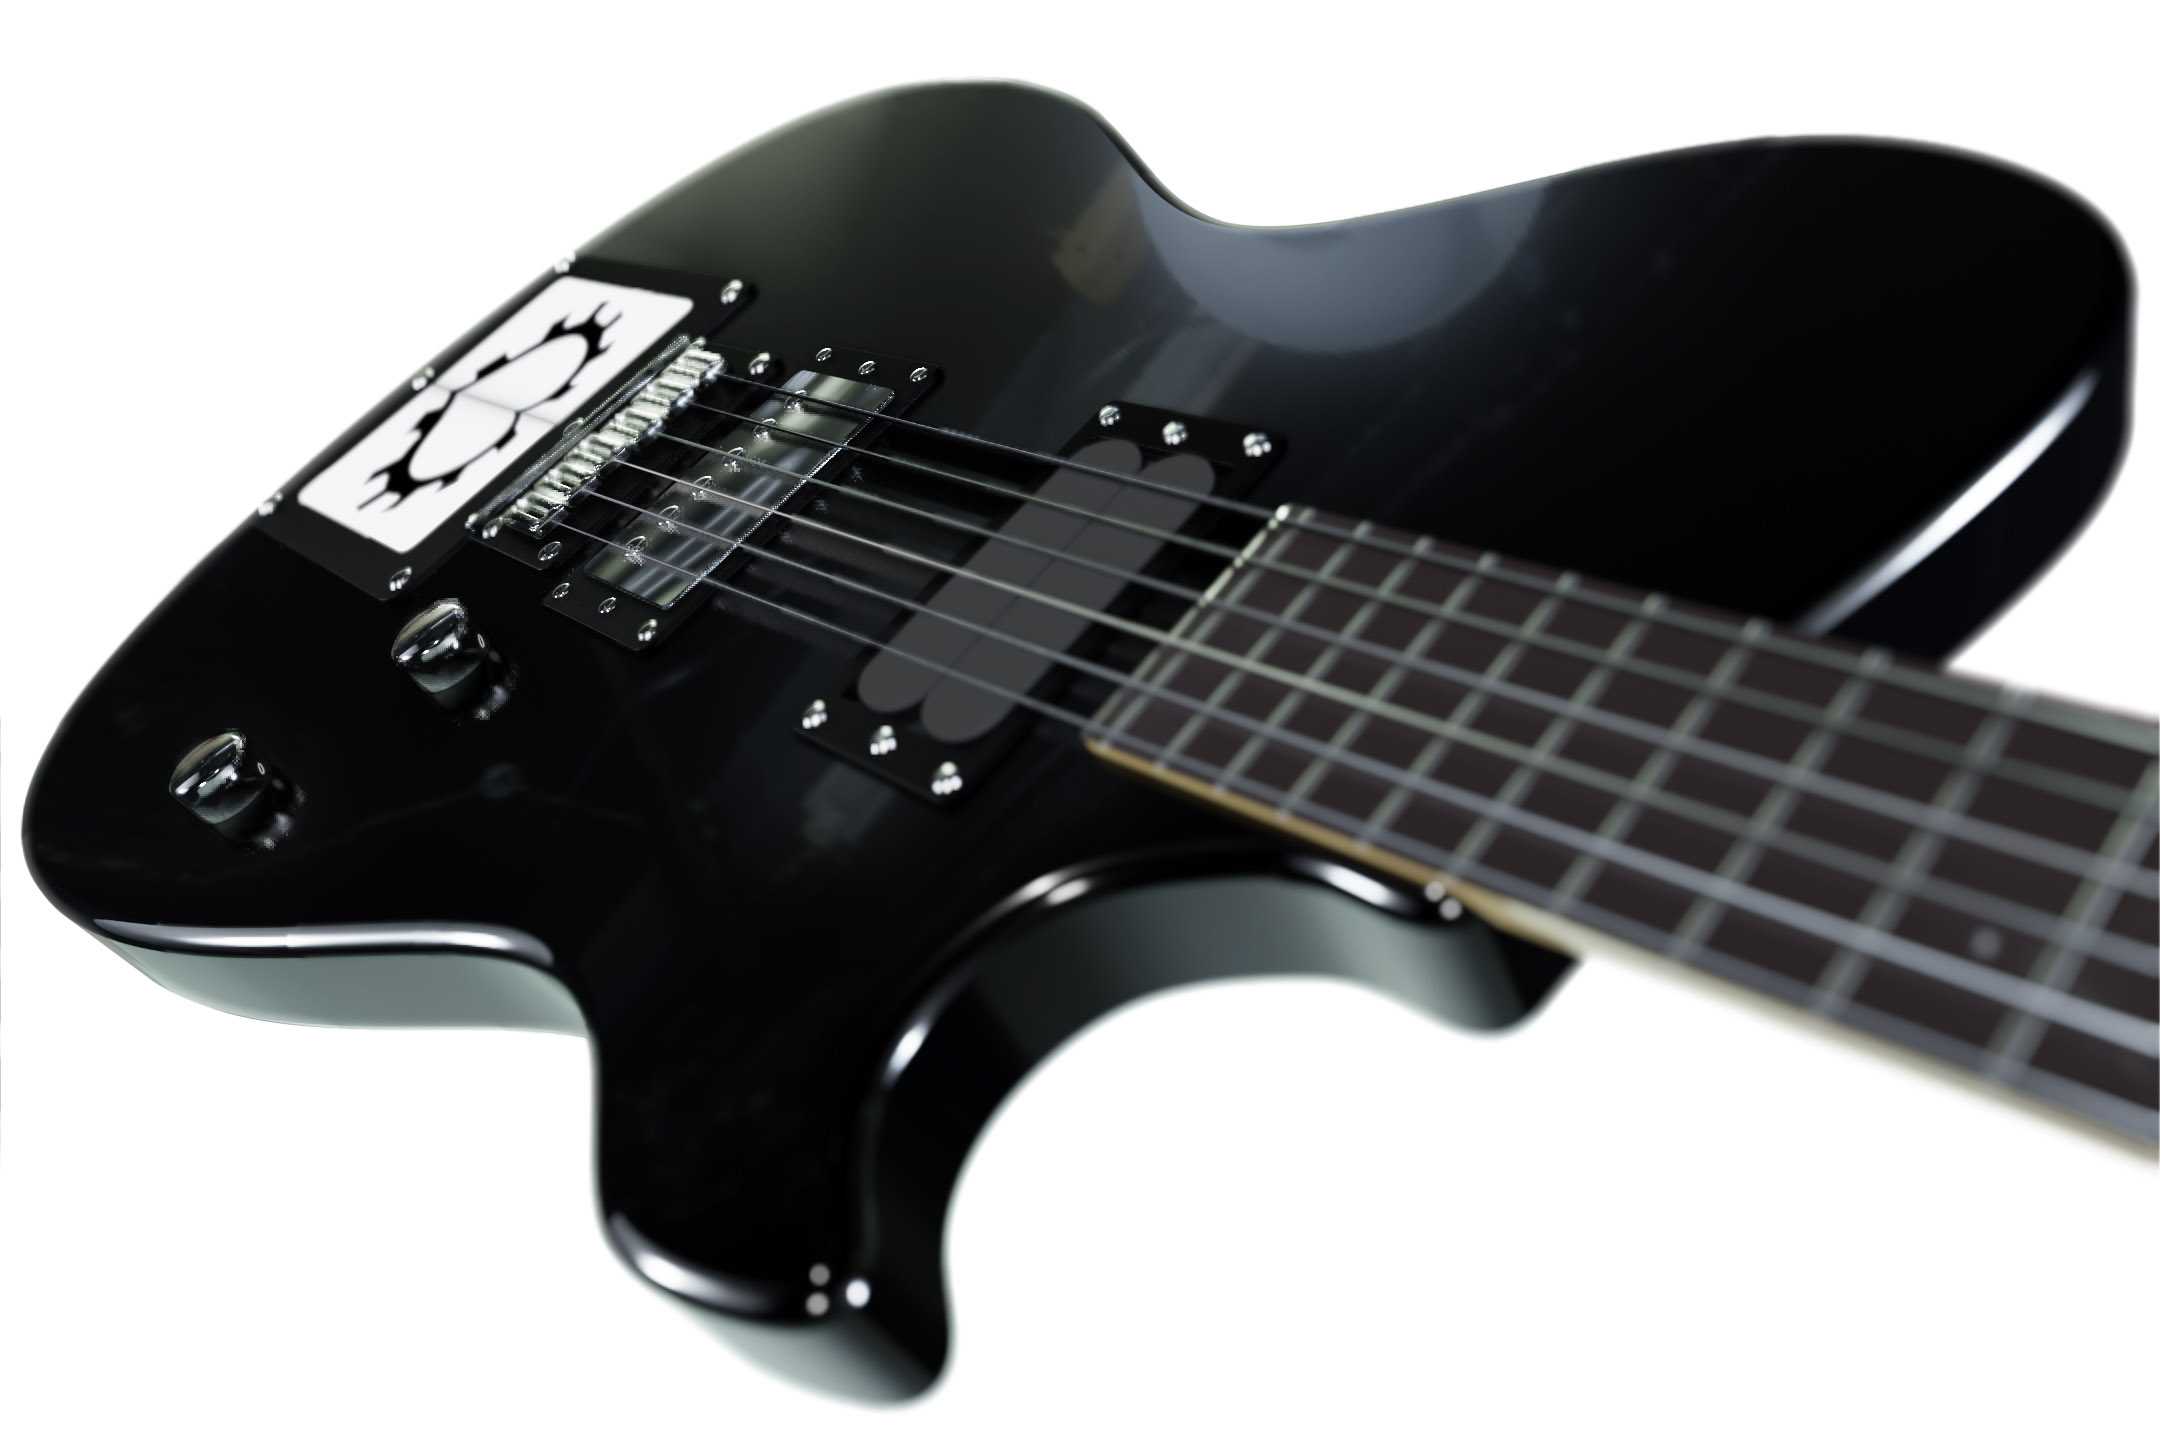
It is unlikely that scenes that are carefully crafted and developed in one of the two engines will be equally well defined in the other without proper adjustments. The difference that immediately stands out when switching from Eevee to Cycles is that a well-lit scene immediately becomes darker. This is because the physically consistent nature of Cycles takes into account the loss of light energy due to the bounces of the rays traced by this engine. This allows for better rendering of shadows, but a greater overall emission of light will be required. In fact, only for Cycles can we really talk about a Physically Based Rendering engine, as the shading in Eevee is only an approximation (although excellent) suitable for real-time rendering. Below you can see an immediate comparison between the rendering in Eevee and one in Cycles.

Next paragraph
Previous paragraph
Back to Index
Wishing you an enjoyable and productive study with Blender, I would like to remind you that you can support this project in two ways: by making a small donation through PayPal or by purchasing the professionally formatted and optimized for tablet viewing PDF version on Lulu.com