The modeling techniques presented so far allow you to create various 3D models for use in traditional rendering or in the development of video games. For example, we can create a model starting from the primitive shapes at our disposal, or from a single vertex, and then proceed with operations such as extrusion, subdivision, or the application of one or more modifiers. Unlike the CAD domain, modeling is not a science, but an artistic process that can also lead to the digital equivalent of sculpture. The tools covered in this paragraph take advantage of the powerful technology of Dynamic Topology Sculpting.

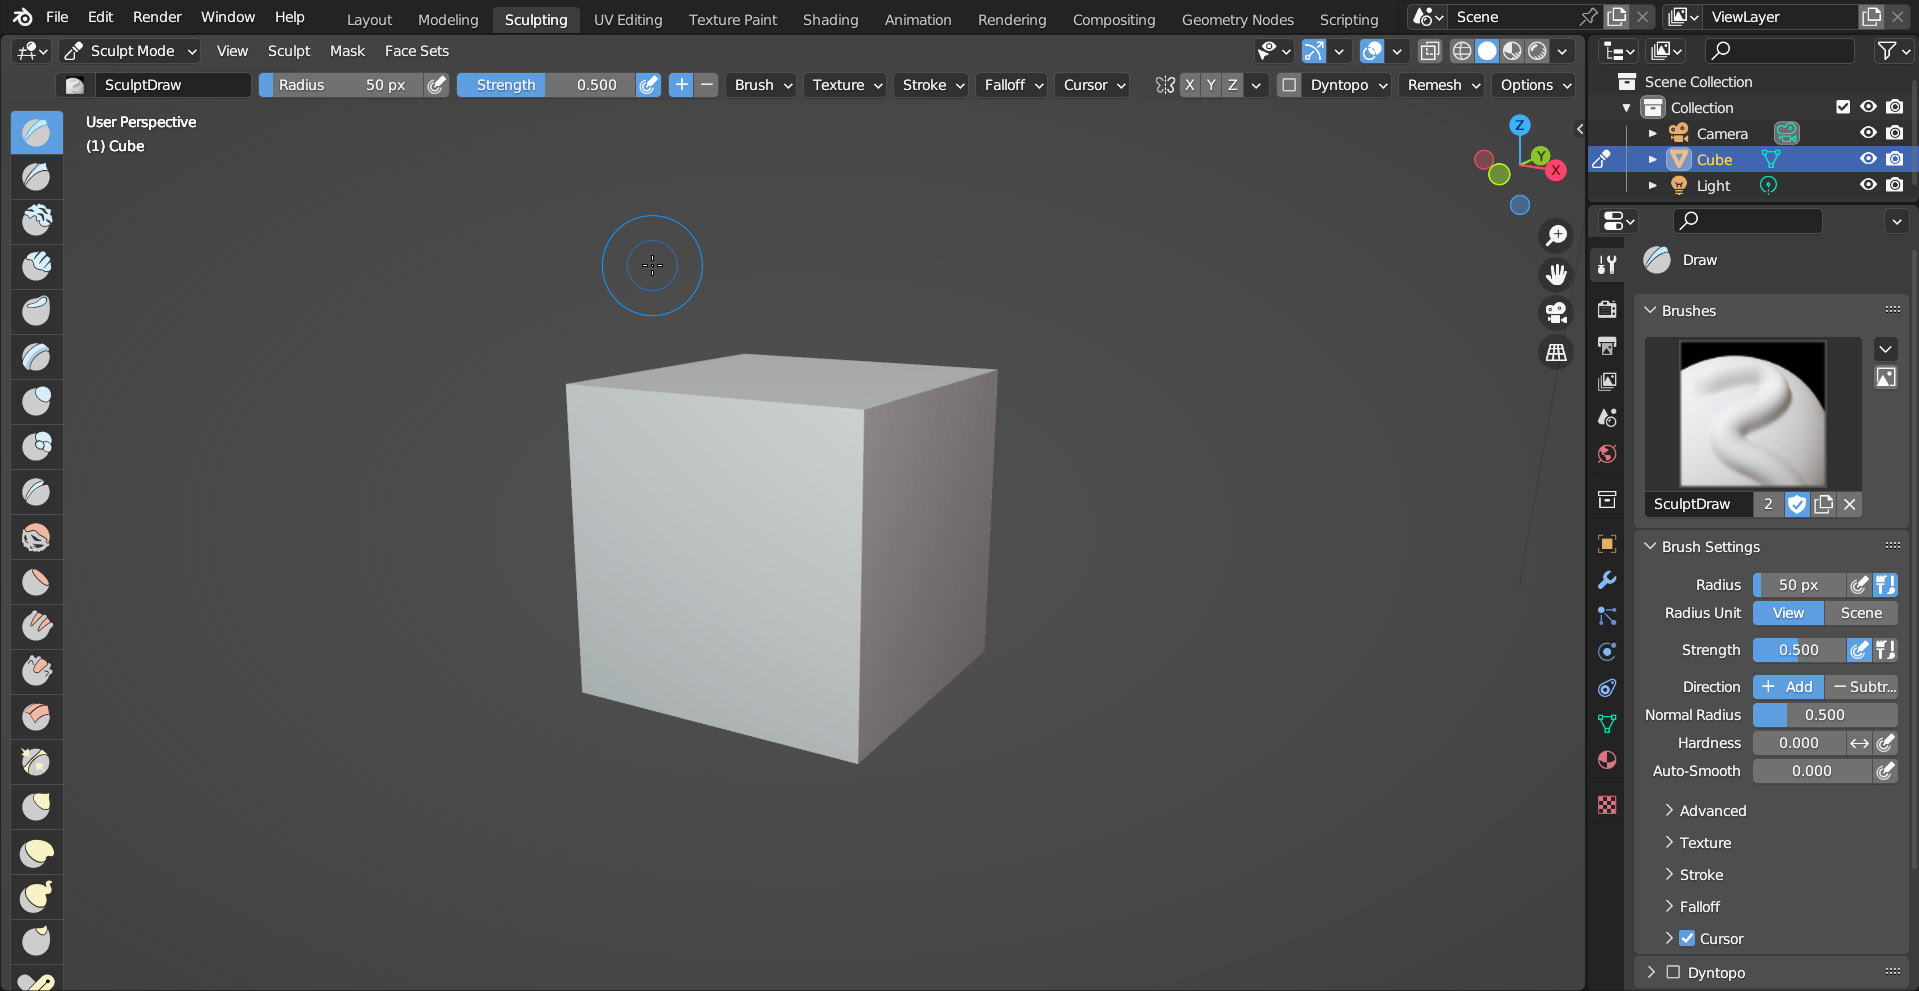
First of all, let’s start from the Sculpting workspace where the 3D view is in Sculpt Mode, while the Properties window highlights the context (previously little used) Active Tool and Workspace Setting, marked by the icon ![]() with all the properties of the sculpting tools that we will use inside.
with all the properties of the sculpting tools that we will use inside.
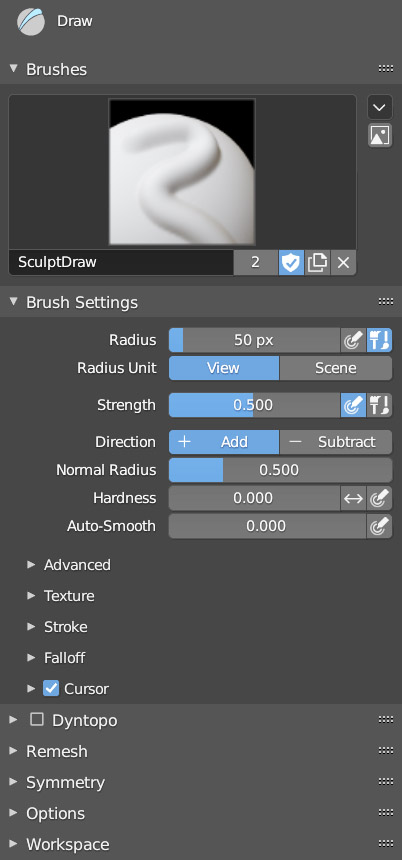
In Sculpt Mode, the mouse pointer is replaced by a circular 3D cursor, and at the top of the described context in the Properties window the preview of the sculpting option appears, which by default is SculptDraw (image at the top). On the left side of the 3D View, you will find a list of all the sculpting tools offered by Blender. The images in the previews give an idea of the effects of the actions they represent. In sculpt mode, you can directly act on the area of the model framed, intervening with the left button to ‘sculpt’ the deformation. You will expect to immediately get this result:
however, you will notice at most a slight deformation of the cube. The sculpt mode needs the model to be composed of a certain number of polygons in order to make appropriate modifications. Then repeat the sculpt operation after subdividing the cube a decent number of times in edit mode
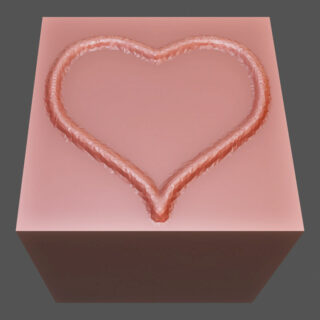
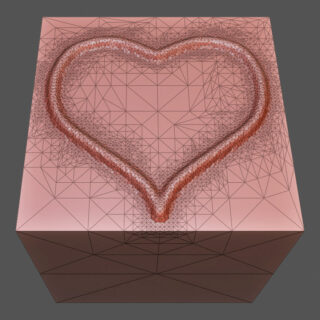
Therefore, to create a well-defined model in Sculpt Mode, it is absolutely necessary to work with a huge number of polygons (perhaps reducing and simplifying the final result with the application of the appropriate modifiers). However, there is a Sculpting mode, extremely powerful, that allows us to start even from a simple flat surface formed by only four vertices, as Blender will dynamically insert all the faces necessary within the area of interest. To activate this mode, you must check the corresponding Dyntopo panel in the Active Tools properties context
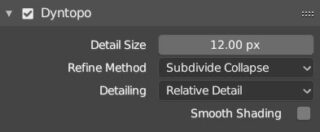
(doing so will display a warning message that you can ignore for now). Detail Size is the most important parameter: low values correspond to a very detailed modification and therefore heavier to handle for Blender. In addition to the Subdivide Collapse mode (set by default in the Refine Method) or Subdivide Edges, we also find Collapse Edges, which slightly limits the complexity of the result by eliminating the presence of faces with edges much smaller than the brush size (which could appear as unwanted folds). As you can see from the image, the greatest concentration of faces is located in the areas on which we have acted.
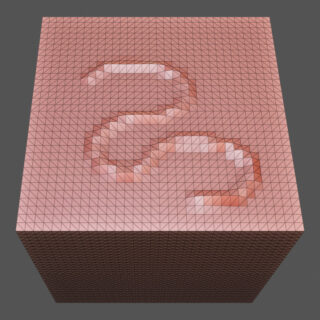
By default, Subdivide Edge is of the Relative Detail type, in fact after trying to sculpt a surface we can zoom in on a detail of it, and repeating the operation we can realize that the definition of sculpting depends on the zoom level.
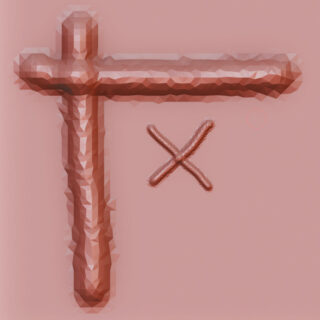
In the ![]() mode, the level of detail is instead independent of the zoom level. The behavior of the brush is similar to that of painting software and, in addition to its size, we can set its strength, or use a graphics tablet and take advantage of the pressure levels. This is therefore a technique that allows you to experiment to obtain models of considerable complexity, obviously at a significant computational cost.
mode, the level of detail is instead independent of the zoom level. The behavior of the brush is similar to that of painting software and, in addition to its size, we can set its strength, or use a graphics tablet and take advantage of the pressure levels. This is therefore a technique that allows you to experiment to obtain models of considerable complexity, obviously at a significant computational cost.
Sculpt mode can use symmetry with respect to the xyz axes (Global) from the Symmetry panel
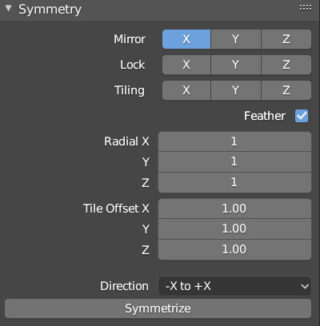
or in the Tool Setting panel of the 3D View where on the right you will find the following icons related to active symmetries ![]() .
.
In the Active Tool properties context, you will have noticed the presence of a panel called Remesh
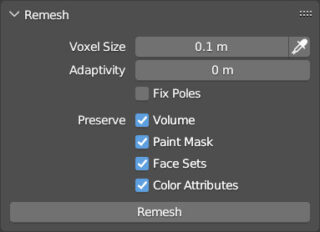
whose purpose is similar to that of the homonymous modifier seen in the previous paragraph, that is to make the topology of the model, which in this case is derived from the Dyntopo subdivision (which must be deactivated before proceeding to the Remesh), homogeneous. This Retopology method uses a powerful Voxel algorithm that becomes more accurate as the Voxel Size value decreases (but significantly increases the weight of the mesh). You will also find this method in the Object Data properties context, icon ![]() panel Remesh.
panel Remesh.
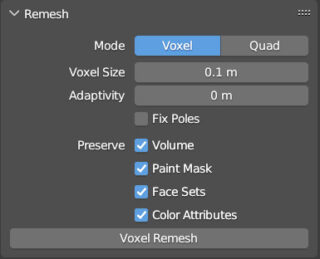
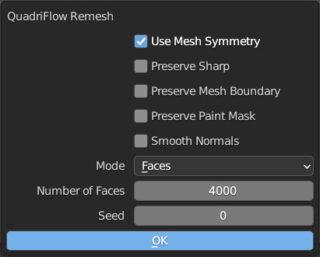
Here is available an additional method of remesh, called Quad, which will try to recreate the model using only square faces:
Next paragraph
Previous paragraph
Back to Index
Wishing you an enjoyable and productive study with Blender, I would like to remind you that you can support this project in two ways: by making a small donation through PayPal or by purchasing the professionally formatted and optimized for tablet viewing PDF version on Lulu.com